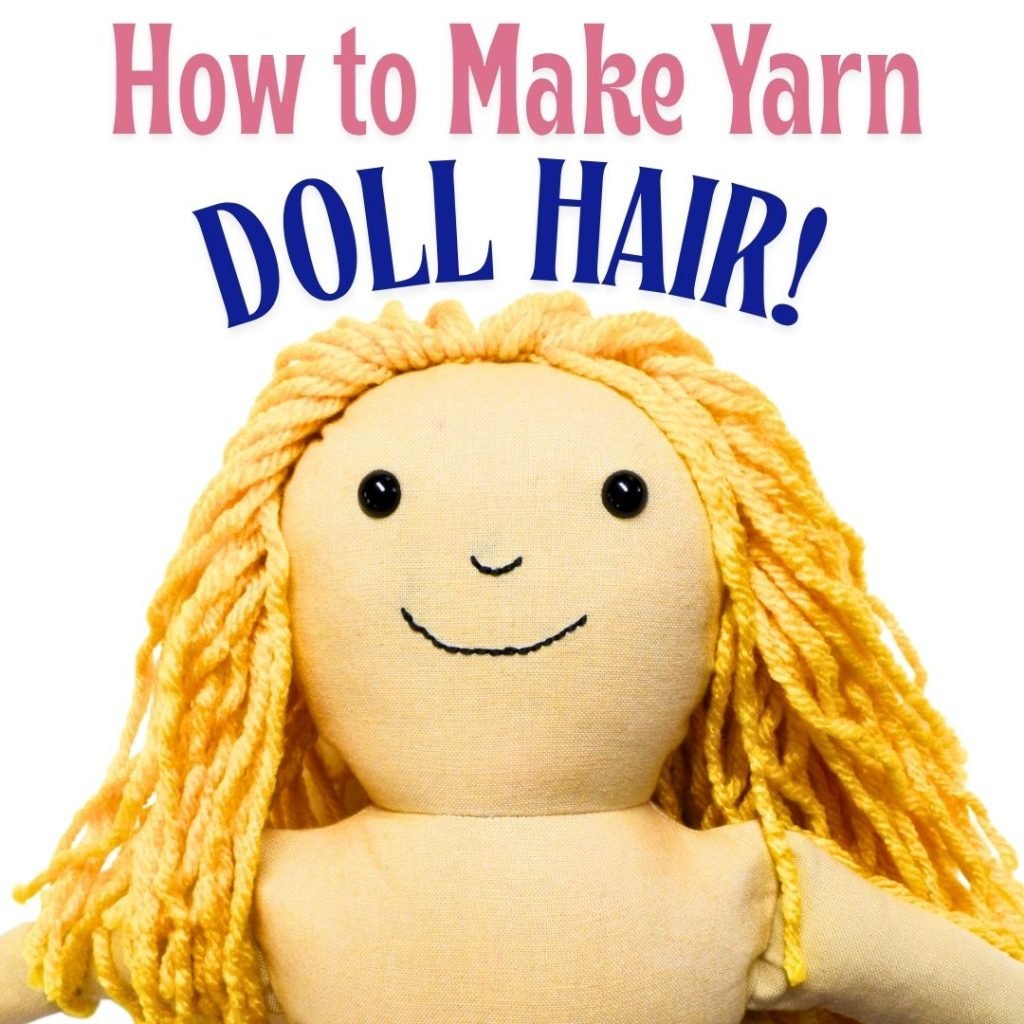
Are you ready to give your dolls a fresh, fun new look? Making yarn hair for dolls is easier than you think, and it lets you customize every little strand just the way you want.
Whether you’re fixing up a favorite doll or creating a brand new one, this simple craft will bring your doll’s personality to life. Keep reading, and you’ll discover step-by-step tips that anyone can follow, even if you’ve never tried it before.
Your dolls will thank you for it!
Materials Needed
Making yarn hair for dolls is a fun and creative activity. You need the right materials to get the best results. This guide covers the main items you will need to start.
Gathering the correct yarn types, tools, and accessories will make your work easier. Each part plays a key role in making the hair look neat and natural.
Types Of Yarn
Choosing the right yarn affects how the doll’s hair will look and feel. Yarn comes in different materials and thicknesses. Pick one that matches your doll’s style.
- Acrylic yarn:Affordable and easy to find. It has bright colors and a soft texture.
- Wool yarn:Offers a natural look and feels warm. It may be slightly rougher but works well for curly hair.
- Cotton yarn:Smooth and less fuzzy. Good for sleek or straight hair styles.
- Blended yarn:Mixes fibers for durability and softness. It can combine the best traits of different yarns.
Tools Required
You need some basic tools to cut, attach, and style the yarn hair. These tools help you work with yarn safely and neatly.
| Tool | Purpose |
| Scissors | Cut yarn to the right length |
| Needle or Tapestry Needle | Sew yarn strands onto the doll’s head |
| Glue (optional) | Secure yarn in place if sewing is not preferred |
| Comb or Brush | Style and smooth yarn hair |
| Measuring Tape | Measure yarn length accurately |
Optional Accessories
These accessories help you decorate the doll’s hair or make the process easier. They are not required but can add extra charm.
- Hair clips or small bows to style the finished hair
- Beads or ribbons to add decoration
- Elastic bands to hold yarn strands together
- A small container to keep yarn pieces organized

Credit: leahday.com
Preparing The Yarn
Making yarn hair for dolls starts with preparing the yarn correctly. This helps the hair look neat and last longer.
Good preparation saves time and makes the process easier. You will need to measure, cut, and sort the yarn before attaching it to the doll.
Measuring And Cutting
Measure the yarn to fit the doll’s head size. Yarn that is too long or short will not look right.
Cut the yarn into equal lengths for a clean and even look. Use sharp scissors for smooth ends.
- Use a ruler or tape measure
- Decide on hair length before cutting
- Cut multiple strands at once for speed
- Keep all pieces the same size
Sorting By Color And Texture
Sort the yarn by color to match the doll’s style. Mixing colors can create highlights or patterns.
Separate yarn by texture if you use different types. Smooth yarn and fluffy yarn give different looks.
- Group yarn by color shades
- Keep similar textures together
- Plan color placement before attaching
- Use soft yarn for a natural look
Attaching Yarn To Dolls
Adding yarn hair to dolls gives them a fun and soft look. There are several ways to attach yarn securely.
You can use knots, sewing, or glue to fasten the yarn. Each way works well for different doll types.
Basic Knotting Techniques
Basic knots hold yarn strands firmly on the doll’s head. Start by folding yarn in half to make a loop.
Push the loop through the doll’s scalp or wig cap, then pull yarn ends through the loop. Tighten the knot close to the scalp.
- Make even yarn strands before knotting
- Use small sections for neat hairlines
- Tighten knots to prevent slipping
- Secure loose ends by trimming or gluing
Sewing Methods
Sewing yarn hair gives strong hold and neat style. Use a needle and thread to attach yarn strands to the doll’s head.
Stitch the yarn through the doll’s scalp or wig base. Secure each yarn bundle with a few tight stitches to keep it in place.
- Choose a thread color that matches the yarn
- Use small, close stitches for durability
- Double stitch for extra strength
- Trim excess yarn after sewing
Using Glue Safely
Glue can quickly attach yarn hair but needs care. Use fabric or craft glue that dries clear and is safe for dolls.
Apply glue in small amounts on the doll’s scalp. Press yarn strands firmly onto the glue and let it dry completely.
- Test glue on a small area first
- Avoid excess glue to prevent mess
- Work in a well-ventilated space
- Keep glue away from doll’s face
Styling Yarn Hair
Yarn hair gives dolls a fun and colorful look. Styling it helps make each doll unique.
You can trim, braid, curl, or add volume to yarn hair. Each style changes the doll’s appearance.
Trimming And Shaping
Use scissors to trim yarn hair to the right length. Cut small amounts to avoid mistakes.
Shape the hair by cutting it straight, in layers, or with angled cuts. This creates different styles.
- Trim ends evenly for a neat look
- Cut layers for more texture
- Shape bangs by cutting shorter strands
Creating Braids And Curls
Braids make yarn hair look tidy and stylish. Divide yarn strands into three parts and weave them together.
To curl yarn, wrap strands around a pencil or stick. Spray with water and let dry to keep curls.
- Make tight or loose braids based on the doll’s look
- Use small bands to hold braids in place
- Curl yarn gently for soft waves
Adding Volume And Texture
Fluff yarn hair by separating strands with your fingers. This adds volume and makes hair fuller.
You can add texture by teasing yarn or combining different yarn types. Thick and thin yarns create a natural look.
- Pull strands apart gently to add volume
- Use yarn with different thicknesses for texture
- Mix colors for a more lively style
Maintaining Yarn Hair
Yarn hair on dolls needs care to stay neat and beautiful. Proper maintenance keeps the yarn soft and tidy. This guide helps you maintain yarn hair well.
Simple actions like cleaning, fixing loose strands, and storing dolls correctly make yarn hair last longer. Follow these tips to keep your doll looking great.
Cleaning Tips
Keep yarn hair clean by gently dusting it often. Use a soft brush or a clean cloth to remove dirt and dust. Avoid using water too much, as it can tangle the yarn.
- Use a soft toothbrush or makeup brush to clean yarn hair
- Spot clean with a damp cloth if needed
- Do not soak the yarn hair in water
- Allow yarn to air dry if it gets wet
Repairing Loose Strands
Loose strands may appear after play or storage. Fix them quickly to prevent more damage. You can sew loose yarn back or tie small knots to keep it in place.
| Problem | Solution |
| Strands pulling out | Use a needle and thread to secure yarn |
| Frayed yarn ends | Trim frayed parts carefully with scissors |
| Knots in yarn | Gently untangle with fingers or needle |
Storing Dolls Properly
Store dolls in a clean, dry place to protect yarn hair. Avoid tight containers that can crush or tangle the hair. Cover dolls with a soft cloth to keep dust away.
- Keep dolls in upright positions
- Use breathable fabric covers for dust protection
- Avoid direct sunlight to prevent yarn fading
- Separate dolls to prevent yarn tangling

Credit: www.virtualdollconvention.com

Credit: www.youtube.com
Frequently Asked Questions
How Do You Prepare Yarn For Doll Hair?
Cut yarn strands to the desired hair length. Separate strands evenly for a natural look. Use soft, colorful yarn for best results.
What Glue Works Best For Attaching Yarn Hair?
Use fabric glue or hot glue for strong adhesion. Apply glue evenly on the doll’s scalp. Press yarn firmly and let it dry completely.
Can I Style Yarn Hair Like Real Hair?
Yes, you can braid, curl, or trim yarn hair. Use water or steam carefully for shaping. Avoid heat tools as they can damage yarn.
How Much Yarn Is Needed For Doll Hair?
Amount depends on hair thickness and doll size. Generally, 50 to 100 strands create full hair. Adjust quantity based on desired volume and style.
Conclusion
Making yarn hair for dolls can be fun and simple. Choose the right yarn color and length first. Cut and attach strands carefully for a neat look. Take your time to create even layers. Yarn hair gives dolls a soft, unique style.
Practice helps improve your technique quickly. Enjoy crafting and bring your dolls to life!




