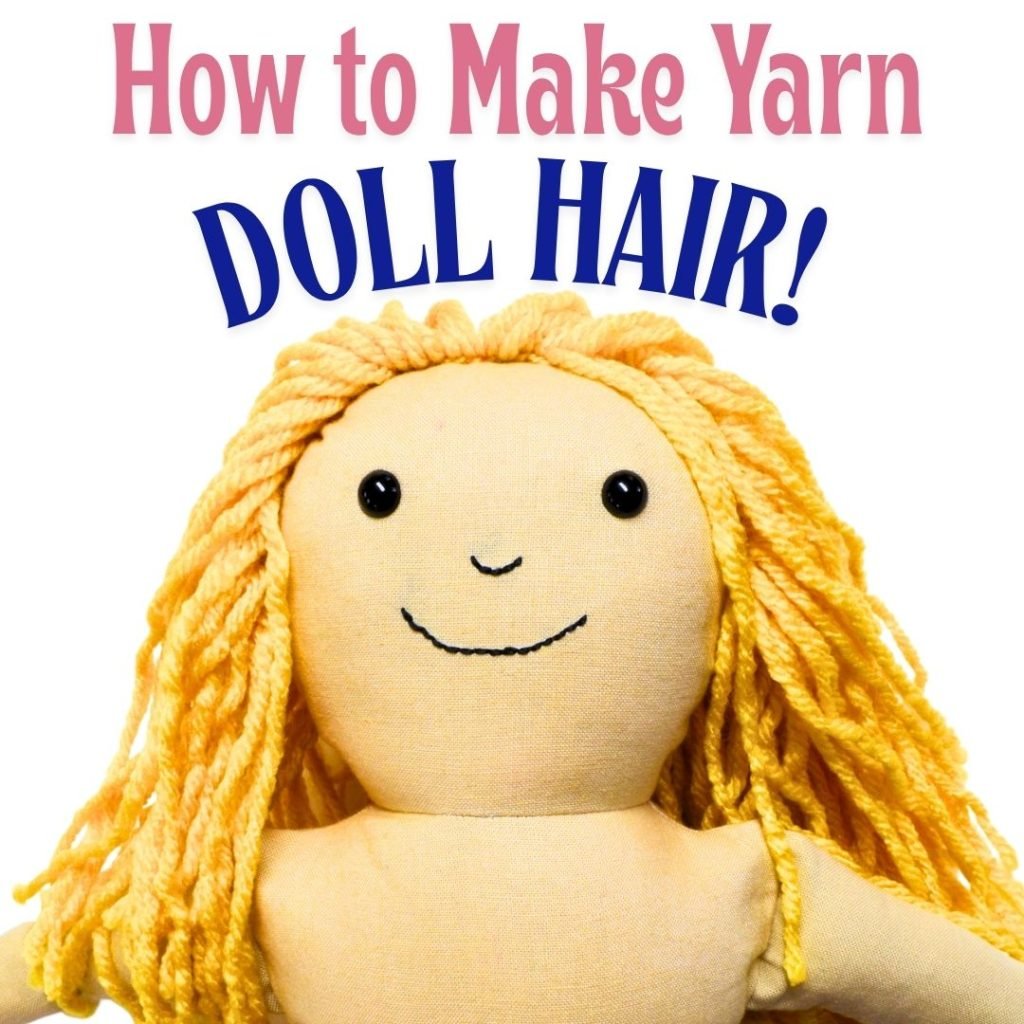
Have you ever wanted to create something simple, fun, and charming with your own hands? Making yarn dolls is a perfect way to do just that.
Not only are these dolls easy to craft, but they also bring a sense of joy and creativity that you can share with friends and family. In this guide, you’ll discover step-by-step instructions that anyone can follow, no matter your experience level.
Ready to turn colorful yarn into a cute little doll? Let’s get started and unlock your crafty side!
Materials Needed
Making yarn dolls is a fun and simple craft project. You only need a few materials to get started. This guide will help you gather the right supplies for your yarn dolls.
Choosing the right yarn and having extra tools can make your doll look neat and last longer. Let’s look at the types of yarn and other supplies you will need.
Types Of Yarn
Yarn comes in many colors and textures. For yarn dolls, pick yarn that is soft and easy to work with. Cotton and acrylic yarns are great choices because they are smooth and hold their shape well.
- Cotton yarn – soft and natural
- Acrylic yarn – bright colors and durable
- Wool yarn – warm but can be fuzzy
- Blended yarn – mix of fibers for strength
Additional Supplies
Besides yarn, you will need a few other tools to help you make your doll. These supplies make the process easier and help finish your doll nicely.
| Supply | Purpose |
| Scissors | Cut yarn cleanly |
| Cardboard | Wrap yarn to form doll body |
| Glue | Secure yarn ends and parts |
| Markers | Add faces or decorations |
| Rubber bands or string | Tie yarn sections tightly |
Preparing The Yarn
Making yarn dolls starts with preparing the yarn carefully. Proper yarn preparation helps create neat and strong dolls.
Take your time to measure, cut, and organize yarn strands before assembling the doll. This makes the process easier.
Measuring And Cutting
Measure yarn strands to the right length for your doll. Use a ruler or tape measure for accuracy.
Cut multiple strands at once to save time. Keep the ends even to make tying easier.
- Decide the doll size before measuring
- Use sharp scissors to avoid frayed ends
- Cut yarn strands in bundles for uniform length
Organizing Yarn Strands
Sort yarn strands by color and length after cutting. This keeps your workspace tidy and speeds up the making process.
Use small containers or clips to hold strands together. It stops tangling and makes it easy to pick strands.
- Group strands by color or size
- Wrap bundles with rubber bands or yarn ties
- Place bundles in bowls or boxes for easy reach
Forming The Doll Body
Making a yarn doll starts with shaping its body. This step gives the doll its basic form. Careful work here helps the doll look neat and strong.
The body has two main parts: the head and the torso. Each part needs a special way to make it look right. Below are simple ways to form both parts.
Creating The Head
Start by wrapping yarn tightly to form a round shape. This will be the head of your doll. Make sure the yarn is even and firm.
- Wrap yarn around your fingers about 20 times.
- Carefully slide the loops off your fingers.
- Tie a piece of yarn around the loops to close the head.
- Adjust the yarn to make the head round and smooth.
Shaping The Torso
The torso is the doll’s body below the head. Use yarn strands to form the arms and body. Keep the yarn tight for a strong shape.
| Part | How to Shape | Tip |
| Arms | Wrap yarn around fingers, then tie at ends | Make them even in length |
| Body | Wrap yarn tightly below the head | Use firm tying to hold yarn in place |
| Legs | Fold yarn strands and tie at bottom | Keep legs straight and equal |

Credit: www.virtualdollconvention.com
Making The Arms And Legs
Creating arms and legs is an important part of making yarn dolls. These limbs bring the doll to life and give it character. You will learn how to wrap yarn for the limbs and then attach them securely to the doll’s body.
This guide focuses on simple steps to form and attach the arms and legs with basic materials. Follow these instructions carefully for the best results.
Wrapping Techniques
Use yarn to create strong and even arms and legs. Wrapping yarn tightly ensures the limbs hold their shape. You need to wrap yarn several times around your fingers or a small object.
- Cut a long piece of yarn, about 12 inches.
- Wrap the yarn around two fingers 10 to 15 times.
- Slide the wrapped yarn off your fingers carefully.
- Secure the middle with a small piece of yarn tied tightly.
- Cut the loops on both ends to form the limbs.
Attaching Limbs
Attach the arms and legs to the doll’s body by tying or gluing. Make sure the limbs are even and positioned well. You can use yarn or glue to fix them firmly.
| Method | Instructions | Tips |
| Tying | Thread yarn through the limb center and body. Tie tight knots to hold in place. | Double knot for extra security. |
| Gluing | Apply craft glue on the limb ends and press onto the body. Let dry fully. | Use fabric glue for stronger hold. |
| Combination | Tie first, then add glue to reinforce the attachment. | Great for active dolls that move a lot. |
Adding Details
Adding details makes your yarn dolls look special and unique. These small touches bring the dolls to life.
You can add details by creating facial features and dressing your doll with clothing and accessories.
Facial Features
Facial features give your doll expression and character. Use yarn, thread, or small craft items to make eyes, nose, and mouth.
Embroidery thread works well for simple eyes and smiles. You can also use tiny beads or buttons for eyes.
- Sew small black beads or buttons for eyes
- Use embroidery thread to stitch a smile or nose
- Glue tiny yarn pieces for eyebrows or hair accents
- Keep faces simple for a cute look
Clothing And Accessories
Clothing and accessories add fun and style to your yarn doll. Use fabric scraps, ribbons, or yarn to create outfits.
You can make small hats, scarves, or dresses. Simple ties or wraps work well for clothes on yarn dolls.
- Wrap yarn to make scarves or belts
- Cut fabric scraps for skirts or shirts
- Create tiny hats using felt or yarn
- Add small beads or buttons as decorations

Credit: homanathome.com
Finishing Touches
Yarn dolls are fun and easy to make. Once the basic shape is done, you need to add the finishing touches. These final steps give your doll a neat and polished look.
Proper finishing ensures your yarn doll lasts longer and looks tidy. Pay attention to trimming excess yarn and securing knots firmly.
Trimming Excess Yarn
Trimming excess yarn gives your doll a clean appearance. Hold your doll carefully to avoid cutting the wrong strands. Use sharp scissors for a precise cut.
Check all sides of the doll for loose ends. Trim any uneven strands to make your doll look smooth and even.
- Check for loose strands
- Use sharp scissors
- Trim evenly for a neat finish
Securing Knots
Securing knots is vital to keep your yarn doll intact. Tie all knots firmly to prevent unraveling. Double knots add extra security.
After tying, give the knots a gentle tug to check their tightness. Secure knots ensure the doll maintains its shape over time.
- Tie knots firmly
- Use double knots for security
- Gently tug to check tightness
Tips For Customizing Dolls
Making yarn dolls is fun and creative. You can easily customize them. Use these tips to make your dolls unique.
Try different colors and designs. This adds a special touch to your yarn dolls.
Using Different Yarn Colors
Colors can change the look of your yarn dolls. Choose colors that fit the doll’s style.
Mixing colors can make the doll more interesting. Try using two or more colors.
- Bright colors are fun and cheerful
- Pastel colors give a soft look
- Dark colors can make the doll look elegant
Incorporating Unique Designs
Unique designs make your yarn dolls stand out. Add features like hats or scarves to your dolls.
Think about what makes each doll special. It could be a pattern or a special accessory.
| Design Idea | Effect |
| Striped patterns | Adds texture and detail |
| Miniature hats | Gives a playful look |

Credit: leahday.com
Care And Maintenance
Yarn dolls are delicate and need gentle care to last long. Proper cleaning and storage keep them looking nice.
Taking time to care for your yarn dolls helps avoid damage and keeps them soft and colorful.
Cleaning Yarn Dolls
Clean yarn dolls by hand to avoid pulling or fraying the yarn. Use mild soap and cold water for washing.
Do not scrub hard. Gently press the doll to remove dirt. Rinse well and let it air dry.
- Fill a bowl with cold water and mild soap
- Dip a soft cloth or sponge in the water
- Gently wipe the yarn doll surface
- Rinse the cloth with clean water and wipe again
- Pat dry with a towel
- Air dry the doll completely before storing
Storage Suggestions
Store yarn dolls in a dry, cool place away from direct sunlight. This prevents fading and damage.
Keep dolls in a breathable container to avoid moisture buildup. Avoid plastic bags that trap moisture.
- Use cloth bags or boxes with ventilation
- Keep away from heat sources and sunlight
- Store dolls flat or upright to keep shape
- Check dolls regularly for dust or damage
Frequently Asked Questions
What Materials Are Needed To Make Yarn Dolls?
To make yarn dolls, you need yarn, scissors, a cardboard piece, and optional decorations. Yarn choice affects doll texture. Cardboard helps wrap yarn evenly. Scissors cut strands neatly. Decorations like beads add personality to your doll.
How Do You Start Making A Yarn Doll?
Start by wrapping yarn around a cardboard piece about 20-30 times. Slide the yarn off carefully. Tie a strand at one end to form the doll’s head. This creates the base shape for the yarn doll.
Can Kids Safely Make Yarn Dolls?
Yes, kids can safely make yarn dolls with adult supervision. Scissors should be child-friendly. Yarn crafting improves fine motor skills. It’s a fun, creative activity suitable for most ages.
How Long Does It Take To Make A Yarn Doll?
Making a yarn doll usually takes 15 to 30 minutes. Time varies by complexity and decoration. Beginners may take longer, but it’s a quick craft to enjoy anytime.
Conclusion
Making yarn dolls is a fun and simple craft. You only need a few materials and some patience. Each step helps you create something special by hand. These dolls can be gifts or decorations. Crafting also relaxes your mind and sparks creativity.
Try making different styles and colors for variety. Enjoy the process and be proud of your work. Keep practicing to improve your skills. Yarn dolls bring joy and a personal touch to any space. Give it a try, and have fun crafting!




