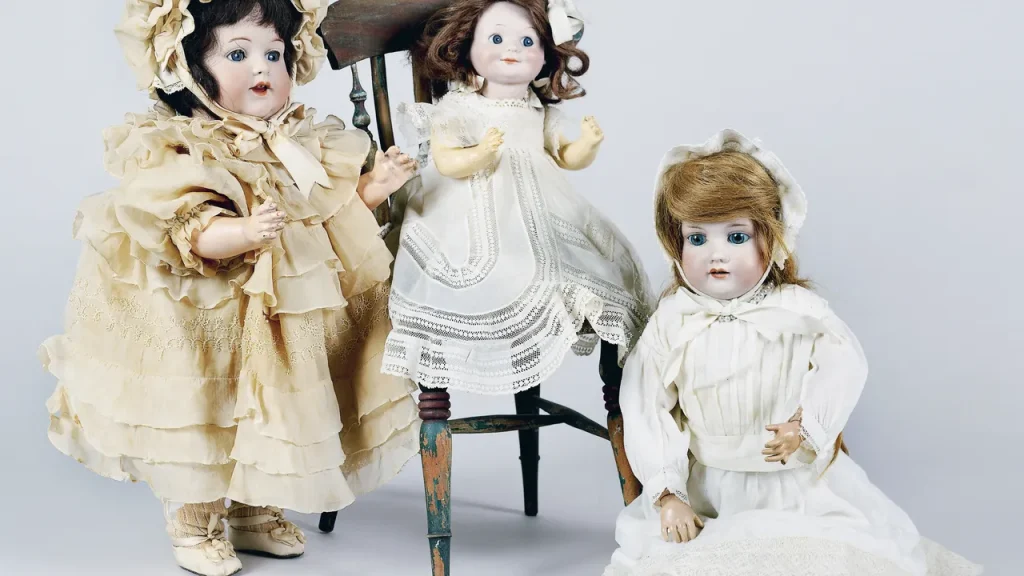
Have you ever dreamed of creating something delicate and beautiful with your own hands? Making porcelain dolls is a rewarding craft that lets you bring your imagination to life.
Whether you want a charming keepsake or a unique gift, learning how to make porcelain dolls can be easier than you think. In this guide, you’ll discover simple steps and tips to help you craft your very own porcelain doll.
Ready to turn your creativity into a timeless treasure? Let’s get started!

Credit: www.cruceroclick.com
Materials Needed
Making porcelain dolls requires specific materials to create a delicate and detailed look. You need to prepare all items before starting.
This guide will help you gather the right tools and supplies for making beautiful porcelain dolls.
Essential Tools
You need basic tools to shape and finish your porcelain doll parts. These tools help you work carefully and cleanly.
- Clay sculpting tools for shaping details
- Fine paintbrushes for painting faces
- Sandpaper or sanding sponges to smooth surfaces
- Small carving knives for trimming edges
- Mixing bowls for preparing porcelain slip
- Rolling pin to flatten clay evenly
- Wire cutters and pliers for doll assembly
Types Of Porcelain
You can use different porcelain types for your dolls. Each type affects the doll’s look and strength.
- Hard-paste porcelain:Very strong and durable, fired at high temperature.
- Soft-paste porcelain:Fired at lower temperature, smoother finish but less strong.
- Bone china porcelain:Contains bone ash, very white and translucent.
Additional Supplies
Besides tools and porcelain, you need other supplies to complete your doll project. These help with decoration and assembly.
- Porcelain slip or clay for molding parts
- Acrylic or oil paints for coloring the doll
- Gloss or matte varnish to protect paint
- Fabric and yarn for doll clothes and hair
- Glue suitable for ceramics and fabrics
- Wire and stuffing for doll limbs and body
- Fine sand to add texture if needed
Preparing The Workspace
Making porcelain dolls needs a clean and organized workspace. A tidy area helps you focus and work safely.
Prepare your space before starting. This prevents mistakes and keeps your materials safe.
Setting Up A Clean Area
Choose a flat surface with good light. Natural light is best for seeing details.
Clear the table or desk completely. Remove dust, dirt, and any clutter.
- Wipe the surface with a damp cloth
- Use a clean mat or cloth to protect your work
- Keep food and drinks away from the area
- Work in a well-ventilated room
Organizing Tools And Materials
Gather all tools and materials before you start. This saves time and prevents searching.
Arrange items neatly and close to your work area. Group similar tools together for easy access.
- Clay or porcelain powder
- Sculpting tools like knives and brushes
- Paints and sealants
- Water containers for cleaning brushes
- Soft cloths and paper towels
- Protective gloves and apron
Creating The Doll Head
Making a porcelain doll head takes care and skill. You start by shaping clay into the right form. Then, you add facial details to bring the doll to life.
This guide shows how to shape the clay, sculpt the face, and prepare the head for firing. Each step is important for a smooth, beautiful doll head.
Shaping The Clay
Begin with soft, clean porcelain clay. Roll the clay into a ball that fits your doll size. Use your fingers to form the basic head shape.
Make the head round and smooth. You can use simple tools like a small sponge or wooden sticks to refine the shape. Keep the clay moist so it stays easy to work with.
Sculpting Facial Features
Use small tools to add eyes, nose, and mouth. Start by pressing gently to make eye sockets. Shape the nose by pinching and smoothing clay.
Carve the lips carefully, showing the mouth’s curve. Add small details like eyelids and nostrils. Take your time to make the face look natural and soft.
- Use a needle tool for fine lines
- Smooth edges with a damp brush
- Check symmetry often
Drying And Firing Process
Let the shaped head dry slowly at room temperature. Drying too fast can cause cracks. Wait until the clay is completely hard and dry.
After drying, fire the head in a kiln. The firing makes the porcelain strong and white. Follow the kiln instructions for temperature and time to avoid damage.
- Dry in a cool, dry place
- Use slow temperature increase in kiln
- Cool down the kiln slowly after firing
Making The Body
Making the body of a porcelain doll is a careful process. It includes shaping the torso, limbs, and putting all parts together.
The body must look natural and have the right size. This helps your doll appear real and balanced.
Constructing The Torso And Limbs
Start by shaping the torso from clay or plaster. Make sure it is smooth and strong enough to hold the doll.
Next, create the limbs separately. Use molds to keep the shapes even. The arms and legs should match the size of the torso.
- Use soft clay for easy shaping
- Shape the torso with a flat back for support
- Make limbs hollow to avoid heavy weight
- Smooth all surfaces to avoid cracks
Assembling The Parts
After the torso and limbs dry, join them carefully. Use strong glue or wire to connect the parts.
Check each joint to make sure the limbs move well. The doll should hold poses without breaking.
- Attach limbs with small metal pins or wires
- Use glue made for porcelain or ceramics
- Test limb movement gently
- Let glue dry fully before handling
Ensuring Proper Proportions
Check the size of each part. The head, torso, and limbs must be balanced and fit well together.
Use simple measuring tools like a ruler or caliper to compare parts. This helps keep the doll looking natural.
- The torso is about twice the length of the head
- Arms reach mid-thigh when resting
- Legs are about half the total height
- Hands and feet match arm and leg sizes
Painting And Detailing
Painting and detailing are important steps in making porcelain dolls look beautiful. These steps bring life and character to the doll’s face and body.
Careful painting helps create a realistic and delicate appearance. Small details make each doll unique and special.
Applying Base Colors
Start by cleaning the porcelain surface to remove dust. Use soft brushes to apply the base colors evenly.
Choose light skin tones and paint the face and body in thin layers. Let each layer dry before adding the next one.
- Use water-based paints for easy layering
- Apply thin coats to avoid cracking
- Paint in a well-lit area for accuracy
Adding Facial Details
Add fine details like eyebrows, eyelashes, lips, and blush after the base dries. Use small, sharp brushes for precision.
Paint the eyes carefully to give the doll a lively look. Add tiny highlights in the eyes for sparkle.
- Draw thin lines for eyebrows and lashes
- Use soft pink or red for lips and cheeks
- Work slowly to avoid mistakes
Sealing The Paint
After painting, protect your work by sealing the paint. Use a clear matte or satin sealant to keep colors safe.
Spray or brush the sealant lightly. Let it dry completely before handling the doll to avoid smudges.
- Choose a sealant made for porcelain
- Apply thin coats for best protection
- Allow enough drying time between coats

Credit: wealthgang.com
Creating Hair And Clothing
Making porcelain dolls is a fun and creative hobby. Creating hair and clothing for your doll brings it to life. This guide will help you choose the right materials and design outfits.
Each step is important for making your doll look unique and beautiful. Let’s explore how to choose materials for hair and design clothes that fit your doll perfectly.
Choosing Materials For Hair
Picking the right hair for your doll is crucial. The material you choose affects how realistic your doll looks. Synthetic and natural fibers are popular choices.
Synthetic hair is easy to find and comes in many colors. Natural fibers like mohair give a more lifelike appearance.
- Synthetic hair: affordable and available in various shades
- Mohair: soft and natural looking
- Yarn: for a unique, textured style
Designing And Sewing Outfits
Designing outfits for your doll is a creative process. Start with simple designs and fabrics. Cotton is a great choice for beginners.
Sewing the clothes can be fun and rewarding. Use patterns or create your own designs. Always measure your doll to ensure a perfect fit.
- Use cotton for easy sewing
- Try basic patterns to start
- Measure your doll for accuracy
Final Assembly And Finishing Touches
After crafting each porcelain doll part, it’s time to bring them together. This stage focuses on adding hair, clothing, and accessories.
These final touches give your doll its unique look and personality. Let’s explore how to complete this process.
Attaching Hair And Clothes
Hair and clothing are essential for the doll’s appearance. Choose styles and colors that suit the doll’s theme.
- Select a wig or create hair with yarn or thread.
- Glue or sew the hair onto the doll’s head.
- Dress the doll in clothes, ensuring a good fit.
Adding Accessories
Accessories enhance the doll’s charm and individuality. Consider adding small items like hats, shoes, or jewelry.
Custom accessories can be made using beads, fabric scraps, and wire.
Final Inspection
Inspect your doll carefully to ensure all parts are secure. Check that everything is in place and looks neat.
| Item | Check |
| Hair | Securely attached |
| Clothes | Fitted properly |
| Accessories | Firmly placed |

Credit: www.youtube.com
Care And Maintenance
Porcelain dolls are delicate and need special care to stay beautiful. Proper cleaning and storage keep them safe from damage.
Follow simple steps to protect your dolls and enjoy them for many years.
Cleaning Tips
Clean your porcelain dolls gently to avoid scratches or cracks. Use soft materials and avoid harsh chemicals.
- Dust the doll with a soft brush or cloth regularly.
- Use a damp cloth with mild soap for light stains.
- Dry the doll with a soft towel after cleaning.
- Avoid soaking porcelain parts in water.
- Do not use bleach or strong cleaners.
Storage Recommendations
Store porcelain dolls in a safe place to prevent damage from light, dust, or moisture.
| Storage Tip | Description |
| Keep away from direct sunlight | Sunlight can fade paint and fabric. |
| Use acid-free tissue paper | Wrap dolls to protect from dust and moisture. |
| Store in a cool, dry place | Humidity can cause mold and damage. |
| Use a sturdy box or display case | Prevents accidental falls or breaks. |
| Avoid stacking dolls | Stacking can cause pressure and cracks. |
Frequently Asked Questions
What Materials Are Needed To Make Porcelain Dolls?
To make porcelain dolls, you need porcelain clay, sculpting tools, paint, brushes, and doll eyes. Additional items include fabric for clothing and sealant. These materials help create detailed and durable dolls with a smooth finish.
How Long Does It Take To Make A Porcelain Doll?
Making a porcelain doll typically takes several days. Sculpting, drying, firing, painting, and assembling all require time. Patience is key to achieving quality craftsmanship and fine details.
Can Beginners Successfully Make Porcelain Dolls?
Yes, beginners can make porcelain dolls with practice. Starting with simple designs and following tutorials helps build skills. Using quality materials and tools also improves results for newcomers.
How Do You Paint Realistic Features On Porcelain Dolls?
Use fine brushes and high-quality paints for realistic features. Apply thin layers, allowing drying between coats. Focus on details like eyes, lips, and blush to bring the doll to life.
Conclusion
Making porcelain dolls takes patience and care. Each step helps you create a special doll. Use the right materials and follow the process closely. Practice improves your skill and results. Enjoy the creative journey and have fun crafting. Your handmade porcelain doll will bring joy and pride.
Keep trying and watch your dolls come to life. This craft offers a calm, rewarding hobby to explore.




