Have you ever wanted to create something truly special with your own hands? Making crochet dolls is a fun and rewarding way to bring your creativity to life.
Whether you’re a beginner or have some experience with crochet, this guide will help you craft charming dolls step by step. Imagine giving a handmade doll as a gift or keeping one that you made yourself. Ready to discover how simple and enjoyable it can be?
Let’s dive into the world of crochet dolls and unlock your creative potential.

Credit: theloopylamb.com
Materials Needed
Making crochet dolls requires a few basic materials. You will need yarn, hooks, stuffing, and some accessories. These materials help you create a cute and soft doll.
Choosing the right tools and supplies makes the process easier. Let’s look at what you need for each part.
Yarns And Colors
Select yarn that is soft and easy to work with. Cotton or acrylic yarns are good choices. Pick colors that suit the doll’s design.
- Light colors for skin tone
- Bright colors for clothes
- Neutral colors for hair
- Different shades for details
Crochet Hooks
Use crochet hooks that match your yarn weight. The right size helps you make tight stitches. Tight stitches keep the stuffing inside the doll.
| Yarn Weight | Recommended Hook Size |
| Light (3) | 3.5 mm – 4.5 mm |
| Medium (4) | 4.5 mm – 5.5 mm |
| Bulky (5) | 6.5 mm – 9 mm |
Stuffing And Accessories
Stuff the doll with soft filling to give it shape. Use fiberfill or cotton stuffing. Accessories add character to your doll.
- Fiberfill stuffing
- Safety eyes or buttons
- Embroidery thread for details
- Small ribbons or fabric pieces
Basic Crochet Stitches
Crochet dolls look charming and are fun to make. Learning basic stitches helps create beautiful shapes.
This guide covers three simple stitches to start making crochet dolls: chain stitch, single crochet, and slip stitch.
Chain Stitch
The chain stitch forms the base of most crochet work. It is the first stitch you learn as a beginner.
- Make a slip knot on your hook.
- Yarn over the hook.
- Pull the yarn through the loop on the hook.
- Repeat to make a chain of desired length.
Single Crochet
Single crochet is a tight stitch used to build the body of crochet dolls. It creates a dense fabric.
| Step | Action |
| 1 | Insert hook into stitch. |
| 2 | Yarn over and pull through stitch. |
| 3 | Yarn over and pull through both loops on hook. |
Slip Stitch
Slip stitch joins parts or moves the yarn without adding height. It is useful for finishing edges.
To make a slip stitch:
- Insert hook into the stitch.
- Yarn over and pull through both the stitch and loop on hook.
Creating The Doll Body
Making a crochet doll body is fun and rewarding. You need to work carefully to shape each part well.
This guide will show how to start the head, shape the torso, and make the arms and legs.
Starting The Head
Begin with a magic ring to make the head’s base. Crochet in rounds to form a round shape. Increase stitches to widen the head, then decrease to close it.
- Make a magic ring with 6 single crochets
- Increase stitches every round to form a sphere
- Keep the shape even by counting stitches
- Stuff the head with fiberfill as you go
- Decrease stitches to close the head
Shaping The Torso
The torso connects the head to the limbs. It should be firm and shaped like a small cylinder or pear. Use simple stitches to make it smooth and tight.
| Row | Stitch Count | Notes |
|---|---|---|
| 1 | 6 sc | Start with a magic ring |
| 2 | 12 sc | Increase every stitch |
| 3-7 | 12 sc | Work even rounds |
| 8 | 6 sc | Decrease to narrow waist |
| 9-12 | 6 sc | Work even rounds |
Making The Arms And Legs
Arms and legs are similar in shape. Use a long tube for legs and a shorter one for arms. Stuff lightly to keep them soft.
- Crochet a small tube for each limb
- Use fewer stitches for arms, more for legs
- Stuff limbs lightly with fiberfill
- Sew limbs to the torso securely
- Shape hands and feet by changing stitch count
Assembling The Doll
Assembling a crochet doll can be a fun and rewarding task. It involves attaching the limbs and sewing the parts together carefully.
Understanding how to put together each piece is essential for a neat finish. Follow these steps to assemble your crochet doll easily.
Attaching Limbs
Attaching the limbs is an important step in making your crochet doll. You need to ensure they are secure and properly aligned.
First, position the arms and legs on the doll’s body. Use pins to hold them in place if needed.
- Thread a needle with matching yarn.
- Start sewing the limb to the body using whip stitches.
- Go around the limb in small, tight stitches.
- Double-check the alignment as you sew.
Sewing The Parts Together
Sewing all the parts together is the final step in assembling your doll. It brings the entire project to life.
Begin by sewing the head to the body. Make sure the head is centered and secure.
| Body Part | Suggested Stitch |
| Head to Body | Backstitch |
| Limbs to Body | Whip Stitch |
| Eyes and Nose | Embroidery Stitch |
Once all parts are attached, check for any loose stitches. Secure them to ensure durability.
Adding Facial Features
Adding facial features to your crochet dolls brings them to life. It makes them unique and full of character.
There are various methods to add eyes and mouths to your dolls. Each method gives a different look and feel.
Embroidering Eyes And Mouth
Embroidering is a simple way to add eyes and a mouth. You will need yarn or embroidery thread and a needle.
- Choose thread colors that stand out against the doll’s face.
- Use a backstitch for a neat and clean look.
- Start with the eyes, then move to the mouth.
- Keep stitches small for a more delicate appearance.
Attaching Safety Eyes
Safety eyes are a popular choice for crochet dolls. They are easy to attach and come in different sizes and colors.
To attach safety eyes:
- Insert the eye through the crochet fabric.
- Secure it with the washer from the inside.
- Ensure the eyes are tight and secure.
- Position them symmetrically for a balanced look.

Credit: theloopylamb.com
Designing Hair Styles
Creating hair styles is a key part of making crochet dolls look unique. Choosing the right yarn and technique helps bring your doll to life.
You can use different yarn textures and colors to match the doll’s personality. Let’s explore some ways to work with yarn and crochet hair caps.
Using Yarn For Hair
Yarn is the most popular material for doll hair. It is soft, easy to work with, and comes in many colors. You can create straight, curly, or braided hair using yarn.
- Choose yarn that matches the hair color you want.
- Use thin yarn for fine hair and thick yarn for thick hair.
- Cut yarn strands to the length needed for the doll’s hairstyle.
- Attach yarn strands by knotting or sewing them onto the doll’s head.
- Style the yarn hair by braiding, curling, or trimming.
Crocheting Hair Caps
Crocheting a hair cap is a neat way to add hair to your doll. It acts like a wig you can place on the doll’s head. This method keeps hair secure and easy to style.
| Step | Description |
| 1 | Measure the doll’s head size for the cap. |
| 2 | Crochet a small circle to fit the head’s top. |
| 3 | Work in rounds, increasing stitches evenly. |
| 4 | Stop when the cap reaches the hairline. |
| 5 | Attach yarn strands to the cap for hair. |
| 6 | Style the hair as desired. |
Dressing The Doll
Dressing your crochet doll adds personality and charm. Clothes make the doll look complete and fun.
You can create many outfits using simple patterns and small accessories. This guide helps you start.
Simple Clothes Patterns
Use basic shapes like rectangles and circles for easy clothes. These shapes fit most doll sizes well.
Start with a simple dress or shirt. Use single or double crochet stitches for smooth fabric.
- Make a rectangle for a dress, then fold and sew the sides
- Create a small circle for a skirt with a drawstring waist
- Use chain stitches for straps and sleeves
- Add buttons or snaps to close shirts or jackets
Accessories And Embellishments
Accessories add style and detail to your doll’s outfit. They make your doll unique and lively.
Small items like hats, scarves, or bags are quick to crochet. Embellishments like beads or embroidery add charm.
- Crochet tiny hats or bonnets for cute headwear
- Make scarves using simple stitches or fringe
- Add small bags with a chain stitch strap
- Use beads as buttons or decorate clothes
- Embroidery can create faces or patterns on outfits
Tips For Perfect Results
Making crochet dolls is fun and creative. Small details make big differences in your doll’s look.
Using the right materials and techniques helps you create a neat and strong doll. Here are some tips for better results.
Choosing The Right Yarn
Select yarn that is soft and easy to work with. Cotton yarn is a great choice for crochet dolls.
Yarn thickness affects the doll’s size and shape. Thicker yarn makes bigger dolls and thinner yarn makes smaller, detailed dolls.
- Pick smooth yarn to avoid splitting
- Choose colors that suit your doll design
- Use yarn that holds shape well
- Check yarn weight for matching your pattern
Maintaining Consistent Tension
Keep your yarn tension even while crocheting. This makes your stitches look uniform and neat.
If tension is too tight, the doll will be stiff and hard to shape. If it is too loose, the doll will look floppy.
- Hold the yarn the same way every time
- Practice to find a comfortable tension
- Check your stitches often for uniform size
- Adjust tension if stitches look too tight or loose
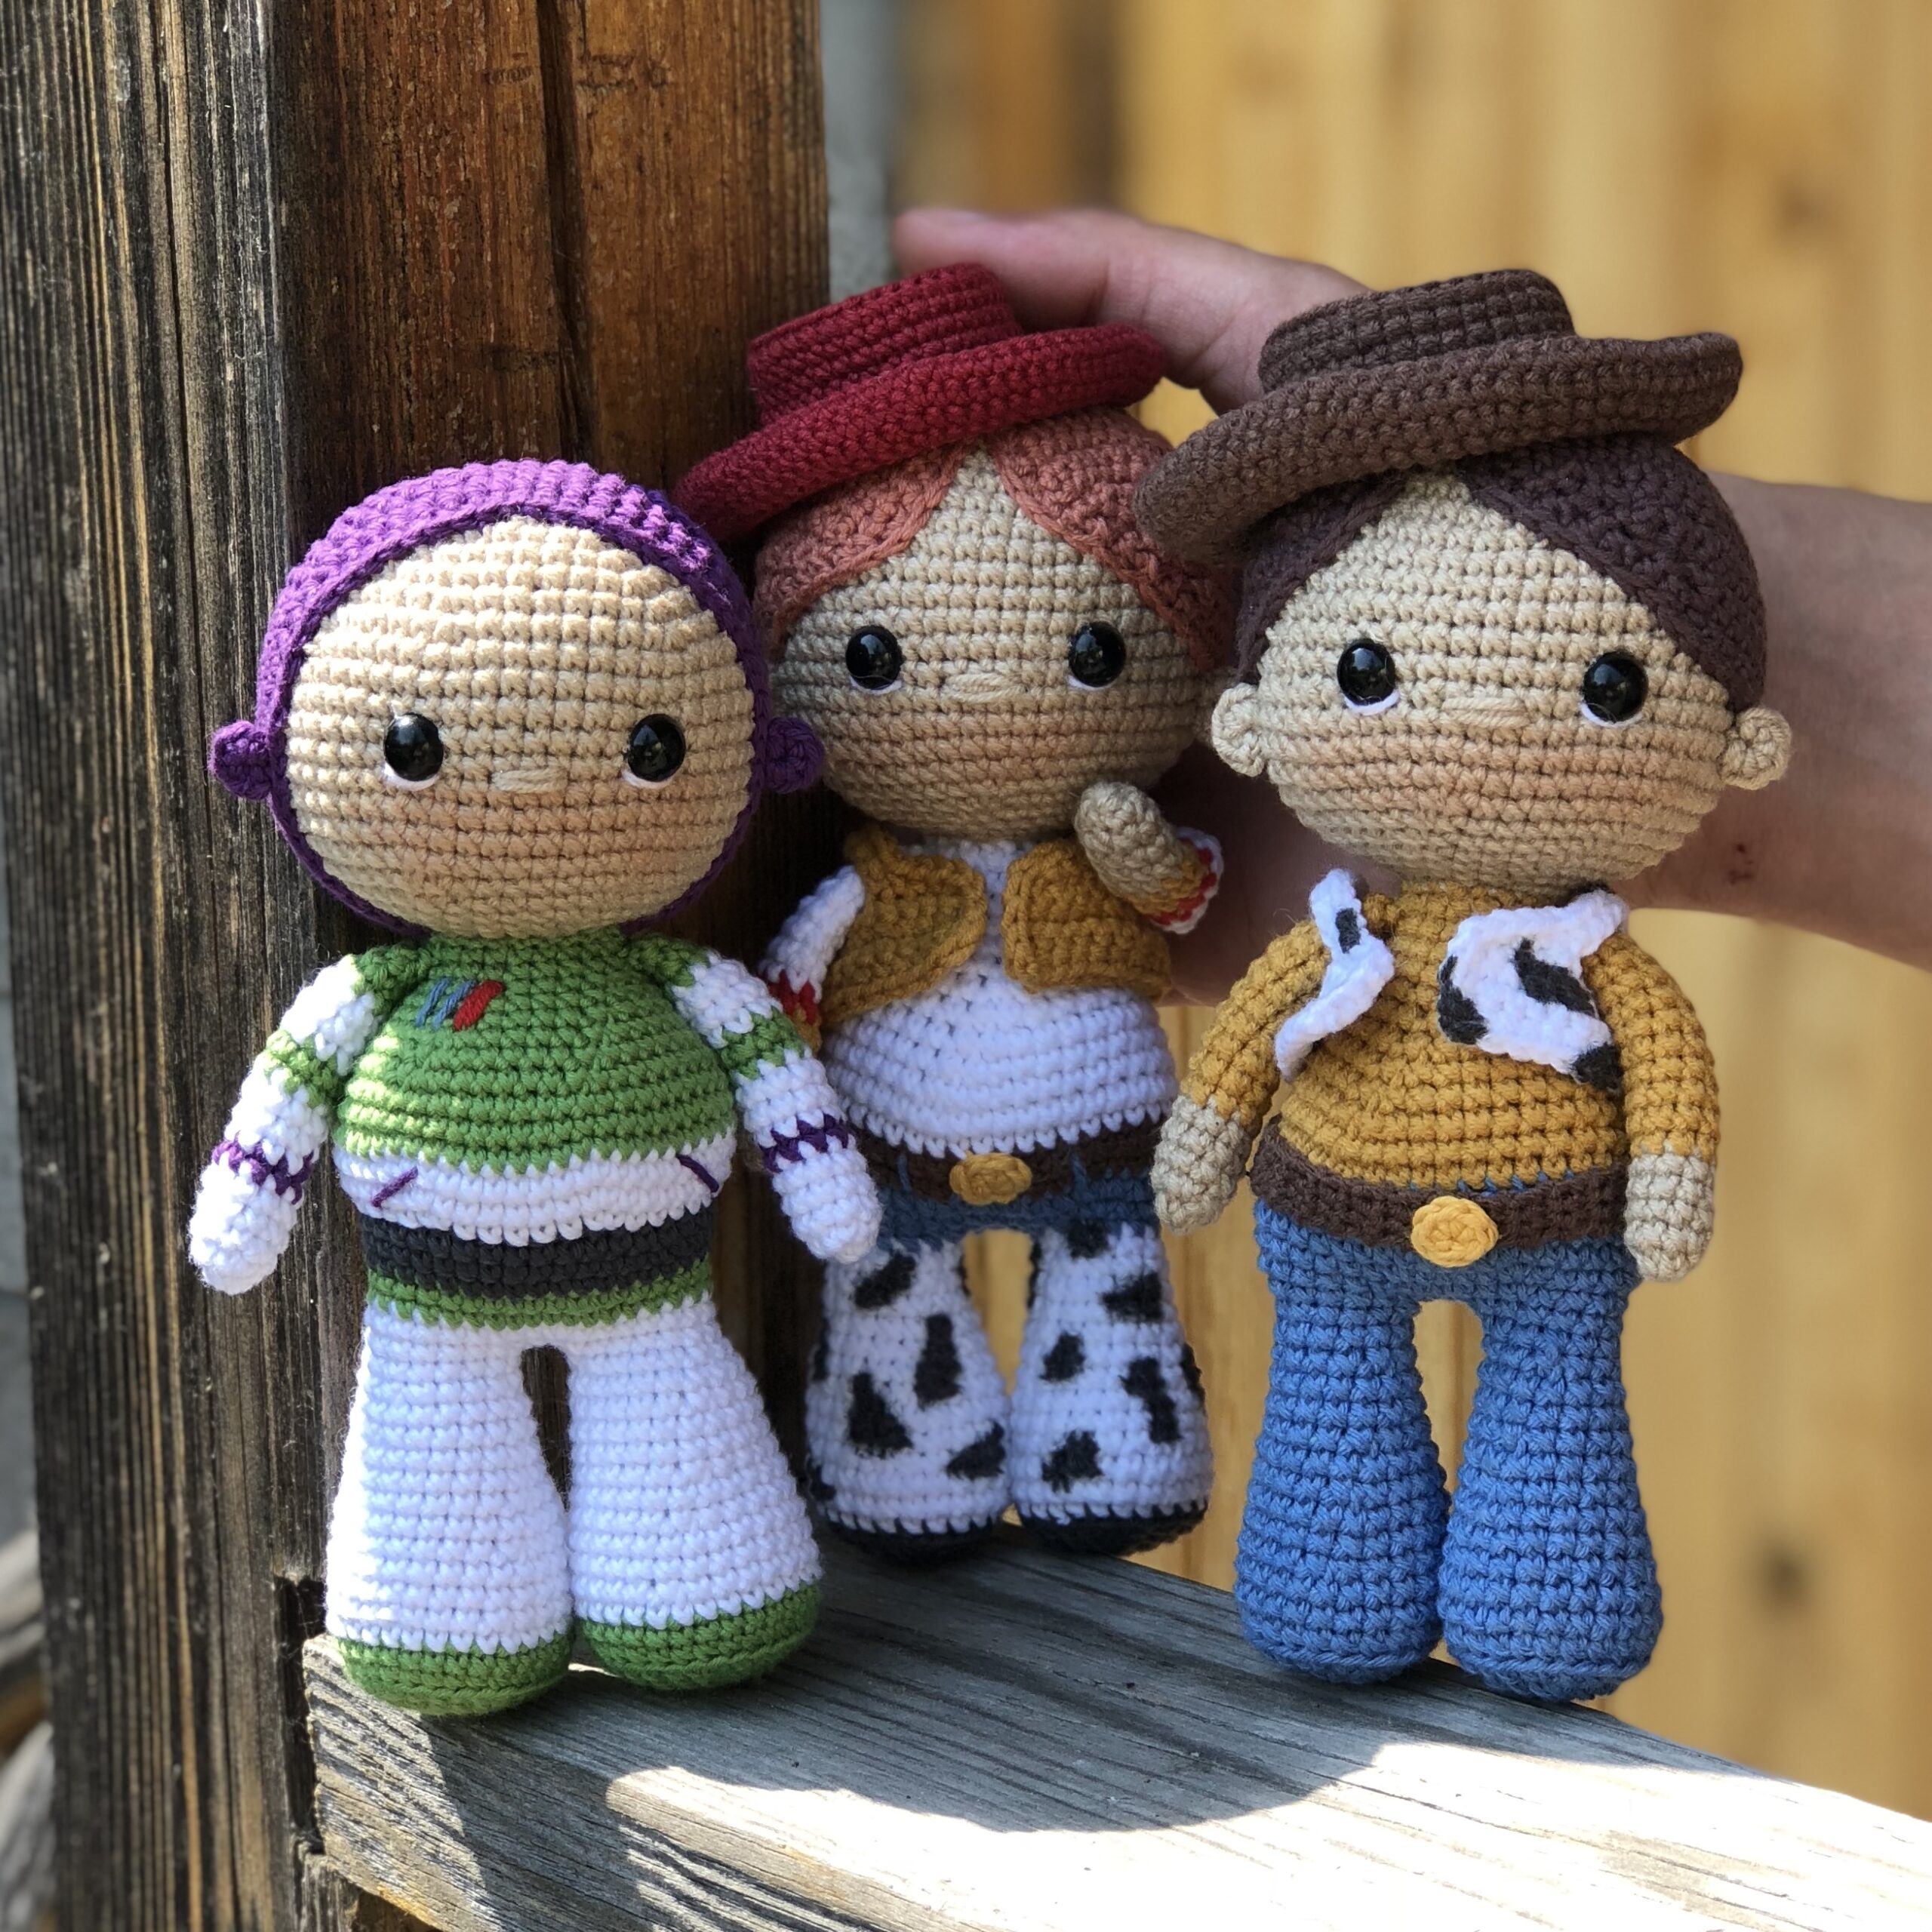
Credit: dailydoll.shop
Frequently Asked Questions
What Materials Do I Need To Make Crochet Dolls?
You need yarn, crochet hooks, stuffing, safety eyes, and a yarn needle. Choose soft, durable yarn for best results. These basic tools help create detailed and sturdy crochet dolls. Optional accessories can enhance the doll’s appearance.
How Long Does It Take To Crochet A Doll?
Crocheting a doll typically takes 4 to 8 hours. The time varies based on complexity and skill level. Beginners may take longer, while experienced crafters finish faster. Practice speeds up the process.
Which Crochet Stitches Are Best For Making Dolls?
Single crochet and slip stitch are ideal for crochet dolls. These stitches create a tight fabric to hold stuffing well. Using consistent tension ensures smooth, even stitches. Combining stitches adds texture and detail.
Can Beginners Easily Learn To Crochet Dolls?
Yes, beginners can learn with simple patterns and tutorials. Start with basic shapes and stitches to build confidence. Practice regularly to improve skills and create more complex dolls over time.
Conclusion
Making crochet dolls brings joy and creativity together. Each stitch builds a unique and charming doll. Practice helps improve your skills and confidence. Choose colors and designs that make you happy. Share your handmade dolls with friends or family. Keep trying and enjoy the process every step.
Crochet dolls can become special gifts or keepsakes. Start today and watch your creations come alive. Simple tools and patience are all you need. Happy crocheting!