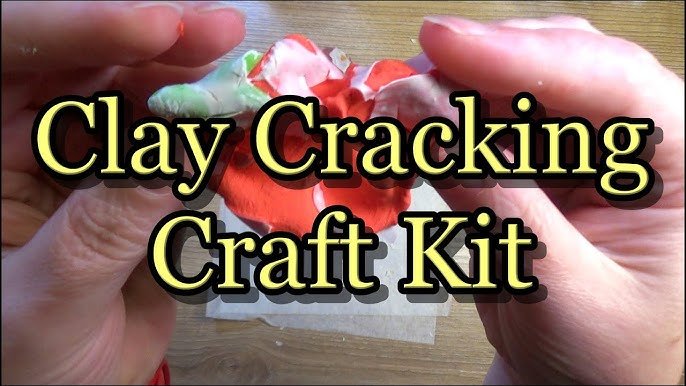
Are you ready to unleash your creativity and have fun at the same time? Making your own craft kit is easier than you think, and it gives you everything you need to start creating right away.
Imagine opening a box filled with all your favorite supplies, perfectly organized and ready to inspire you. You’ll discover simple steps to build a craft kit that fits your style and sparks your imagination. Keep reading, and you’ll be crafting like a pro in no time!
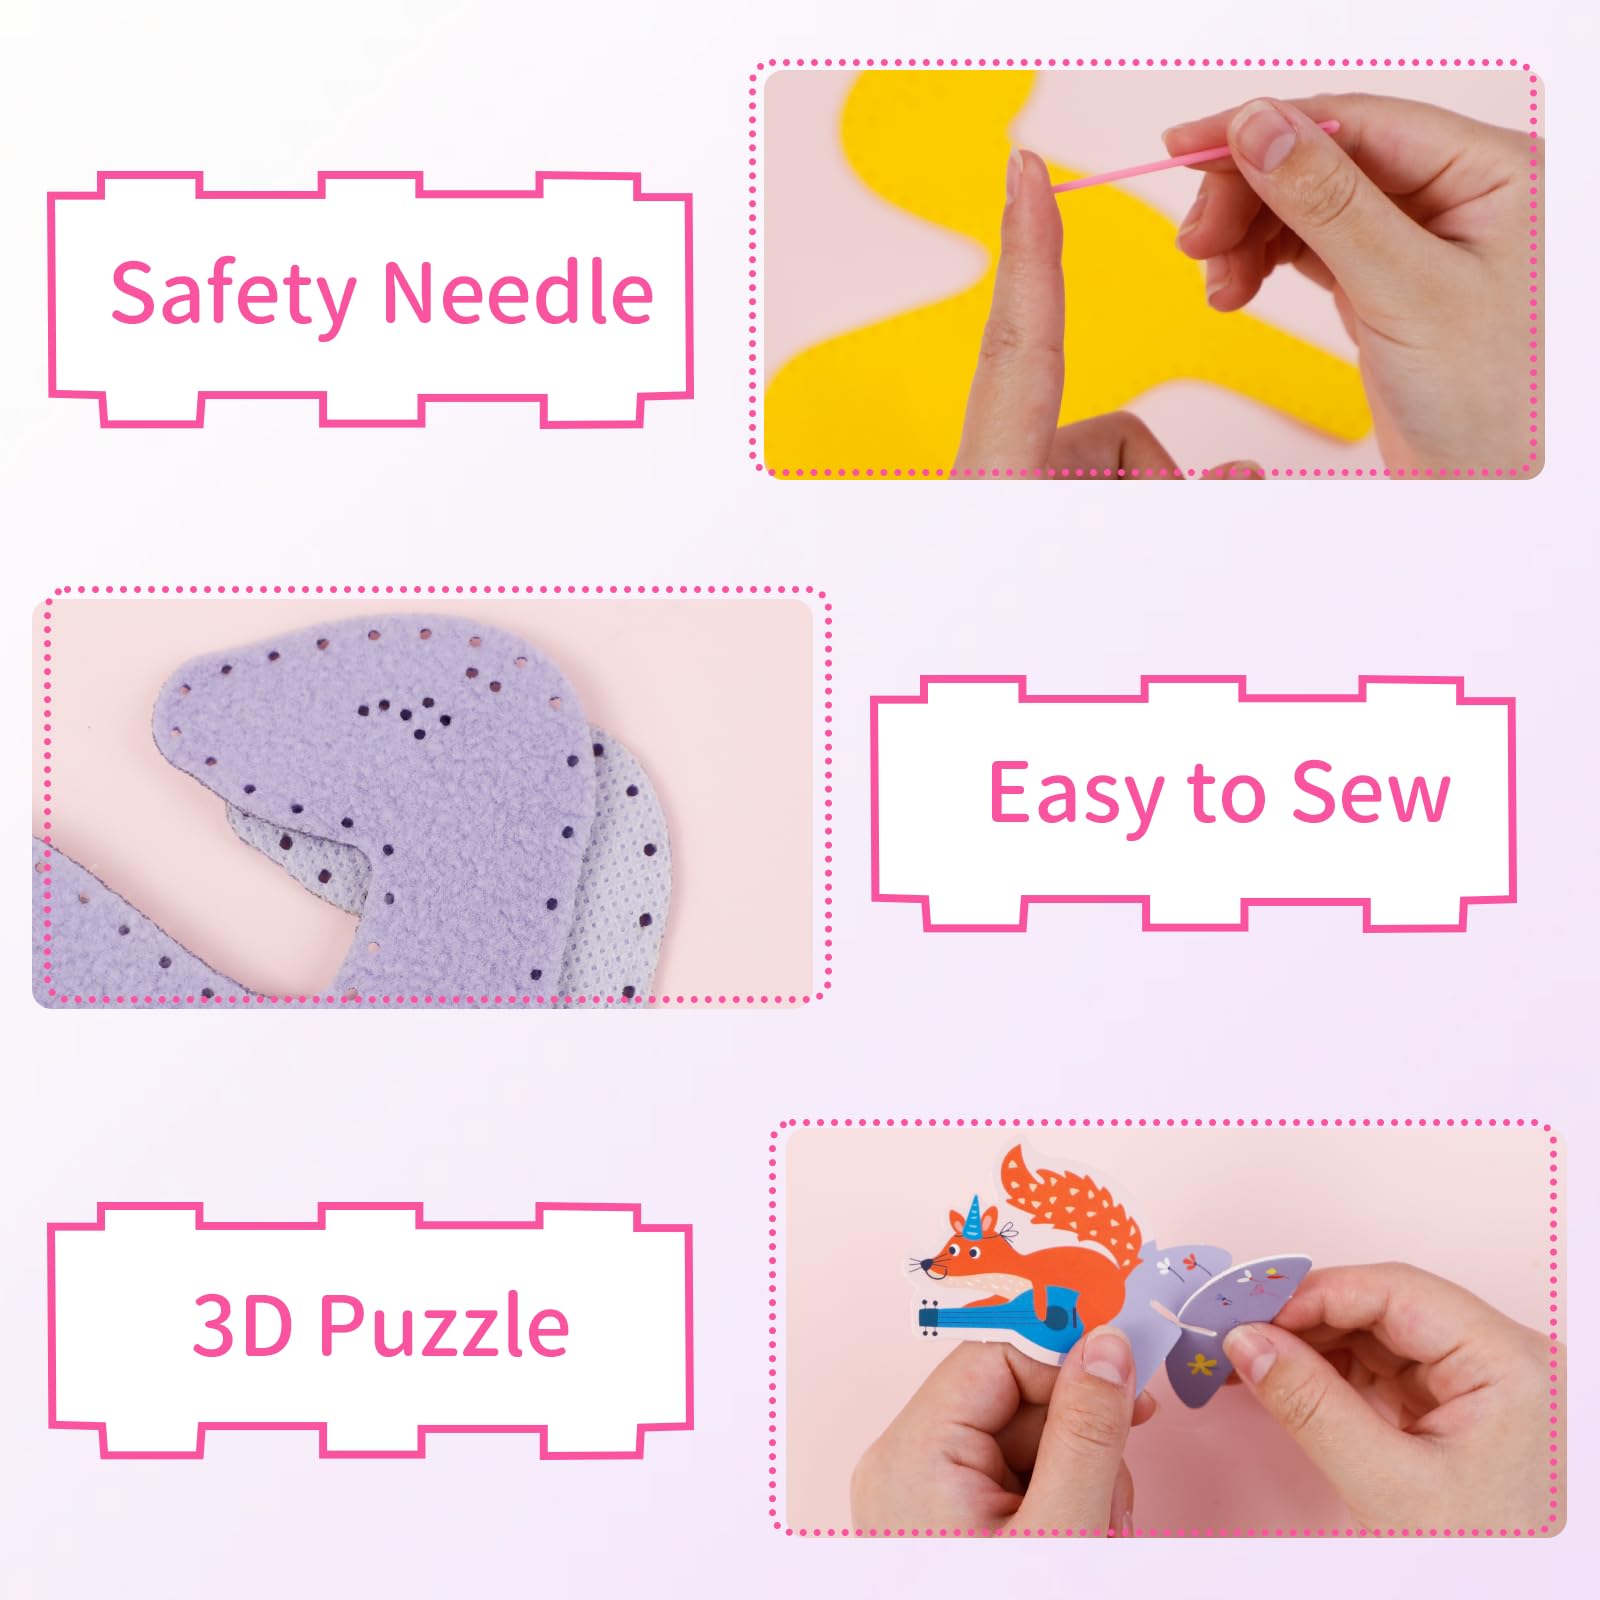
Credit: www.amazon.com
Choosing The Right Materials
Choosing the right materials is key to creating a successful craft kit. The materials should be safe, easy to use, and suit the project. Picking the right supplies helps keep crafters interested and confident. Materials must match the skill level and the type of craft. Quality matters, but so does cost. Balance both to make a kit that is fun and affordable.
Types Of Craft Supplies
Craft kits need a variety of supplies depending on the project. Basic materials include:
- Paper and cardstock for drawing or folding
- Glue and tape for sticking pieces together
- Scissors, safe for children or adults
- Markers, crayons, or colored pencils for decorating
- Beads, buttons, or ribbons for added texture
- Yarn or string for weaving or tying
Choose materials that are easy to handle and not messy. Avoid items that require adult supervision unless the kit is for adults.
Budget-friendly Options
Affordable materials can still be high quality. Consider these options:
- Use recycled paper or fabric scraps
- Buy bulk glue sticks or paint bottles
- Choose washable markers instead of specialty pens
- Look for craft supplies in dollar stores or discount shops
- Reuse buttons, beads, and ribbons from old clothes or gifts
Finding good deals helps keep the kit affordable. This makes crafting accessible for everyone.
Organizing Your Craft Kit
Keeping your craft kit organized is key to enjoying your creative time without frustration. When everything has its place, you spend less time searching and more time making. Think about the last time you felt overwhelmed by scattered supplies—what if you could prevent that every time?
Storage Solutions
Choosing the right storage can change how you use your craft kit. Clear plastic containers work wonders because you see what’s inside without opening them. Stackable boxes save space and keep similar items grouped together.
Try using small jars or tins for beads, buttons, or sequins. These keep tiny pieces from getting lost and make it easy to grab just what you need. If your kit travels, a sturdy case with compartments can keep everything secure on the move.
Labeling Techniques
Labels are your best friend when organizing. Simple handwritten tags or printed labels help you find items quickly. You can use a label maker or even colorful masking tape for a fun twist.
Consider grouping items by type or project and label accordingly. For example, “Painting Brushes” or “Scrapbooking Paper.” This not only saves time but also helps you notice when supplies run low.
Designing Crafts For All Ages
Designing crafts for all ages requires a careful balance of creativity and simplicity. Craft kits should inspire fun and learning. Each project must match the skill level of its user. This approach keeps everyone engaged and confident. Craft ideas can be easy or complex. Choose materials and instructions accordingly. Think about safety, tools, and the time needed. Consider what themes appeal to different age groups. This way, your craft kit becomes a hit for everyone.
Kid-friendly Crafts
Crafts for kids need to be simple and safe. Use large pieces and non-toxic materials. Bright colors attract children’s attention. Projects like paper masks, bead bracelets, and finger painting work well.
- Use glue sticks instead of liquid glue.
- Include easy-to-follow pictures in instructions.
- Choose themes like animals, nature, or cartoons.
- Limit the number of small parts to avoid choking hazards.
These crafts build fine motor skills and spark imagination. They also encourage kids to try new things without frustration.
Adult Craft Ideas
Adult crafts can be more detailed and challenging. Use materials like wood, fabric, or clay. Include tools such as paintbrushes or small scissors. Popular projects include candle making, embroidery, and model building.
- Offer clear, step-by-step instructions with tips.
- Suggest ways to personalize the craft.
- Choose calming and creative themes like nature or abstract art.
- Provide enough materials for multiple tries or variations.
These crafts help adults relax and express creativity. They also offer a sense of accomplishment after finishing a project.

Credit: www.youtube.com
Step-by-step Project Guides
Step-by-step project guides help make crafting easy and fun. They break down each task into small, clear actions. This way, you can follow along and complete your craft with confidence.
These guides suit all skill levels. Beginners get simple projects to build basic skills. Intermediate crafters find challenges to improve their techniques. Advanced creators enjoy complex projects to test their talents.
Beginner Projects
Start with easy crafts that need few materials. Projects like paper flowers, simple bracelets, or painted rocks work well. Instructions use plain language and show each step clearly. These projects help build confidence and basic skills.
Intermediate Challenges
Try projects that need more tools and patience. Examples include sewing small bags, making candles, or creating mixed media art. These guides explain new techniques and offer tips for success. They push skills without overwhelming you.
Advanced Creations
Tackle projects that need precision and experience. Think of woodworking, detailed embroidery, or complex model building. Guides provide detailed instructions and advanced tips. These projects allow crafters to express creativity and skill deeply.
Incorporating Seasonal Themes
Adding seasonal themes to your craft kit makes it exciting and relevant throughout the year. It helps you connect with the time and mood outside, making crafting more meaningful. Think about how colors, symbols, and materials can reflect the current season and inspire creativity.
Holiday Inspirations
Holiday-themed craft kits bring joy and anticipation. Including materials like red and green ribbons for Christmas or pastel papers for Easter can instantly set the tone. You could add small decorations such as mini pumpkins for Halloween or glittery stars for New Year’s projects.
Have you tried using holiday scents like cinnamon sticks or pinecones in your kit? These sensory elements make the experience richer and more immersive. Simple items like themed stickers or holiday-shaped cutters can spark many creative ideas.
Seasonal Decorations
Seasonal decorations add a personal touch to any craft project. Think about leaves, flowers, or shells depending on the season. These natural elements are easy to collect and can make your kit unique.
Colors play a huge role here. Warm tones like orange and brown work well for autumn, while fresh greens and bright yellows fit spring perfectly. Including a color guide or suggestions for using these shades can help users design with confidence.
What if you added DIY templates for seasonal ornaments or wreaths? This encourages users to create decorations they can proudly display, making your craft kit both practical and fun.

Credit: www.rd.com
Tips For Encouraging Creativity
Encouraging creativity in your craft kit is more than just providing materials. It’s about setting the stage where imagination can thrive and giving permission to experiment without fear of mistakes. How you design this experience can shape the confidence and originality of the person using your kit.
Creating A Craft-friendly Environment
Start by choosing a space that feels inviting and free from distractions. Natural light and a clean, organized area can make a big difference in focus and mood.
Keep your supplies within easy reach and sorted clearly. Use containers or trays to separate different materials, so you spend less time searching and more time creating.
Think about adding comfortable seating and surfaces that allow for different types of crafts, whether it’s painting, gluing, or cutting. Have you noticed how a cluttered or uncomfortable space can kill your motivation?
Encouraging Artistic Exploration
Offer a variety of materials that challenge usual ways of crafting. Include items like textured papers, unusual fabrics, or tools that encourage new techniques.
Invite questions and curiosity by suggesting open-ended projects rather than strict instructions. Letting your creativity guide the process often leads to surprising and rewarding results.
Share your own stories of trial and error to show that mistakes are part of creativity, not failures. When you embrace imperfections, you create room for unique ideas to emerge.
Sharing And Displaying Finished Crafts
Sharing and displaying your finished crafts can give your hard work a new life and bring joy to others. Showing off your creations at home or giving them as gifts adds meaning to every piece you make. It also inspires you to keep crafting and improving your skills.
Displaying At Home
Find a special spot in your home to showcase your crafts. A dedicated shelf, a wall gallery, or even a simple table can turn your creations into conversation starters.
Use clear labels or small cards to tell the story behind each piece. This makes your display personal and engaging for visitors.
Rotate your crafts regularly to keep your space fresh and highlight new projects. Have you noticed how changing displays can make you appreciate your work even more?
Gifting Your Crafts
Handmade gifts carry a personal touch that store-bought items can’t match. Wrap your crafts thoughtfully to enhance the surprise and show extra care.
Include a note explaining what inspired you to make the gift. This adds sentimental value and connects the recipient with your creative journey.
Think about who would appreciate your craft the most and tailor your gift to their tastes. What kind of handmade item would brighten someone’s day right now?
Frequently Asked Questions
What Materials Are Essential For A Craft Kit?
Essential materials include scissors, glue, paper, markers, and tape. Adding beads, stickers, and string enhances creativity. Choose items based on the craft type and age group for best results.
How Do I Organize A Craft Kit Effectively?
Use small containers or zip-lock bags to separate items. Label each container for easy identification. Keep frequently used tools on top. This approach keeps the kit tidy and accessible.
Can I Customize A Craft Kit For Different Age Groups?
Yes, customize by selecting age-appropriate tools and materials. Younger kids need safety scissors and simple supplies. Older children can handle complex items like paint and wire safely.
How Much Should I Budget For Making A Craft Kit?
Budget around $20 to $50 depending on kit size and material quality. Consider reusable items to save money long-term. Buying in bulk also reduces costs.
Conclusion
Making a craft kit is simple and fun. You just need basic supplies and creativity. Choose items that match your project’s theme. Keep everything organized for easy use. Craft kits help save time and inspire new ideas. They are perfect for gifts or personal hobbies.
Try making your own kit today. Enjoy the process and share your creations. Crafting becomes easier and more enjoyable this way. Start small, and add more items later. Craft kits bring joy and spark imagination.




