Have you ever wanted to bring your favorite characters to life in your own hands? Creating your own action figure is easier than you think—and it’s a fun way to express your creativity.
Whether you want a unique gift or a collectible that no store sells, this guide will show you step-by-step how to make your very own action figure. By the end, you’ll have the skills and confidence to craft a figure that’s truly yours.
Ready to turn your ideas into something real? Let’s get started!

Credit: www.facebook.com
Choosing Materials
Choosing the right materials for your action figure sets the foundation for a successful project. The materials you pick affect not only the look but also the durability and ease of crafting. Knowing which plastics, paints, and tools work best can save you time and frustration.
Types Of Plastic
Plastic is the core of most action figures. You want a type that’s easy to shape but strong enough to hold details.
- PVC (Polyvinyl Chloride):Flexible and widely used in commercial figures. It allows small details but can be a bit soft for parts needing stiffness.
- ABS (Acrylonitrile Butadiene Styrene):Harder and more rigid. Great for body parts that need structure and durability.
- Resin:Ideal for highly detailed, limited-run figures. It’s brittle, so handle with care.
Ask yourself: do you want flexibility or durability? That decision will guide your plastic choice.
Paints And Brushes
Painting brings your figure to life. The right paint and brushes help you add vibrant, lasting color.
- Acrylic Paints:Water-based, quick-drying, and easy to clean up. Perfect for beginners and detailed work.
- Enamel Paints:Oil-based, providing a glossy finish and durability. They take longer to dry but resist wear better.
- Brush Types:Use fine-tipped brushes for small details and flat brushes for larger areas.
Consider your skill level and the figure’s purpose. Are you painting a collectible or a toy for play?
Tools And Equipment
Having the right tools can make the crafting process smoother and more precise.
- Cutting Tools:Hobby knives and small saws help shape plastic cleanly.
- Sanding Tools:Sandpaper or files smooth rough edges for a polished finish.
- Glue and Adhesives:Use plastic cement for strong bonds or super glue for quick fixes.
Think about the complexity of your figure. Are you adding movable joints or tiny accessories? Your tools need to match your project’s demands.
Designing Your Figure
Designing your action figure is a crucial step in bringing your idea to life. This phase shapes the character’s look and personality. It helps you plan every detail before making the figure. Clear designs make crafting easier and more precise.
Sketching Ideas
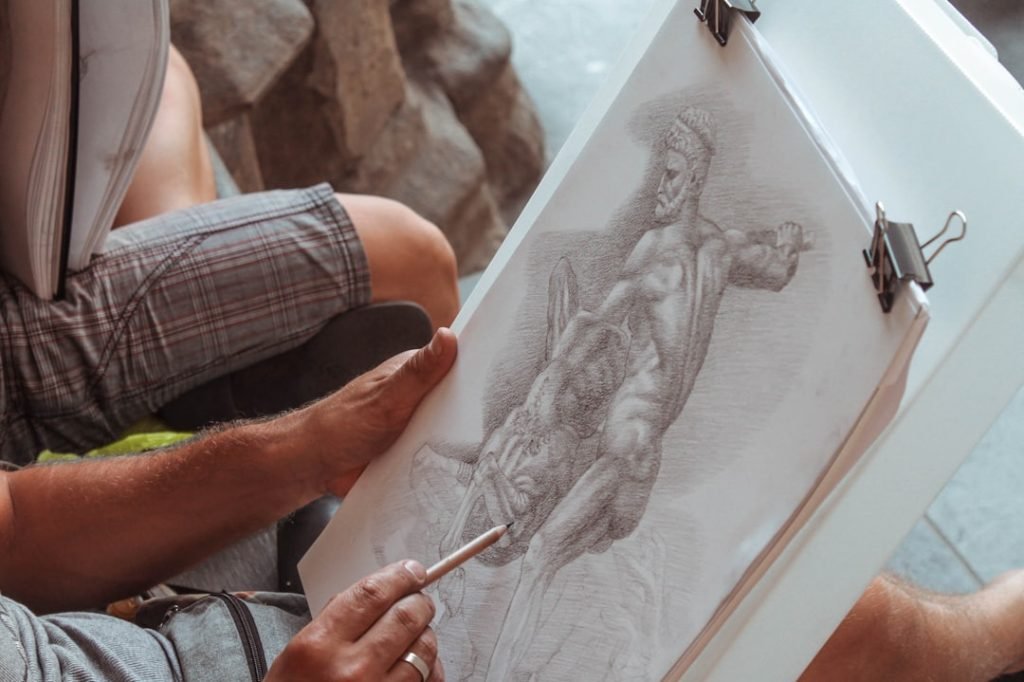
Start by drawing rough sketches of your figure. Use simple shapes to outline the body and pose. Try different styles to find what fits best. Focus on the character’s expression and stance. Sketching lets you explore many ideas quickly.
Creating Blueprints
Turn your sketches into detailed blueprints. Draw the figure from multiple angles: front, side, and back. Include measurements for height and limb length. Blueprints guide the sculpting and assembly process. They ensure your figure stays consistent and balanced.
Deciding On Features
Choose the key features for your action figure. Think about the face, clothing, and accessories. Decide on movable parts like arms and legs. Features give your figure personality and playability. Keep the design simple but unique to stand out.
Sculpting Techniques
Sculpting techniques form the heart of creating a compelling action figure. Mastering these skills transforms a simple block of clay or resin into a dynamic character full of personality. Your approach to sculpting shapes not only the figure’s appearance but also its emotional impact.
Basic Sculpting Methods
Start by building a solid armature to support your figure’s structure. Use wire or aluminum foil to create a skeleton that matches your character’s pose and proportions.
Next, add clay in layers, gradually shaping the overall form. Focus on broad shapes first before moving to smaller parts.
Keep your tools simple—fingers, wooden sticks, and basic sculpting knives work wonders. You don’t need fancy equipment to begin sculpting effectively.
Advanced Techniques
Once you’re comfortable with basic forms, experiment with dynamic poses and muscle definition. Use reference images to understand how muscles flex and skin folds.
Try blending different clays or adding silicone for flexibility in joints. This enhances both realism and durability.
Consider sculpting in sections for complex figures. This approach lets you focus on details in smaller parts before assembling them into a complete figure.
Adding Fine Details
Fine details bring your action figure to life. Use fine-tipped tools or needles to carve textures like fabric, hair strands, or wrinkles.
Patience is key—work slowly and zoom in on small areas. Adding tiny imperfections can make your figure feel more authentic.
Think about how light will hit your figure’s surface. Subtle textures and raised details create shadows that add depth and realism.
Molding And Casting
Molding and casting form the heart of creating action figures. This process captures every detail of your design. It allows you to reproduce the figure multiple times with consistency. Careful attention during molding and casting ensures a high-quality final product.
Building Molds
Start by choosing the right material for your mold. Silicone rubber is popular for its flexibility and detail capture. Create a mold box to hold the silicone around your original figure. Pour the silicone carefully to avoid bubbles. Let the silicone cure fully before removing the original figure. This mold will be your template for casting.
Casting Process
Select a casting material suitable for your figure, like resin or plastic. Mix the casting material according to instructions. Pour it slowly into the mold to fill every corner. Use a vibrating tool or tap the mold to release trapped air bubbles. Allow the casting to harden completely. Remove your new figure carefully from the mold.
Safety Tips
- Always work in a well-ventilated area to avoid fumes.
- Wear gloves to protect your skin from chemicals.
- Use safety glasses to guard your eyes from splashes.
- Follow the manufacturer’s instructions on all materials.
- Keep your workspace clean and organized to prevent accidents.
Painting And Detailing
Painting and detailing bring your action figure to life, transforming a simple model into a unique piece of art. This stage allows you to add personality and depth, making your figure stand out. Focus on precision and creativity, as these elements capture the essence of your character.
Choosing Color Schemes
Pick colors that match the character’s personality or story. Bold colors suit heroic figures, while muted tones work well for villains or mysterious characters.
Think about contrast—using light colors next to dark ones can highlight important features. You might try a color wheel to find complementary shades that pop together.
Ask yourself: What emotion or mood do you want your figure to convey? This will guide your palette choices and make your painting more intentional.
Painting Tips
Start with a clean, dry surface to help paint stick better. Use thin layers of paint to avoid clumps and maintain details.
Brushes with fine tips are great for small areas, while larger brushes cover broad surfaces quickly. Don’t rush—let each layer dry before adding the next.
Try using masking tape to protect areas you don’t want to paint. It’s a simple trick that keeps lines sharp and neat.
Adding Weathering Effects
Weathering adds realism by simulating wear and tear. Dry brushing with a lighter shade can create highlights on edges, mimicking natural light wear.
Use washes—diluted paint applied thinly—to settle into crevices, giving depth and shadow. You can also add scratches or rust with a fine brush or sponge.
Have you ever noticed how tiny details make a figure feel real? Adding weathering effects is your chance to make your creation tell a story through its appearance.
Assembling The Figure
Assembling the action figure is a key part of the creation process. This step brings all the pieces together into a complete toy. Careful assembly ensures the figure looks great and works well. Follow clear steps for best results.
Joining Parts
Start by aligning the parts correctly. Use pegs and holes designed for each piece. Press gently to fit parts together without forcing. Use glue only if pieces do not snap in place. Check that joints fit snugly to avoid loose limbs.
Ensuring Stability
Balance the figure on a flat surface. Adjust legs and feet to keep it upright. Add small supports if the figure leans too much. Ensure the weight spreads evenly for better standing. Stability helps the figure hold poses longer and prevents falls.
Testing Movability
Move each joint slowly to test flexibility. Check elbows, knees, shoulders, and head for smooth motion. Avoid joints that are too tight or too loose. Adjust or trim parts if movement feels stuck. Good movability makes the figure fun to play with and display.
Customizing And Personalizing
Customizing and personalizing your action figure lets you transform a simple toy into a unique creation that truly reflects your style and interests. This process invites creativity and experimentation, allowing you to highlight details that matter most to you. Have you ever thought about how small changes can make a figure feel completely original and special?
Unique Accessories
Adding unique accessories is one of the easiest ways to customize your action figure. You can craft tiny weapons, hats, or gadgets using materials like clay, fabric, or even 3D-printed parts. These items give your figure a distinct personality and can tell a story without words.
Consider mixing and matching parts from different toys to create accessories that no one else has. For example, swapping a standard sword with a glowing staff can completely change the vibe of a warrior figure. What kinds of accessories would best express your character’s story?
Creating Alternate Versions
Alternate versions of your action figure let you explore different looks and themes. You might paint a figure with battle scars, give it a futuristic armor set, or design a casual outfit for everyday adventures. Each version adds depth and replay value to your collection.
Try experimenting with different color schemes or styles to see which fits your vision best. You might find that a bright, bold palette tells a different story than a dark, mysterious one. What mood do you want your figure to convey?
Adding Personal Touches
Personal touches make your action figure truly one-of-a-kind. This can include engraving initials, adding tiny decals, or sculpting unique facial features. These small details show your dedication and make the figure feel like it belongs to you.
Think about what makes your character special and find ways to highlight those traits. Maybe a favorite quote on a shield or a custom hairstyle can make all the difference. How will you make your figure stand out on your shelf?

Credit: www.youtube.com
Displaying Your Masterpiece
Displaying your action figure is where your hard work truly shines. How you showcase your creation can elevate its appeal and even tell a story. Think of your display as the final touch that invites viewers to appreciate every detail you’ve crafted.
Building Display Stands
A sturdy stand keeps your figure stable and draws attention to its best angles. You can create simple bases from wood, acrylic, or even repurposed household items like small boxes.
Try adding textured materials such as sandpaper or felt to enhance the base’s look and feel. A custom stand gives your figure a professional finish, making it stand out on any shelf.
Lighting Techniques
Lighting can change how your figure looks dramatically. Use soft, diffused lights to avoid harsh shadows that hide details.
Position small LED lights at different angles to highlight unique features like paintwork or sculpted muscles. Have you experimented with colored lights? A subtle blue or red glow can create a mood that matches your figure’s theme.
Presentation Ideas
Think beyond just placing your figure on a shelf. Group figures with similar themes or create mini-scenes using props like tiny furniture or backdrops.
Use clear display cases to protect your figure from dust while keeping it visible. Adding labels or small plaques with your figure’s name and story can engage viewers even more.

Credit: www.cursor-ide.com
Frequently Asked Questions
What Materials Are Best For Creating Action Figures?
Use polymer clay, resin, or plastic for durable action figures. These materials allow detailed sculpting and easy painting. Choose based on your skill level and desired finish.
How Do I Sculpt Detailed Features On Action Figures?
Use fine tools like sculpting knives and needles for small details. Work slowly and add layers to build realistic textures. Practice improves precision and results.
What Paint Types Work Well On Action Figures?
Acrylic paints are ideal for action figures. They dry quickly and adhere well to polymer clay and plastic surfaces. Use thin layers to avoid paint clumping.
How Can I Make Action Figure Joints Movable?
Use small ball joints or hinges at key points. This allows the figure to pose naturally. Secure joints firmly but allow smooth movement.
Conclusion
Creating an action figure takes patience and creativity. Start with a clear idea and gather your materials. Shape the figure carefully and add details step by step. Painting brings your figure to life with color and personality. Don’t rush the process; enjoy each part of making it.
Practice helps you improve and try new designs. Making action figures can be fun and rewarding. Give it a try and see what you can create!




