
Have you ever wanted to create something special with your own hands? Building a wooden toy truck is a fun and rewarding project that you can complete step-by-step.
Imagine the pride you’ll feel as you watch your finished truck roll across the floor, knowing you made it yourself. Whether you’re new to woodworking or just looking for a simple, creative activity, this guide will walk you through each easy step.
By the end, you’ll have a unique toy that’s perfect for playtime or gifting. Ready to start building your wooden toy truck? Let’s dive in!
Choosing The Right Wood
Choosing the right wood for your wooden toy truck isn’t just about durability; it’s about creating a safe, beautiful toy that will last for generations. Selecting the ideal wood can make the crafting process smoother and enhance the truck’s aesthetic appeal. But with so many options available, how do you make the right choice?
Best Wood Types For Toys
When crafting toys, certain woods stand out for their safety and workability. Hardwood like maple and birch are excellent choices due to their strength and fine grain, which allow for smooth finishes. Birch is particularly favored for its resilience against wear and tear. Pine, although softer, is easier to carve, making it a good option for intricate designs.
Have you ever considered using reclaimed wood? It’s an eco-friendly choice that adds character and history to your toy truck. Plus, it can be a rewarding challenge to work with different textures and colors.
Sourcing Quality Materials
Finding quality wood is crucial to ensure your toy truck is sturdy and safe. Local lumber yards can be a treasure trove, offering a range of woods and expert advice. If you’re looking for something specific, specialty woodworking stores often carry a variety of hardwoods suited for toys.
Online marketplaces also provide a convenient way to source materials. Look for sellers with good reviews and detailed product descriptions to ensure you’re getting top-quality wood. Have you ever thought about visiting a local sawmill? You might discover unique wood pieces that inspire new design ideas.
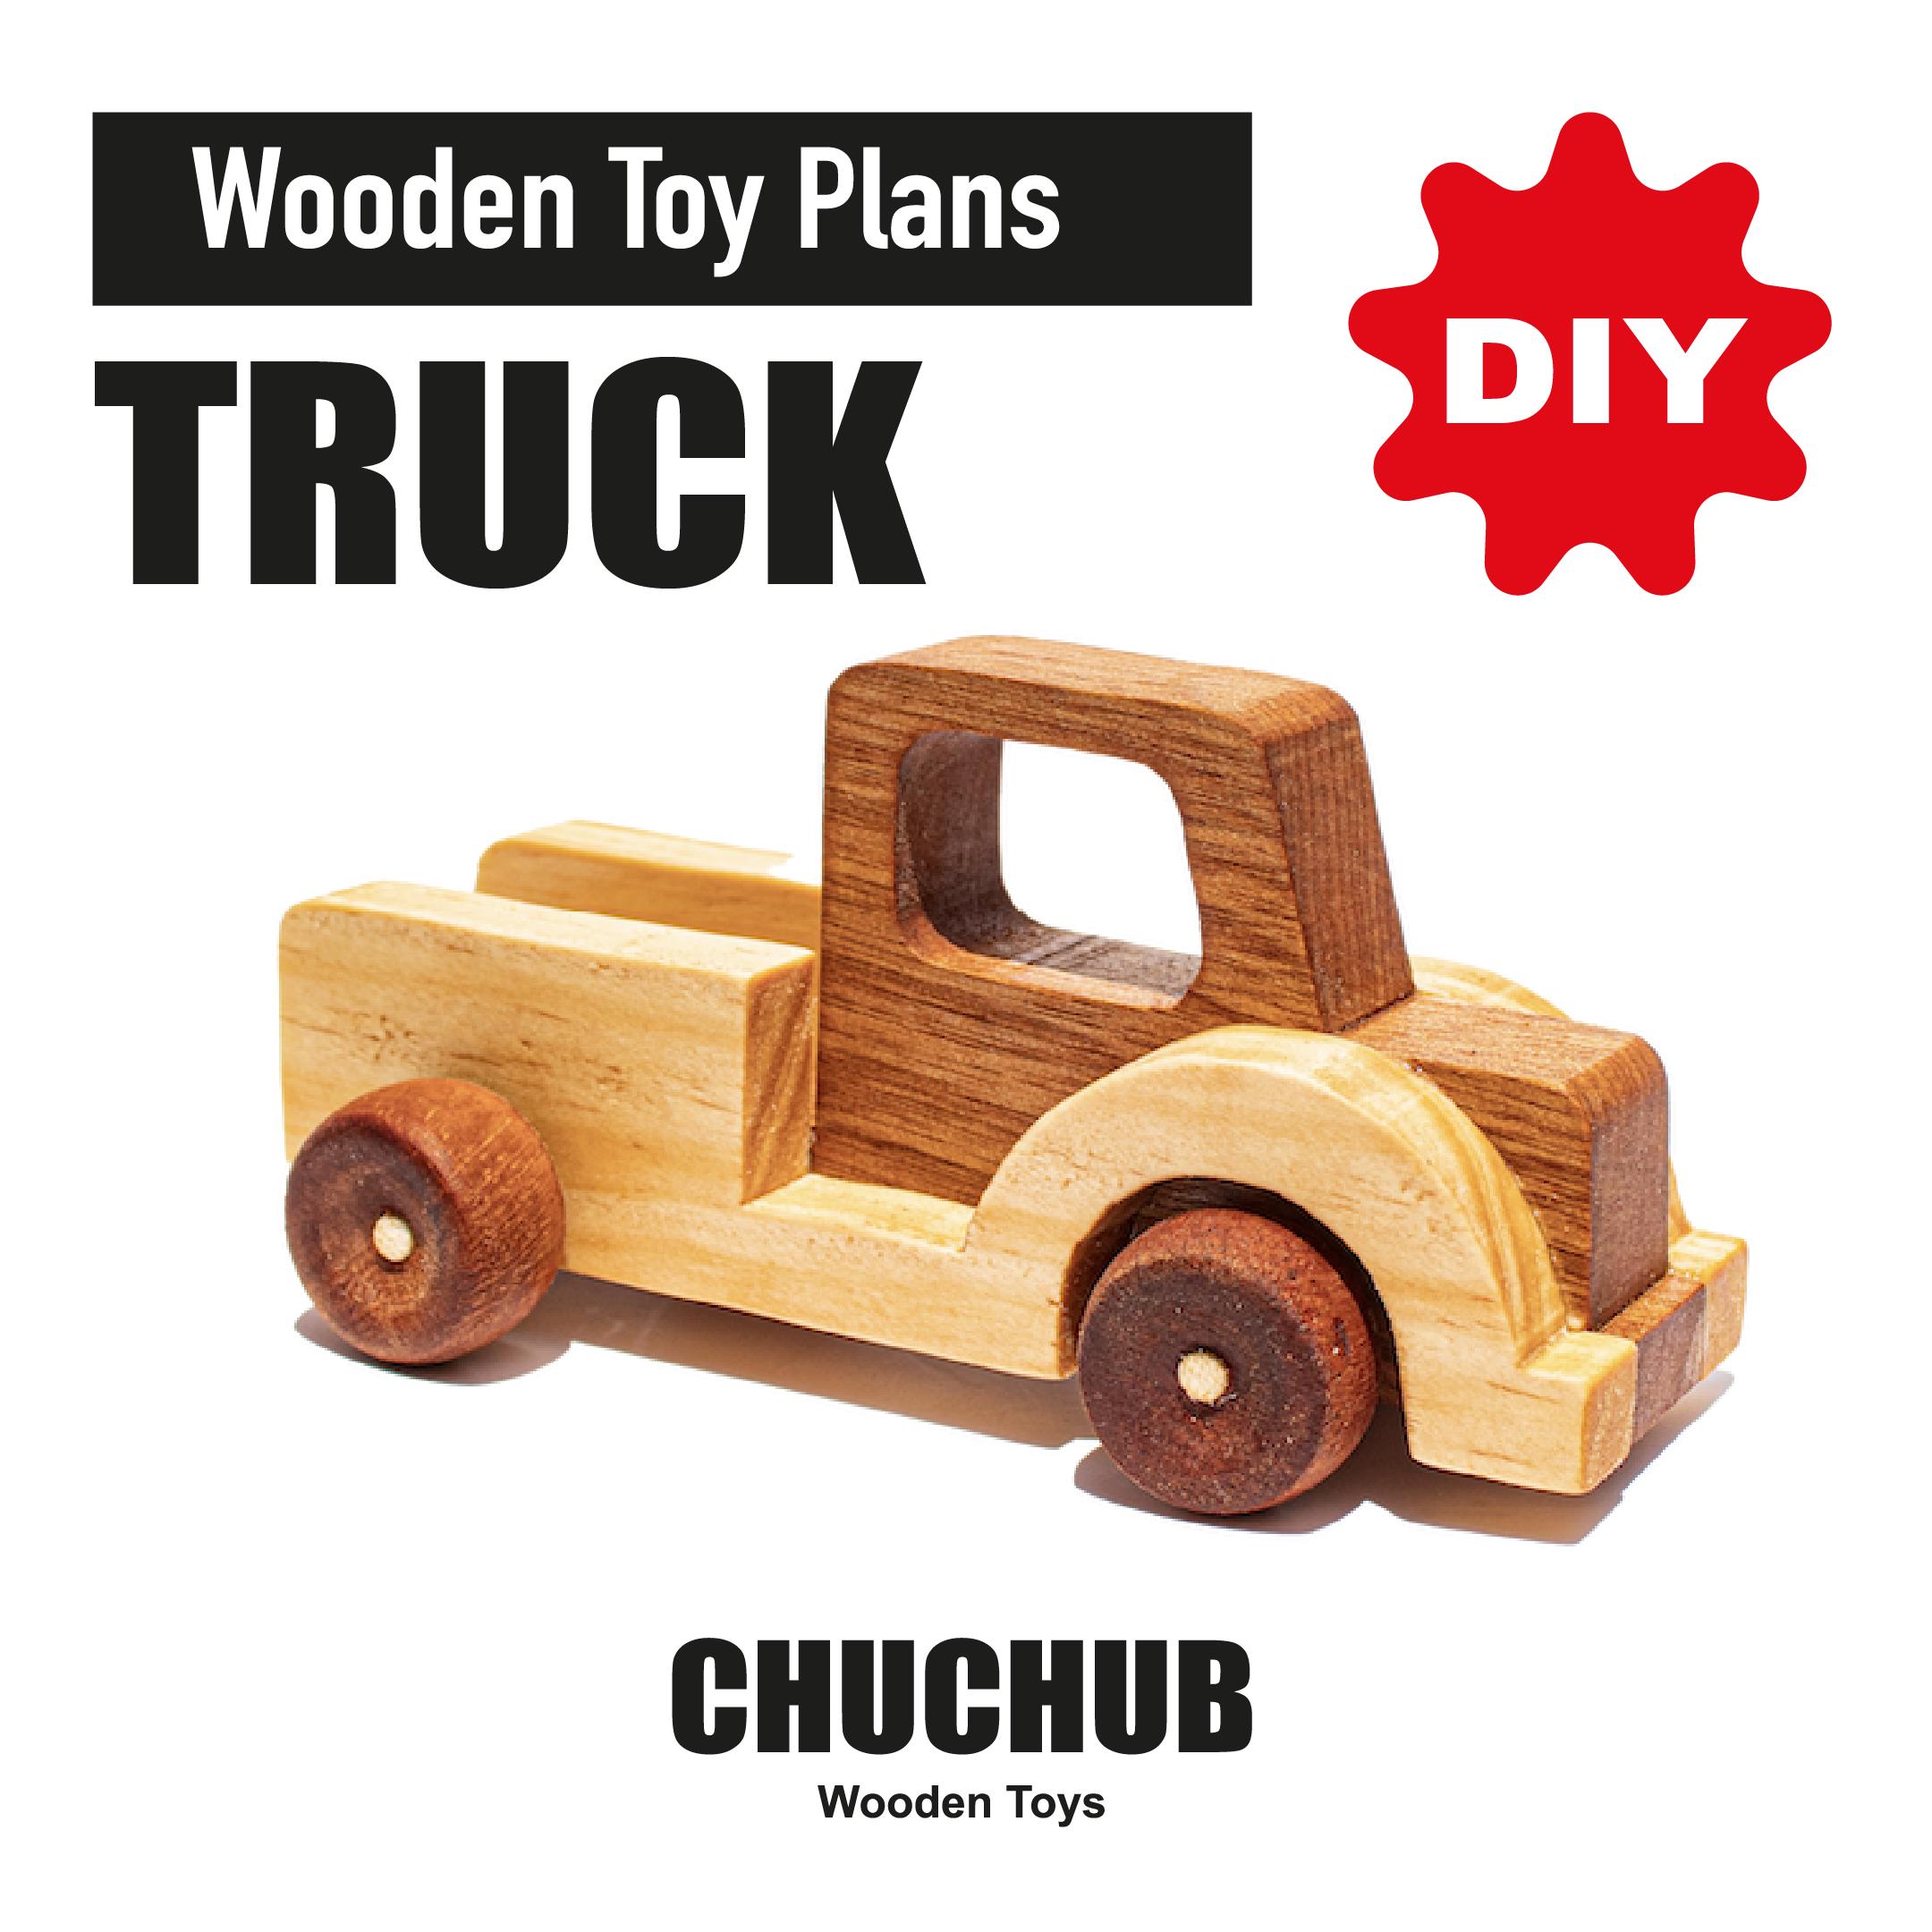
Credit: www.etsy.com
Gathering Essential Tools
Gathering the right tools is the first step to build a wooden toy truck. Having essential tools makes the work easier and safer. It helps to achieve clean cuts and smooth finishes. This section lists the basic hand tools and power tools needed to create a sturdy toy truck. Choose tools based on your skill level and budget. Proper tools save time and improve the quality of your project.
Basic Hand Tools Needed
Basic hand tools are easy to use and perfect for small projects. They provide control and precision for detailed work. These tools help shape and assemble the wooden pieces carefully.
- Measuring tape – for accurate measurements
- Pencil – to mark cutting lines
- Handsaw – to cut wood pieces
- Chisel – for carving and shaping
- Hammer – to drive nails
- Screwdriver – to fix screws
- Sandpaper – to smooth rough edges
- Clamps – to hold pieces firmly while working
Power Tools For Efficiency
Power tools speed up the building process and reduce effort. They help achieve cleaner and faster cuts. Use them carefully to avoid accidents and mistakes.
- Electric drill – to drill holes and drive screws
- Jigsaw – for cutting curves and shapes
- Orbital sander – for quick and even sanding
- Router – to create grooves and decorative edges
Safety gear like goggles and gloves is important when using power tools. Always follow the instructions and work in a well-lit area.
Designing The Toy Truck
Designing the toy truck is the first step in creating a wooden masterpiece. A clear design helps guide the building process. It ensures the truck is both fun and safe to play with. Good design balances simplicity and detail. It also fits the tools and materials you have.
Simple Sketches And Plans
Start by drawing simple sketches of the toy truck. Use pencil and paper for easy changes. Focus on the truck’s shape and parts. Draw different views: front, side, and top. This helps see the full design clearly. Sketch the wheels, cabin, and cargo area. Keep lines clear and neat. Simple drawings reduce mistakes later on.
Use these tips for better sketches:
- Draw basic shapes like rectangles and circles.
- Mark where parts join together.
- Note any special features or decorations.
Measuring And Scaling
Measure your sketches to create real-life sizes. Decide how big the toy truck should be. Use a ruler or tape measure for accuracy. Scale the parts so they fit well together. Keep the truck small enough for kids to hold. Check the size of wheels and body carefully. Too big or too small parts cause problems later.
Write down all measurements clearly. Use a table to organize your sizes:
| Part | Length (cm) | Width (cm) | Height (cm) |
|---|---|---|---|
| Body | 20 | 10 | 8 |
| Wheels | 5 | 5 | 2 |
| Cabin | 8 | 7 | 6 |
Accurate measurements make cutting and assembling easier. Double-check sizes before starting to build.

Credit: kayunganjuk.com
Cutting The Wood Pieces
Cutting the wood pieces is a crucial step in building a wooden toy truck. Precise cuts ensure all parts fit perfectly. Accurate cutting also keeps the toy safe and durable. Start with clear measurements and mark the wood carefully. Use the right tools to make clean cuts. Take your time to avoid mistakes that waste material.
Safe Cutting Techniques
Safety comes first when cutting wood. Always wear safety goggles to protect your eyes. Use a dust mask to avoid breathing sawdust. Keep your fingers away from the blade. Use clamps to hold the wood steady during cutting. Work on a flat, stable surface to prevent slips. Check that your tools are sharp and in good condition. Follow the tool instructions carefully to avoid accidents.
Shaping The Parts
After cutting, shape the wood pieces smoothly. Use sandpaper or a sanding block to round edges. Smooth surfaces prevent splinters and make the toy pleasant to touch. For curves and small details, use a file or rotary tool. Check each part against your design to ensure accuracy. Proper shaping helps the parts fit and move well. Take your time to create neat, clean shapes.
Assembling The Truck Body
Assembling the truck body is where your wooden toy truck starts to take shape. This step requires patience and precision because the way you join the pieces will affect both the look and durability of your creation. Getting this right means your truck will be ready for many hours of play without falling apart.
Joining Methods
You have several options to connect the wooden parts of your truck body. Common methods include using wood glue, small nails, or screws. Wood glue is great for a clean look and strong bond, but you need to clamp the pieces until dry.
Nails and screws add extra strength but require careful placement to avoid splitting the wood. A combination of glue and nails often works best, especially if you want the body to hold up to rough handling. Have you thought about using dowels? They create hidden joints that look neat and increase stability without visible fasteners.
Ensuring Stability
Stability comes from both the joining method and how well the parts fit together. Make sure each piece is cut precisely and sanded smooth. If edges don’t fit tightly, glue won’t hold as well, and the truck might wobble.
Reinforce corners with small wooden blocks glued inside the body for extra support. This little trick helped me build a truck that survived my nephew’s energetic playtimes without a single crack. How can you test your truck’s stability before final assembly? Gently press and twist the body parts to spot weak spots early.
Adding Wheels And Axles
Adding wheels and axles to your wooden toy truck is a key step that brings your project to life. It’s where the truck gains its ability to roll, making it fun and functional. Paying close attention here ensures your toy moves smoothly and lasts through countless play sessions.
Selecting Wheel Materials
Choosing the right material for your wheels affects both the look and performance of your toy truck. Common options include hardwood, plywood, and even recycled plastic wheels. Hardwood wheels offer durability and a classic feel, while plywood can be easier to shape and lighter.
Think about the surface your truck will roll on. Smooth hardwood floors might work well with wooden wheels, but rough surfaces may benefit from rubber-coated options. You can even add a thin rubber ring around wooden wheels for better grip and quieter play.
Attaching For Smooth Movement
The way you attach wheels and axles determines how well your truck rolls. Use dowel rods or metal rods as axles, ensuring they fit snugly but spin freely inside the truck’s body. A tight fit that restricts movement will make the wheels drag and frustrate your child.
Lubricate wooden axles lightly with beeswax or soap to reduce friction. Secure wheels with small washers or spacers to prevent wobbling, but avoid over-tightening. Have you tested the wheels by rolling the truck on different floors? Adjusting here can save you from future squeaks or jams.
Sanding And Smoothing
Sanding and smoothing are key steps in making a wooden toy truck safe and pleasant to touch. Rough edges or splinters can hurt little hands. Proper sanding gives the wood a soft, clean feel and prepares it for painting or finishing. It also brings out the beauty of the wood grain.
Using the right tools and techniques helps create a smooth surface. Take your time to avoid missing spots or making uneven areas. The goal is a flawless finish that looks great and feels safe.
Creating A Child-safe Finish
Start with coarse sandpaper to remove rough spots and shape the truck. Move to finer grits to smooth the surface gently. Always sand along the wood grain. Check edges and corners carefully. Round off sharp points to prevent injuries.
Use a sanding block or sponge for better control. Clean dust off with a soft cloth before the next sanding stage. After the final sanding, wipe the truck well to remove all particles. This step prevents dust from mixing with paint or finish.
Tips For Even Surfaces
- Sand all flat and curved surfaces evenly to avoid bumps.
- Keep your sanding motion steady and consistent.
- Use a light touch near details like windows or wheels.
- Inspect the truck under bright light to spot rough areas.
- Repeat sanding with finer sandpaper until smoothness feels perfect.
Even surfaces help paint stick better and give a polished look. Smooth wood also lasts longer and resists damage better. Patience during sanding pays off in a beautiful, child-friendly toy truck.

Credit: in.pinterest.com
Painting And Decorating
Painting and decorating your wooden toy truck gives it personality and charm. This step lets you add color and style that kids will love. It also protects the wood, making the toy last longer. Choose paints and designs carefully to keep the toy safe and fun.
Choosing Non-toxic Paints
Use non-toxic paints to keep the toy safe for children. These paints do not have harmful chemicals. Look for labels that say “child-safe” or “non-toxic.” Water-based acrylic paints work well for wood. They dry fast and clean up with water. Avoid spray paints and solvents that can be dangerous. Always paint in a well-ventilated area to avoid fumes.
Creative Design Ideas
Simple designs often look best on wooden toys. Use bright primary colors like red, blue, and yellow. Paint the truck’s body one color and the wheels another. Add details like windows, headlights, or stripes. Stencils or masking tape can help make clean lines. For a natural look, leave some wood showing. Add fun elements like stars or dots for a playful touch.
Final Touches And Safety Checks
Final touches and safety checks are what turn your wooden toy truck from just a fun project into a safe, durable plaything that kids will love. Paying close attention here can prevent accidents and ensure the toy lasts through many play sessions. Let’s look at how to make sure your truck is both sturdy and safe.
Inspecting For Loose Parts
After assembling your wooden toy truck, carefully check every joint and moving part. Wiggle the wheels and test the axles to see if anything shifts or feels unstable. Loose parts can cause choking hazards or break easily, so tightening screws or adding wood glue can make a big difference.
Don’t forget to run your fingers over the surface to find any small splinters or sharp edges. Sand these areas smooth to protect little hands from scratches. Have you ever picked up a toy that felt rough or unsafe? That’s exactly what you want to avoid for your creation.
Ensuring Durability
Durability means your toy truck can handle rough play without falling apart. Use a strong finish like non-toxic varnish or paint that resists scratches and moisture. This not only beautifies the wood but also adds a protective layer that extends the toy’s lifespan.
Consider the type of wood you used—softwoods might need extra care or reinforcement in high-stress areas. If you notice any weak spots during your inspection, reinforce them with small brackets or additional glue. What’s the point of a toy that breaks after a few days of use?
Frequently Asked Questions
What Materials Are Needed To Build A Wooden Toy Truck?
You need wood, sandpaper, wood glue, non-toxic paint, small nails, and wheels. Choose smooth, durable wood like pine or oak for safety and longevity.
How Long Does It Take To Build A Wooden Toy Truck?
Building a wooden toy truck typically takes 3 to 5 hours. This includes cutting, assembling, sanding, and painting, depending on your skill level and tools.
What Safety Tips Should I Follow When Making A Toy Truck?
Always wear safety goggles and gloves when cutting wood. Use child-safe, non-toxic paint and ensure all parts are smooth to avoid splinters.
Can Beginners Build A Wooden Toy Truck Easily?
Yes, beginners can build a wooden toy truck with basic tools and clear instructions. Start with simple designs to gain confidence and skills.
Conclusion
Building a wooden toy truck is a fun and rewarding project. It teaches basic woodworking skills and sparks creativity. You only need simple tools and materials to get started. Take your time and follow each step carefully. This project can become a great gift or a keepsake.
Enjoy the process and feel proud of your work. Keep practicing to improve your skills. Wooden toys last long and bring joy to many. Try making different designs next time. Simple projects like this make learning enjoyable and hands-on.




