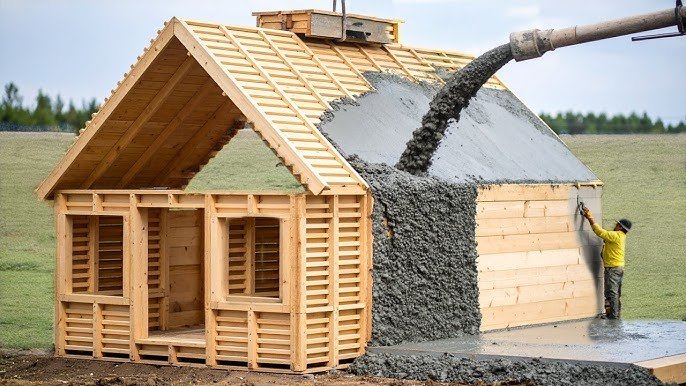
Are you ready to create something special with your own hands? Building a wooden toy barn is a fun and rewarding project that lets you bring joy to your kids or even decorate your home with a charming piece.
Imagine the pride you’ll feel as you watch your little ones play with a barn you made yourself. In this guide, you’ll discover simple steps and handy tips to turn basic wood into a beautiful, sturdy toy barn. Whether you’re a beginner or have some experience, this article will help you build your barn with confidence and ease.
Let’s get started and make your wooden toy barn a reality!

Credit: www.freepik.com
Materials Needed
Building a wooden toy barn requires the right materials to ensure it is sturdy and safe. Choosing quality supplies helps create a beautiful and durable toy. Gather all items before starting to keep the process smooth and enjoyable.
Wood Types
- Pine: Soft, easy to cut, and widely available.
- Basswood: Light and smooth, great for fine details.
- Plywood: Strong base material for the barn walls.
Tools Needed
- Hand saw or jigsaw for cutting wood pieces.
- Sandpaper or sanding block for smoothing edges.
- Wood glue to hold parts together securely.
- Clamps to keep pieces in place while drying.
- Paintbrushes for decorating the barn.
Hardware And Accessories
- Small nails or brads to reinforce joints.
- Hinges for barn doors if you want them movable.
- Wood filler to fill gaps or holes.
- Non-toxic paint or wood stain for safe finishing.
Safety Gear
- Safety goggles to protect eyes while cutting.
- Dust mask to avoid inhaling wood dust.
- Work gloves to prevent splinters and cuts.

Credit: www.pinterest.com
Designing The Toy Barn
Designing your wooden toy barn is where creativity meets practicality. The design sets the foundation for how fun and functional the barn will be. Taking time here will save frustration later and ensure the toy becomes a cherished playtime staple.
Choosing The Right Size
Think about who will use the toy barn and where it will live. If it’s for toddlers, keep the size small enough for little hands to manage but large enough to hold their favorite toy animals. If space is limited in your home, measure the play area first to avoid building something too big.
Consider the scale of the barn compared to other toys your child owns. Does it need to fit alongside a set of wooden animals or cars? A barn that’s too large or too small can make playtime awkward.
Ask yourself: How many kids will play with it at once? A bigger barn invites group play but requires more materials and time to build.
Drawing Simple Plans
Start with a rough sketch on paper before cutting any wood. It doesn’t need to be perfect—just a clear idea of what you want. Simple shapes like rectangles and triangles will form the walls and roof, making the build easier.
Use a pencil and ruler to mark measurements clearly. Label each part—walls, roof, doors—to keep track of pieces. This step helps avoid mistakes and saves you from wasting materials.
Try to break down the barn into smaller sections. For example:
- Base platform
- Four walls with windows
- Roof panels
This approach makes construction manageable and keeps you organized.
Preparing The Wood
Preparing the wood is a key step in building a wooden toy barn. It sets the foundation for a sturdy and safe toy. Proper preparation helps avoid splinters and rough edges. It also ensures all parts fit perfectly together.
Cutting The Pieces
Start by measuring the wood pieces carefully. Use a pencil to mark the cutting lines clearly. Choose a saw suitable for your wood type and thickness. Cut slowly and follow the lines exactly. Keep the cuts straight for better assembly. Wear safety gear to protect your eyes and hands.
Sanding For Smoothness
After cutting, sand each piece thoroughly. Use medium-grit sandpaper to remove rough spots. Focus on edges and corners to avoid sharp points. Then, switch to fine-grit sandpaper for a smoother finish. Sand in the direction of the wood grain. Clean the dust off with a dry cloth before assembly.
Assembling The Structure
Assembling the structure is a key part of building your wooden toy barn. This phase brings together all the pieces to create a sturdy and charming frame. Careful assembly ensures the barn will last and look great for years.
Building The Walls
Start by arranging the wooden panels for the walls on a flat surface. Use wood glue on the edges to hold pieces together securely. Nail the corners with small finishing nails for extra strength. Double-check that the walls form perfect right angles before the glue dries. Adding horizontal support beams inside the walls helps keep everything steady. Sand the edges to avoid splinters and create smooth surfaces for painting later.
Creating The Roof
Cut the roof panels to fit the top of the walls precisely. Attach two angled pieces to form a classic barn roof shape. Secure these pieces with wood glue and nails. Add a ridge beam along the peak for added support. Place smaller wooden slats across the roof to mimic shingles. Make sure the roof is even on both sides. Sand the roof edges to ensure a neat finish and safe handling for children.
Adding Fun Features
Adding fun features to your wooden toy barn makes it more exciting and interactive. These features encourage imaginative play and keep children engaged. Simple details can turn a basic barn into a charming playhouse that sparks creativity.
Decorative Elements
Decorative elements bring personality and charm to your toy barn. Paint the barn in bright, cheerful colors. Use stencils or stickers to create patterns like flowers, animals, or farm tools.
- Attach small wooden signs with barn names or animal names.
- Use natural twine or rope to create a rustic look around the roof or doors.
- Add miniature flower boxes with artificial flowers under windows.
These details make the barn visually appealing and inviting for playtime.
Functional Doors And Windows
Functional doors and windows add realistic touch and enhance play value. Use small hinges to make doors open and close smoothly. This allows children to move toy animals or figures inside and outside.
- Install sliding or swinging doors for easy access.
- Use clear plastic or mesh for windows to simulate glass.
- Add window shutters that open and close for extra fun.
Functional parts make the toy barn feel like a real barn. They encourage hands-on interaction and storytelling.
Finishing Touches
Adding the finishing touches to your wooden toy barn is where your project truly comes alive. This stage transforms a simple structure into a charming plaything that kids will adore. Paying attention to details here ensures your barn is not only beautiful but also safe and durable.
Painting And Staining
Choose paints or stains that are safe for children, such as non-toxic, water-based options. Bright colors can make the barn more inviting, while natural stains highlight the wood’s texture and grain.
Apply thin, even coats and let each layer dry completely before adding the next. This avoids drips and uneven finishes. You might want to paint details like doors, windows, or animals to add character and spark imagination.
Have you considered how the finish can protect the wood? A good paint or stain acts as a shield against scratches and moisture, helping your barn last longer even after many play sessions.
Safety Checks
Once the paint or stain is dry, inspect the barn carefully for any sharp edges or splinters. Sand down any rough spots to keep little hands safe during play.
Check all joints and screws to make sure everything is secure and stable. Loose parts can be dangerous and reduce the toy’s durability.
Think about adding soft bumpers or felt pads on the barn’s base if it will sit on hard floors. This prevents scratches and adds extra stability.
Have you tested the barn’s stability by gently shaking it? Ensuring it won’t tip over easily is essential for safe playtime.
Encouraging Creative Play
Encouraging creative play is one of the best benefits of building a wooden toy barn. It helps children use their minds, hands, and hearts. Through play, kids develop problem-solving skills and learn to express themselves. A wooden barn offers endless chances for storytelling and role-playing.
Setting Up The Barn Scene
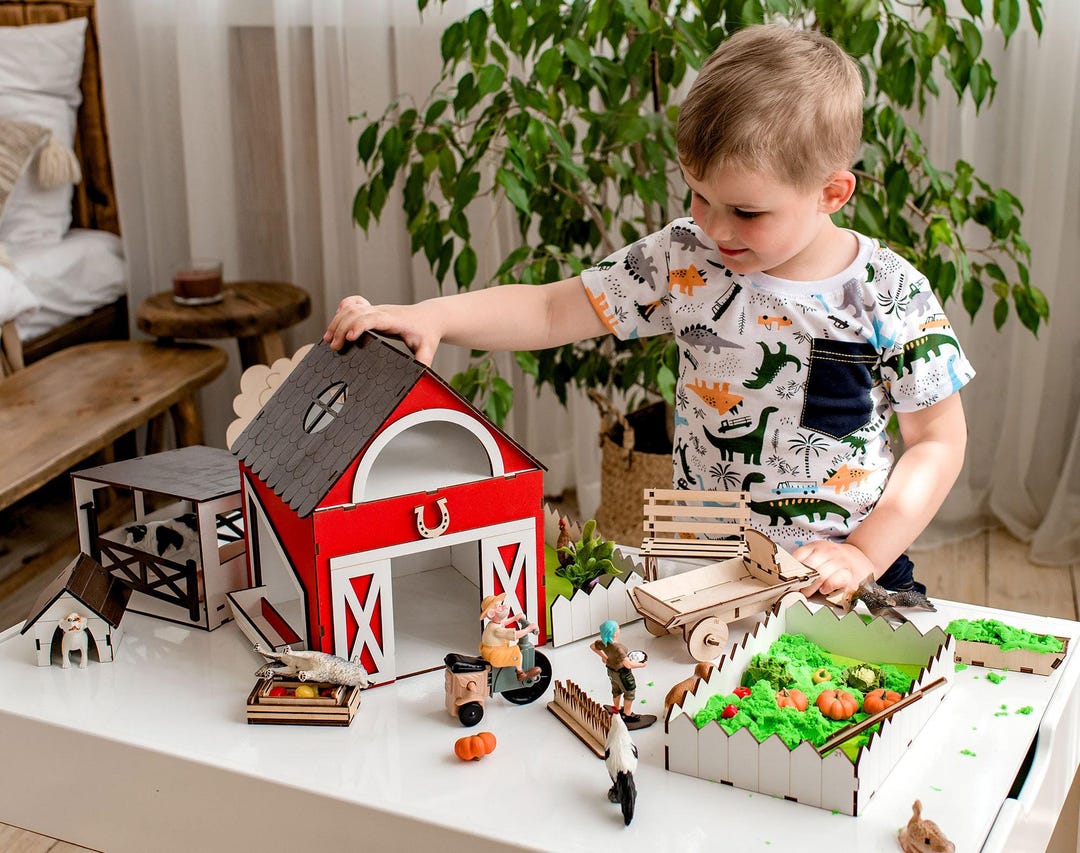
Arrange the barn in a place with good light and enough space. Add small farm animals, toy tractors, and fences. Use natural materials like straw or small wooden crates for extra realism. Create a cozy spot nearby with cushions or a small table for playtime. This setup invites children to explore and enjoy the barn fully.
Inspiring Imagination
Encourage children to invent stories about farm life. Suggest ideas like caring for animals or harvesting crops. Let them decide the barn’s daily routine. This freedom sparks creativity and builds confidence. Change the scene often to keep play fresh and exciting. The barn becomes a stage for endless adventures.
Credit: www.etsy.com
Frequently Asked Questions
What Materials Are Needed To Build A Wooden Toy Barn?
To build a wooden toy barn, you need plywood, wood glue, nails, paint, sandpaper, and basic tools like a saw and hammer. These materials ensure durability and safety for children’s play.
How Long Does It Take To Build A Wooden Toy Barn?
Building a wooden toy barn typically takes 4 to 6 hours. Time depends on your skill level and the complexity of the barn design.
What Is The Best Wood Type For A Toy Barn?
Pine and plywood are ideal for toy barns. They are lightweight, affordable, easy to work with, and safe for children.
How Can I Make The Toy Barn Safe For Kids?
Use smooth sanded wood, non-toxic paint, and secure all parts firmly. Avoid small detachable pieces to prevent choking hazards.
Conclusion
Building a wooden toy barn can be fun and rewarding. You only need some simple tools and materials. Follow each step carefully to ensure a sturdy barn. Take your time and enjoy the process. Kids will love playing with a handmade toy barn.
It brings creativity and joy to any playtime. Try making one yourself and see how easy it can be. Wooden toys last longer and feel special. This project is perfect for beginners and experts alike. Give it a try and create memories that last.




