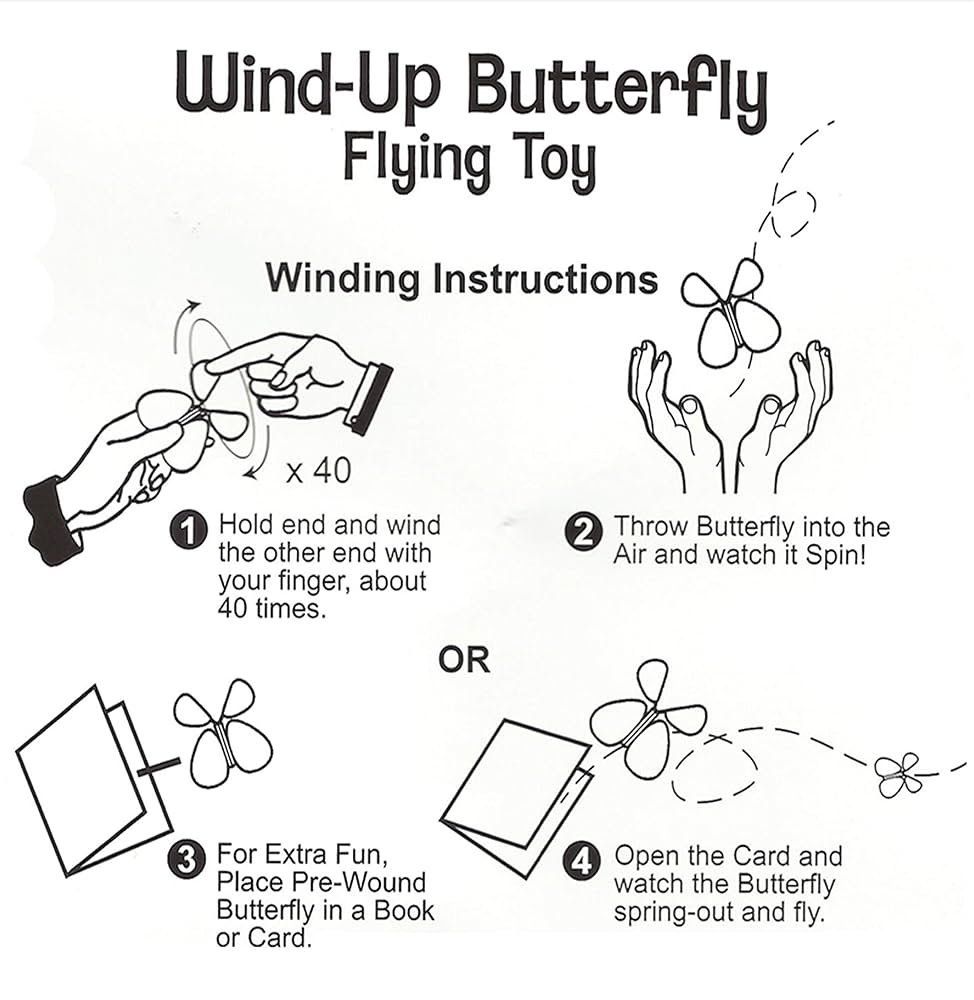
Have you ever wondered how those charming wind-up toys come to life with just a simple twist? Imagine creating your very own toy that moves, ticks, and entertains—all built by your own hands.
Building a wind-up toy is not only fun but also a great way to understand basic mechanics and spark your creativity. In this guide, you’ll discover easy steps and insider tips to make a toy that’s both unique and fascinating.
Ready to turn your ideas into motion? Let’s dive in and bring your toy to life!
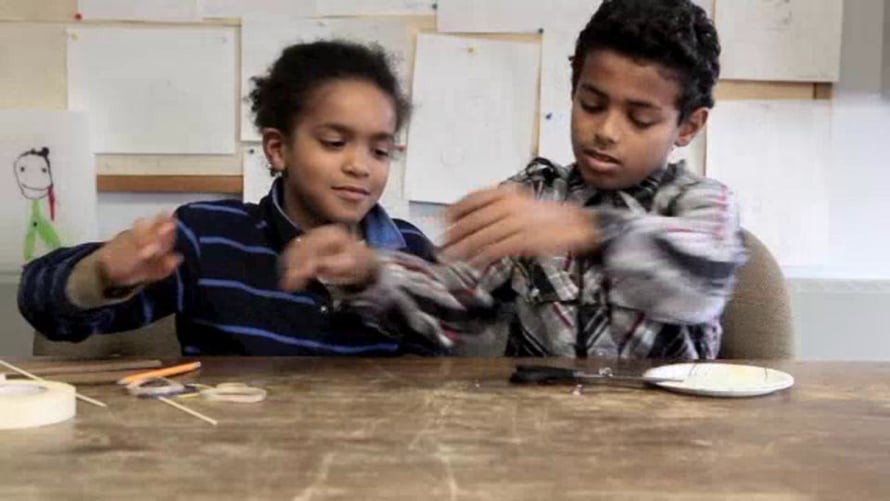
Credit: vimeo.com
Materials Needed
Gathering the right materials is key to building a wind-up toy that works smoothly and lasts long. You want to use parts that fit well together and are easy to handle, especially if this is your first time crafting one. Choosing quality materials can save you frustration and make your project more enjoyable.
Essential Mechanical Parts
- Spring mechanism:This is the heart of your wind-up toy. A small coil spring or a rubber band can store the energy needed to make the toy move.
- Gears and axles:These help transfer the stored energy from the spring to the wheels or moving parts. You can find small gears in old clocks or toys.
- Wheels or moving components:These parts bring your toy to life by turning or moving when the spring unwinds.
Tools And Assembly Supplies
- Screwdriver and pliers:You’ll need these to adjust and secure small parts.
- Glue or tape:Choose a strong adhesive that works well on the materials you pick, like plastic or wood.
- Scissors or a craft knife:Useful for cutting materials to size.
Building Materials For The Toy Body
- Lightweight wood or plastic:These make sturdy but easy-to-handle frames for your toy.
- Cardboard:A budget-friendly option for prototypes or simple designs.
- Decorative items:Paint, stickers, or markers help you personalize your toy and make it visually appealing.
Have you ever thought about how the choice of materials affects the toy’s speed or durability? Experimenting with different parts can give you surprising results. What materials do you already have around that could work for this project?
Design Concepts
Design concepts are the foundation of building a wind-up toy. Clear ideas help shape your toy’s look and function. Thoughtful design makes the toy enjoyable and easy to wind up. Focus on simple shapes and mechanics that work well together.
Choosing A Theme
Select a theme that excites you. It could be an animal, a vehicle, or a fantasy character. Themes guide the toy’s shape and movements. Pick something that is easy to build and fun to watch in motion. Themes make your toy unique and interesting.
Sketching Your Toy
Start by drawing rough sketches of your toy. Show the main parts and how they connect. Use simple lines and shapes to keep it clear. Sketch the winding mechanism and moving parts. This helps you plan the assembly and spot problems early.
Creating The Body
Creating the body of a wind-up toy is an exciting part of the project. This phase shapes the toy’s look and durability. Choosing the right materials ensures the toy lasts long and functions smoothly. Assembly requires careful attention to fit all parts well.
Selecting Materials
Choose lightweight but strong materials for the body. Wood, plastic, and thin metal sheets work best. Wood is easy to cut and shape. Plastic offers smooth surfaces and bright colors. Thin metal adds strength but needs careful handling.
Consider these material qualities:
- Durability
- Ease of shaping
- Weight
- Safety
- Appearance
Pick materials that fit your skill level and design style. Avoid heavy materials that slow down the toy’s movement.
Shaping And Assembly
Start shaping the body by sketching the design on your chosen material. Use simple tools like scissors, saws, or knives to cut out parts carefully. Sand edges to avoid rough spots.
Assemble pieces using glue, small screws, or nails. Check that all parts fit tightly without gaps. Make sure the body allows space for the winding mechanism inside.
Test the body by attaching it to the mechanism. Adjust parts if the toy does not move smoothly. Strong joints keep the toy intact during play.
Mechanism Basics
Building a wind-up toy begins with understanding the heart of its movement—the mechanism. This basic knowledge sets the foundation for creating a toy that not only works but delights. Grasping how these mechanisms function will save you time and frustration, making your project more rewarding.
Understanding Wind-up Mechanisms
Wind-up mechanisms rely on stored energy, usually from a coiled spring, to power motion. When you turn the key or knob, you tighten the spring, which slowly unwinds to move gears and create movement. Think of it as a tiny engine inside your toy that releases energy in a controlled way.
Different parts work together: the spring stores energy, gears control the speed, and the escapement regulates the release. If any of these parts fail or don’t fit well, your toy won’t run smoothly. Have you ever noticed some wind-up toys stop abruptly? That’s often due to a faulty escapement or gear misalignment.
Selecting The Right Mechanism
Choosing the right mechanism depends on your toy’s size and the type of movement you want. Simple toys may only need a basic spring and gear set, while complex ones require more precise components. Consider how long you want your toy to run and how fast it should move.
Quality matters here. Buying a well-made spring and gear set can make your project easier and more enjoyable. Look for mechanisms designed for toys to ensure safety and durability. Have you checked whether your mechanism fits inside your toy’s body without forcing it? Proper fit prevents damage and keeps everything working.
Building The Mechanism
Building the mechanism is the heart of creating a wind-up toy. It turns simple parts into a moving, fun toy. The mechanism stores energy and releases it to make the toy move. Careful assembly ensures smooth motion and longer playtime. Let’s explore the key parts of the mechanism.
Installing The Spring
The spring stores the energy needed for movement. Use a flat or coil spring depending on your toy design. Attach one end of the spring firmly to the toy’s frame. The other end connects to the winding key or lever. Wind the spring gently to avoid damage. Make sure the spring can tighten and release smoothly.
Creating Gears And Axles
Gears transfer energy from the spring to the toy’s wheels or parts. Cut gears carefully from plastic or wood. Match gear teeth sizes for smooth rotation. Insert axles through gear centers to hold them in place. Axles must spin freely inside the frame holes. Align gears so they mesh tightly without jamming. This setup ensures steady, controlled movement.
Integrating Mechanism And Body
Integrating the mechanism and body is key to building a wind-up toy. The mechanism powers the toy’s movement. The body gives it shape and character. Both parts must fit well together to work smoothly.
A good fit prevents damage and ensures the toy runs longer. Careful alignment and secure attachment are essential. This section explains how to position and secure the mechanism inside the toy’s body.
Positioning The Mechanism
Start by choosing the right spot for the mechanism. It should sit where it can turn freely without hitting the body walls. Balance is important to keep the toy stable while moving.
Test different positions before fixing it. The mechanism’s winding key must be easy to reach. Check that gears and springs align with the body’s openings.
- Place the mechanism near the center of gravity
- Leave space for moving parts
- Ensure the winding key is accessible
- Keep gears away from sharp edges
Securing The Mechanism
Use strong but gentle methods to fix the mechanism. Screws, clips, or glue can hold it in place. Avoid pressure that might bend or break parts.
Check the mechanism after securing. It should spin and wind without resistance. Tighten fasteners just enough to hold firm. Loose parts cause noise and wear.
- Use small screws for wooden or plastic bodies
- Try clips for easy removal and repair
- Apply glue on flat surfaces only
- Test movement before final assembly
Decorating Your Toy
Decorating your wind-up toy is where your creativity really shines. It transforms a simple mechanical object into something unique and fun to play with or display. Think about the personality you want your toy to have—bold and bright or soft and detailed? Your choices here will bring it to life.
Painting Techniques
Start with a smooth surface by lightly sanding your toy’s exterior. This helps the paint stick better and last longer. Use acrylic paints since they dry quickly and come in many vibrant colors.
Try layering colors to add depth. A base coat followed by lighter or darker shades can make your toy look more interesting. Don’t rush—let each layer dry before adding the next to avoid smudging.
If you want sharp lines or patterns, masking tape is your best friend. Apply it carefully, paint over, and peel it off once dry. This technique is perfect for stripes, shapes, or even tiny logos.
Adding Details
Details give your toy character. Use fine brushes or even toothpicks to paint eyes, buttons, or tiny decorations. These small touches make a huge difference in the final look.
Consider glueing on small parts like beads, fabric scraps, or googly eyes. These can add texture and playfulness. Just be sure everything is securely attached so your toy stays intact while winding up and playing.
Have you thought about adding decals or stickers? They’re an easy way to add intricate designs without needing advanced painting skills. Choose waterproof ones if you want your toy to be durable.

Credit: sciplus.com
Testing And Troubleshooting
Testing and troubleshooting are key parts of building your wind-up toy. This stage shows whether your hard work has paid off or if adjustments are needed. Taking time here can save you frustration later and help your toy run smoothly.
Initial Tests
Start by winding the toy gently and watching how it moves. Does it spin or walk as expected? Try winding it a few times to see if the motion stays consistent or if it slows down quickly.
Pay attention to any unusual sounds like grinding or clicking. These sounds can signal problems with the gears or the spring. Testing on different surfaces also helps—does it work better on smooth floors or carpet?
Common Issues And Fixes
- Toy doesn’t move:Check if the spring is properly wound and not broken. Make sure the gears are aligned and not stuck.
- Movement is weak or stops quickly:Clean any dust or debris from the gears. Lubricate the moving parts lightly with a small amount of oil to reduce friction.
- Strange noises:Look for gear teeth that may be chipped or misaligned. Tighten any loose screws that might cause rattling.
- Toy moves erratically or in the wrong direction:Verify the gear assembly order and the direction the spring is wound. Sometimes reversing a gear or rewinding the spring fixes the issue.
Have you noticed how small changes can drastically improve how your toy runs? Testing often reveals tiny tweaks that make a big difference. What’s the one problem you find most challenging to fix?
Final Adjustments
Final adjustments are what transform your wind-up toy from a simple assembly into a smooth, enjoyable gadget. These tweaks let you fine-tune how it moves and how long it lasts. Taking the time here pays off in a toy that performs well and stands up to play.
Enhancing Functionality
Check the winding mechanism for smooth rotation. If it feels stiff, try adding a tiny drop of light oil to the gears—this can make a big difference.
Test the toy’s movement several times. Does it go straight or wobble? Adjust the wheels or axles by gently bending or repositioning them until the motion is steady.
Think about the toy’s speed. If it spins too fast or too slow, tweak the tension of the spring by carefully winding it less or more. Have you noticed how small changes can drastically alter the toy’s behavior?
Ensuring Durability
Look over all joints and connections. Are there any loose parts? Secure them with a bit of glue or by tightening screws to prevent the toy from falling apart during use.
Consider the materials you used. Adding a protective layer of varnish or paint not only makes your toy look better but also protects it from wear and tear.
Test the toy with gentle but firm use. If any part feels weak, reinforce it with extra supports or stronger materials. How long do you want your creation to last? This step helps you decide the right balance between strength and flexibility.

Credit: www.reddit.com
Frequently Asked Questions
What Materials Are Needed To Build A Wind-up Toy?
To build a wind-up toy, you need a spring mechanism, gears, a winding key, lightweight materials like wood or plastic, glue, and basic tools. These components ensure your toy functions smoothly and is durable for play.
How Does The Wind-up Mechanism Work In Toys?
The wind-up mechanism stores energy in a coiled spring when you turn the key. As the spring unwinds, it releases energy, moving gears that power the toy’s motion. This simple mechanical process creates continuous movement without batteries.
Can Beginners Build A Wind-up Toy At Home?
Yes, beginners can build wind-up toys using simple kits or tutorials. Start with basic designs and materials. Follow step-by-step instructions carefully to learn the mechanics and improve your skills progressively.
How To Make A Wind-up Toy Move Faster?
To increase speed, use a tighter spring and reduce friction in gears. Ensure all moving parts are well-lubricated and lightweight. Adjusting gear ratios also helps the toy move faster while maintaining smooth operation.
Conclusion
Building a wind-up toy is a fun and creative project. It teaches basic mechanics and patience. Each step helps you understand how parts work together. You can see your toy move with your own hands. This process makes learning exciting and hands-on.
Try different designs to explore more ideas. Keep practicing to improve your skills. Enjoy the satisfaction of making something by yourself. Simple tools and materials make this project easy to start. Give it a try and have fun building your wind-up toy!




