Are you tired of clutter taking over your living space? Building a toy box with simple 2×4 lumber can be the perfect solution.
Imagine having a sturdy, custom storage box made by your own hands—one that fits your child’s toys perfectly and adds a personal touch to your home. In this guide, you’ll discover easy steps and tips that make the whole process straightforward, even if you’re new to woodworking.
Keep reading to learn how you can create a durable, attractive toy box that keeps your space neat and your kids happy.
Materials And Tools Needed
Building a toy box with 2×4 lumber requires specific materials and tools. These items ensure your project is sturdy and safe. Preparing everything beforehand saves time and effort.
Choose quality wood and the right hardware for best results. Also, having the proper tools makes assembly easier and more precise.
Materials Needed
- 2×4 lumber boards (quantity depends on box size)
- Plywood sheet for the bottom and lid
- Wood screws (1 ¼ inch and 2 ½ inch)
- Wood glue for extra strength
- Sandpaper (medium and fine grit)
- Wood finish or paint to protect and decorate
- Hinges for the lid
- Handles or knobs for easy opening
Tools Needed
- Circular saw or hand saw for cutting wood
- Power drill with drill bits
- Screwdriver (manual or electric)
- Measuring tape for accurate dimensions
- Square tool to check right angles
- Clamps to hold pieces in place
- Safety glasses and gloves for protection
- Sanding block or electric sander

Credit: www.facebook.com
Preparing The Wood
Preparing the wood is a crucial part of building a sturdy and safe toy box. Taking your time here sets the foundation for a smooth construction process and a finished product that lasts. Let’s dive into how to choose and prepare your 2x4s properly before you start cutting and assembling.
Selecting Quality 2x4s
Not all 2x4s are created equal. Look for pieces that are straight and free from large knots or cracks, as these can weaken your toy box. Avoid boards with warping or twisting—these will make it harder to get clean cuts and tight joints.
Check the surface for splinters or rough patches. Sanding them down will help prevent splinters in the finished box, especially since kids will be handling it. You might be tempted to grab the cheapest lumber, but investing in quality wood will save you time and frustration.
Cutting The Boards
Before cutting, measure twice to avoid mistakes. Mark your cut lines clearly using a pencil and a square for straight edges. Using a sharp saw will give you cleaner cuts and reduce splintering.
Cut slowly and steadily to maintain control. If you have a miter saw or circular saw, these tools can speed up the process and improve accuracy. Keep your workspace organized so you don’t lose track of cut pieces or risk accidents.
Have you noticed how a well-cut board fits perfectly without forcing? That fit makes assembly easier and the toy box sturdier. Take your time here—it pays off in the final product’s quality and durability.
Constructing The Base
Constructing the base is the foundation of your toy box. It must be strong and stable to hold all the weight. Using 2×4 lumber creates a solid frame that supports the entire structure. Focus on accuracy and tight joints to avoid wobbling later. This part sets the tone for the rest of the build.
Aligning The Frame
Start by laying out the 2x4s on a flat surface. Arrange the pieces to form a rectangle matching the toy box dimensions. Use a carpenter’s square to check the corners for perfect right angles. Measure twice to ensure the frame is even on all sides.
Keep the boards flush so edges line up neatly. Clamp the wood pieces to prevent movement while working. This step ensures the frame stays square and true during assembly.
Securing The Structure
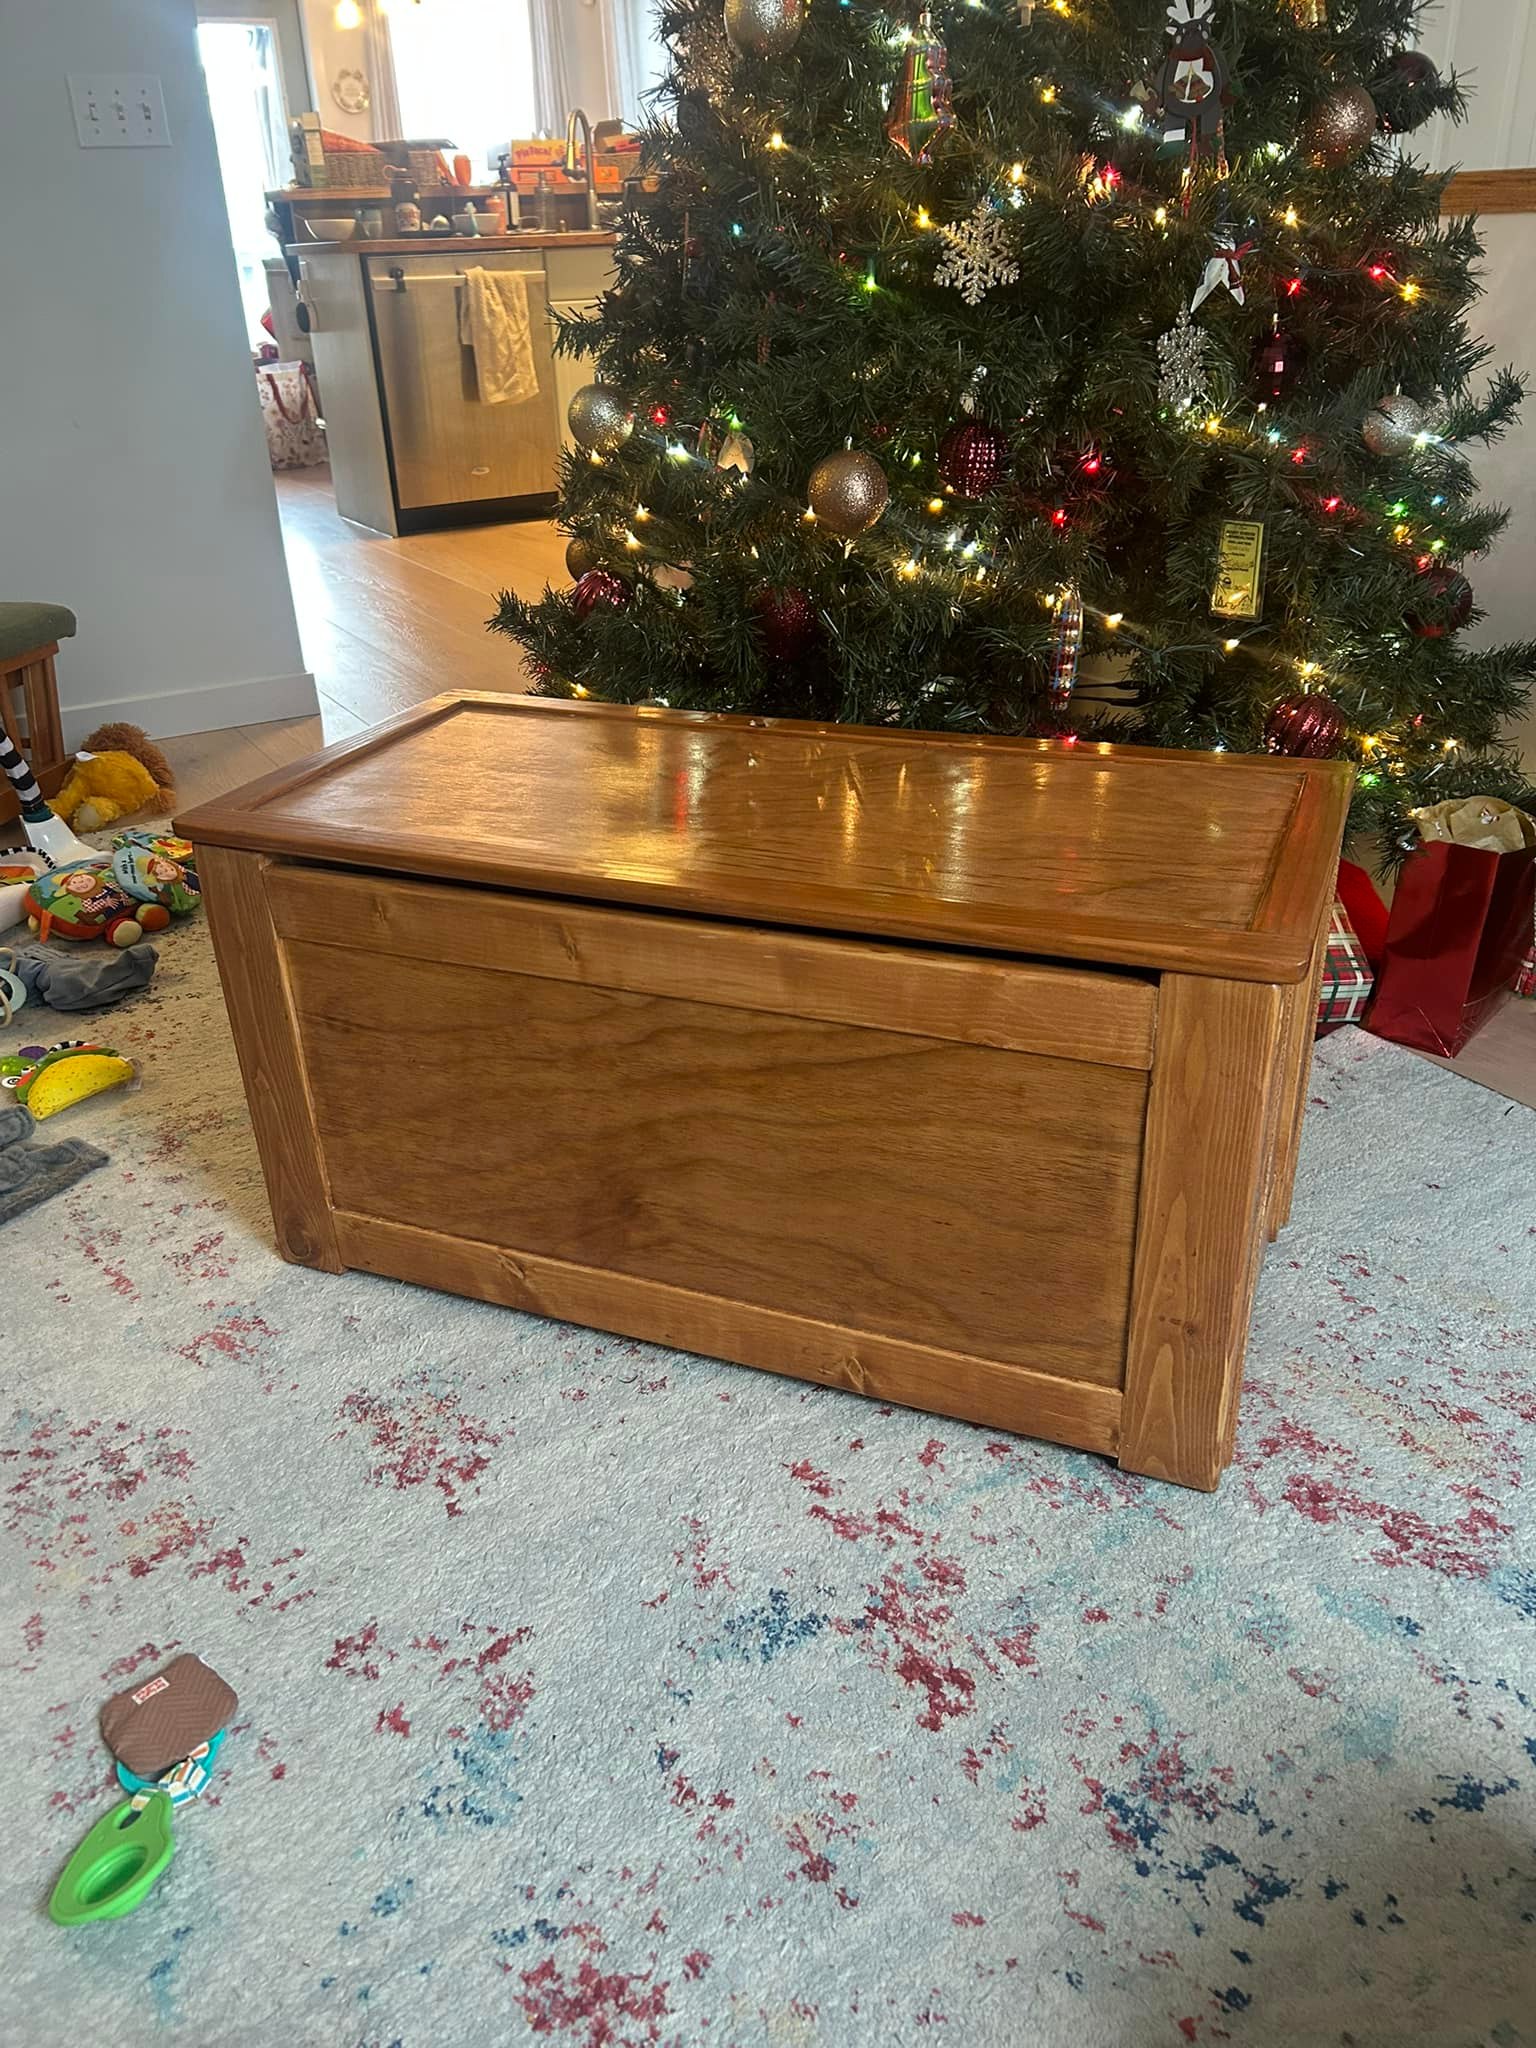
Fasten the frame using wood screws designed for 2×4 lumber. Drill pilot holes first to avoid splitting the wood. Drive screws at each corner and along the sides for extra strength.
Reinforce the frame by adding cross braces inside the rectangle. Place these braces evenly to support the base panel later. Secure all joints tightly to create a durable foundation.
Credit: www.facebook.com
Building The Sides
Building the sides of your toy box is a crucial step. These panels form the main structure and give the box its shape. Use 2×4 lumber to create strong and durable sides. Make sure each panel is cut accurately to fit perfectly with the other parts.
Attaching The Panels
Place the side panels upright on a flat surface. Align the edges carefully to avoid gaps. Use wood screws to fasten the panels together. Pre-drill holes to prevent the wood from splitting. Use clamps to hold the panels steady while attaching them. Check that the panels are square and flush before tightening the screws.
Ensuring Stability
Reinforce the joints with corner braces or wood glue. This adds extra strength to the toy box. Add horizontal supports inside the panels for better stability. Sand the edges to remove splinters and rough spots. Test the structure by gently pressing on the sides. A stable frame will not wobble or shift.
Creating The Lid
Creating the lid for your toy box is an important part of the project. The lid needs to fit well and open smoothly. A good lid keeps toys secure and adds to the box’s look. Using 2x4s makes the lid strong and sturdy. You will measure, cut, and attach hinges to complete the lid.
Measuring And Cutting
Start by measuring the top of the toy box. The lid should cover the box completely. Add a small overlap for a tight fit. Use a tape measure for accuracy. Mark the 2×4 pieces carefully before cutting.
Cut the 2x4s to the right length using a saw. Cut four pieces:
- Two long pieces for the length of the lid
- Two shorter pieces for the width
Arrange the pieces in a rectangle frame. Check the corners for right angles. Use wood glue to hold the frame together. Clamp the pieces to dry if possible. This will keep the lid strong and square.
Installing Hinges
Choose sturdy hinges made for outdoor or heavy use. Position the hinges evenly along one long side of the lid. Mark where the screws will go on both the lid and the box.
Pre-drill holes to avoid splitting the wood. Attach the hinges with screws using a screwdriver. Test the lid by opening and closing it several times. The lid should move smoothly without wobbling.
If needed, adjust the hinge screws for better fit. Make sure the lid stays securely attached but easy to lift. Proper hinge installation ensures long-lasting function and safety.

Credit: www.facebook.com
Finishing Touches
The finishing touches are what transform your toy box from a simple wooden structure into a beautiful, durable piece your kids will love. This stage protects the wood and gives it a polished look that fits perfectly in your home. Taking the time to carefully finish your toy box makes all the effort worthwhile.
Sanding The Surface
Sanding smooths out rough edges and removes splinters that could hurt little hands. Start with a coarse grit sandpaper, like 80 or 100, to even out any bumps or uneven spots.
Then switch to a finer grit, such as 220, to create a soft, smooth finish. Don’t forget to sand in the direction of the wood grain—it reduces scratches and makes the surface feel nicer.
Pay extra attention to corners and inside edges where kids might reach in. Have you ever noticed how a rough edge can turn a fun toy box into a painful experience? Sanding solves that easily.
Applying Paint Or Stain
Choosing paint or stain depends on the style you want and how you plan to use the toy box. Paint offers bright colors and full coverage, perfect for a playful, vibrant look.
Stain shows off the natural wood grain and gives a classic, warm feel. Make sure to apply a primer if you choose paint—it helps the color stick better and last longer.
Use a brush or foam roller for even application. After the first coat dries, lightly sand with fine grit sandpaper before adding a second coat. This small step makes a big difference in the final smoothness.
Have you thought about adding a clear sealant on top? It protects your paint or stain from scratches and spills, keeping your toy box looking great for years.
Safety Tips
Building a toy box with 2×4 lumber is a rewarding project, but safety should always be your top priority. Taking the right precautions not only protects you during construction but also ensures the finished toy box is safe for children. Let’s look at some essential safety tips that will make your DIY experience smooth and secure.
Using Tools Safely
Power tools and hand tools can be dangerous if you’re not careful. Always wear safety goggles to protect your eyes from flying wood chips and dust. Keep your fingers clear of blades and bits, and use clamps to hold wood steady instead of your hands.
Make sure your workspace is well-lit and clutter-free to avoid tripping or accidental slips. Before starting, check that all tools are in good working order and blades are sharp—dull blades can cause the tool to slip unexpectedly. Have a first-aid kit nearby just in case, because quick treatment can prevent minor injuries from becoming serious.
Childproofing The Toy Box
After building the toy box, think about how children will use it every day. Avoid sharp edges by sanding all corners and surfaces until smooth. This simple step can prevent scrapes and splinters that might keep your little ones away from their new treasure.
Consider adding safety hinges or lid supports to prevent the lid from slamming shut and trapping tiny fingers. You might also want to use non-toxic paint or finish, as kids often touch and sometimes even lick their toys. Have you ever thought about how small details like these can make a big difference in your child’s safety?
Frequently Asked Questions
What Materials Are Needed To Build A Toy Box With 2×4?
You need 2×4 lumber, screws, wood glue, sandpaper, paint or stain, hinges, and a saw. These basic materials ensure a sturdy and safe toy box.
How Do You Assemble A Toy Box Using 2x4s?
Cut 2x4s to size, create a rectangular frame, attach side panels, and add a bottom. Secure all parts with screws and wood glue for stability.
What Tools Are Required For Building A 2×4 Toy Box?
Essential tools include a saw, drill, screwdriver, measuring tape, square, and sander. These tools help make accurate cuts and assemble the toy box properly.
How Can I Make The Toy Box Safe For Children?
Smooth all edges with sandpaper, use non-toxic paint or finish, and ensure hinges have safety stops. These steps prevent injuries and keep the toy box child-friendly.
Conclusion
Building a toy box with 2×4 wood is simple and fun. You only need basic tools and a clear plan. Follow the steps carefully to create a strong, useful box. This project saves money and adds a personal touch to your home.
Plus, it gives kids a neat place to keep toys. Try making one yourself and enjoy the pride of DIY work. It’s a great way to learn new skills and make something lasting. Start today and see how easy woodworking can be!




