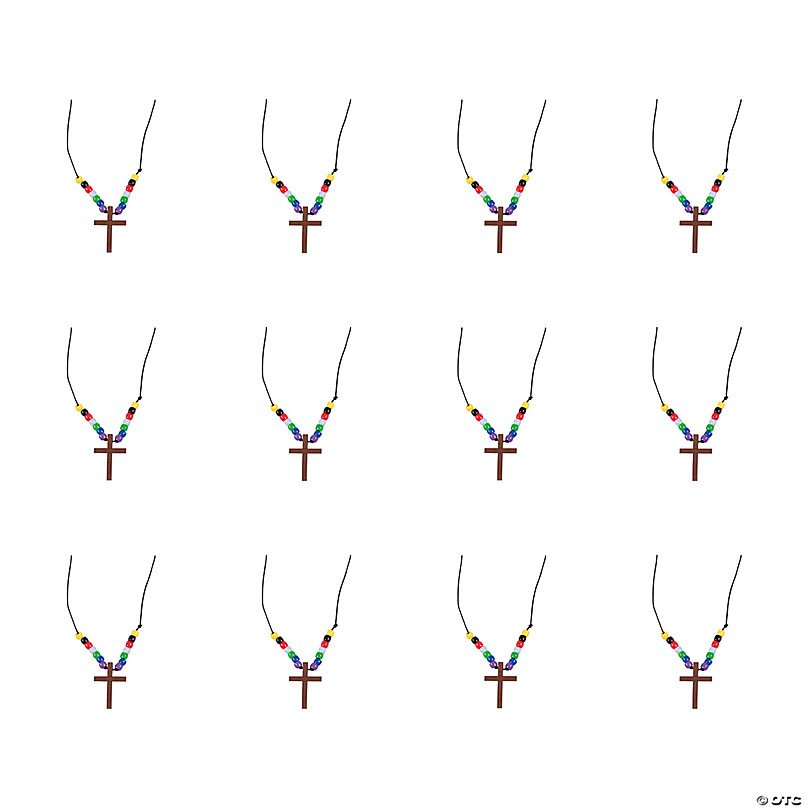
Are you looking for a fun and meaningful craft project that you can make yourself or share with loved ones? Creating your own beaded cross necklace is easier than you think, and with the right craft kit, you’ll have everything you need to design a beautiful piece that reflects your style and faith.
Imagine wearing a necklace you made with your own hands or gifting it to someone special—how rewarding would that feel? In this guide, you’ll discover simple steps and helpful tips to create your very own beaded cross necklace craft kit.
Ready to turn beads into a cherished keepsake? Let’s get started!

Credit: www.amazon.com
Materials Needed
Gathering the right materials is key to making a beautiful beaded cross necklace. The materials you choose affect the necklace’s look and durability. Focus on quality items that match your style and skill level. This section breaks down the essential materials you need to get started.
Beads Selection
Choose beads that fit the necklace size and design. Seed beads are popular for their small size and color variety. Glass beads add shine and elegance. Wooden beads give a natural and rustic feel. Mix colors and shapes for a unique look. Count the beads needed for the cross shape and any extra for decoration.
String Types
Select a string strong enough to hold the beads. Nylon thread is flexible and durable, perfect for beaded jewelry. Elastic cord allows easy wearing and fits different neck sizes. Fishing line offers strength and invisibility. Consider the string thickness to fit bead holes smoothly.
Tools And Accessories
Basic tools make the crafting process easier. Use scissors to cut strings cleanly. Needle nose pliers help with attaching clasps and bending wire. Beading needles guide thread through small bead holes. Clasps, jump rings, and crimps finish the necklace professionally. A bead mat keeps beads from rolling away during work.
Design Planning
Design planning is a key part of making a beaded cross necklace. It helps create a beautiful and balanced final piece. Careful planning saves time and reduces mistakes. It also allows you to express your style clearly. This section covers important points to consider before starting your craft project.
Choosing A Pattern
Start by picking a pattern that fits your skill level. Simple patterns work best for beginners. They use fewer beads and basic shapes. Complex patterns offer detailed designs but need more focus. You can find patterns in craft kits or online. Sketch your chosen pattern on paper to visualize it better.
Color Coordination
Select colors that match or contrast well. Use a limited color palette for a clean look. Try pairing light and dark beads to add depth. Pastel colors create a soft, gentle appearance. Bright colors make the necklace stand out. Test color combinations by placing beads next to each other.
Size Considerations
Think about the necklace size that suits you. Measure the length to fit your neck comfortably. Choose bead sizes that match the necklace scale. Large beads create a bold statement. Small beads offer delicate and detailed designs. Balance bead size with the cross shape for harmony.
Preparing The Workspace
Preparing your workspace is a crucial step before diving into your beaded cross necklace craft kit. A well-organized and safe area not only makes crafting easier but also more enjoyable. It helps you stay focused and reduces the chances of losing tiny beads or tools along the way.
Organizing Materials
Start by sorting all your beads by color and size. Use small containers or compartmentalized boxes to keep them separated. This way, you won’t have to dig through a pile when searching for the perfect bead.
Lay out the necklace string, cross pendant, and any extra decorations within easy reach. Keeping everything visible saves time and keeps your workflow smooth. Have a trash bowl nearby to discard broken beads or thread ends immediately.
Setting Up Tools
Gather essential tools like scissors, pliers, and a bead needle, placing them on a flat, stable surface. A bead mat or soft cloth underneath can prevent beads from rolling away. Good lighting is key—natural light or a bright desk lamp helps you see tiny details clearly.
If you use glue or any adhesives, keep them close but separate from your beads to avoid accidental spills. Think about your comfort too: a sturdy chair and a clean table make crafting less tiring.
Safety Precautions
Beads and small tools can be choking hazards, so keep them away from young children and pets. Work in a well-ventilated area, especially if you’re using glue or paints. Wearing safety glasses can protect your eyes from sharp tools or flying beads.
Take breaks to rest your eyes and hands, preventing strain or injury. Have a first-aid kit nearby just in case, and don’t rush through the process. Staying safe ensures your crafting remains a fun and rewarding experience.
Crafting The Necklace
Crafting the necklace is where your creativity takes shape and the craft kit truly comes alive. This hands-on process lets you connect each bead with care, building not just a necklace but a meaningful piece of art. You’ll see how simple steps combine to create a stunning beaded cross necklace that you’ll be proud to wear or gift.
Stringing The Beads
Start by selecting the beads you want to use for your necklace. Lay them out in the order you like, mixing colors and sizes to create a pattern that feels right to you. This step helps avoid mistakes and makes the stringing process smoother.
Use the provided string or wire and carefully thread each bead on. Keep the beads snug but not too tight, allowing some flexibility for the necklace to move naturally. If you notice the beads slipping or bunching up, adjust the tension until it feels balanced.
Creating The Cross
The cross is the focal point of your necklace, so take your time to assemble it carefully. Follow the pattern included in your kit, threading beads in a way that forms a clear cross shape. This might involve stringing beads both horizontally and vertically, so keep your workspace organized.
It helps to visualize the cross by placing beads on a flat surface first. If a bead doesn’t fit right or disrupts the shape, don’t hesitate to swap it out. Your goal is a symmetrical, balanced cross that stands out on the necklace.
Attaching The Clasp
Once your beads and cross are in place, it’s time to finish the necklace with the clasp. This small piece secures your work and makes the necklace easy to wear. Use pliers or the tools in your kit to attach the clasp firmly to the ends of your string or wire.
Double-check the clasp’s function by opening and closing it a few times. A loose clasp can cause your necklace to fall off, which is frustrating after all your hard work. How do you prefer your clasp—easy to use or extra secure?
Personalizing Your Necklace
Personalizing your beaded cross necklace makes it truly special. It turns a simple craft into a meaningful keepsake. You can express your style and story through small details. Each choice in design adds a personal touch that reflects who you are.
Adding Charms
Charms bring extra meaning to your necklace. Choose charms that represent your beliefs or interests. Attach them near the cross or along the chain. Mix different shapes and sizes for a unique look. Charms create a story that is all your own.
Customizing Patterns
Patterns define the style of your necklace. Use colors and bead arrangements that speak to you. Try repeating sequences for a neat, balanced look. Or create random patterns for a fun, casual feel. Patterns can make your necklace bright, bold, or simple.
Incorporating Unique Beads
Unique beads add character and texture. Look for beads with different shapes, sizes, or finishes. Wooden, glass, or metal beads can change the necklace’s vibe. Mixing materials brings depth and interest to your design. Unique beads make your necklace stand out beautifully.
Troubleshooting Tips
Creating a beaded cross necklace can be a rewarding experience, but sometimes issues pop up that can slow you down. Having quick fixes ready helps keep your crafting flow smooth and stress-free. Below are some practical tips to handle common problems you might face while working on your necklace.
Fixing Broken Strings
If your string snaps, don’t panic. Carefully tie a secure knot close to the beads you’ve already threaded to save as much of your work as possible.
Use a drop of clear nail polish or craft glue on the knot to prevent it from coming undone. If the string is too short after fixing, consider adding a small jump ring to extend it discreetly.
Have you noticed certain string types break more often? Switching to a stronger nylon or coated wire can save you time and frustration.
Adjusting Bead Placement
Bead placement might not look right after stringing, especially if the pattern is complex. Gently slide beads back and forth to adjust spacing before securing the ends.
If beads feel too tight, loosen the string slightly to allow natural movement. Conversely, if the beads are too loose, you can add a small knot between key beads to hold them in place.
Try laying the beads out on a flat surface first to visualize the pattern better. This step helps you catch placement issues early, saving rework later.
Correcting Pattern Errors
Spotting a mistake in your bead pattern can be frustrating, but it’s easy to fix. Carefully unthread the beads until you reach the error, then re-thread them in the correct order.
Keeping a printed or digital copy of the pattern nearby can reduce errors. Mark off each row or section as you complete it to stay on track.
Ever made a subtle change that improved your design unexpectedly? Sometimes, correcting a pattern error leads to a unique and personal touch on your necklace.
Care And Maintenance
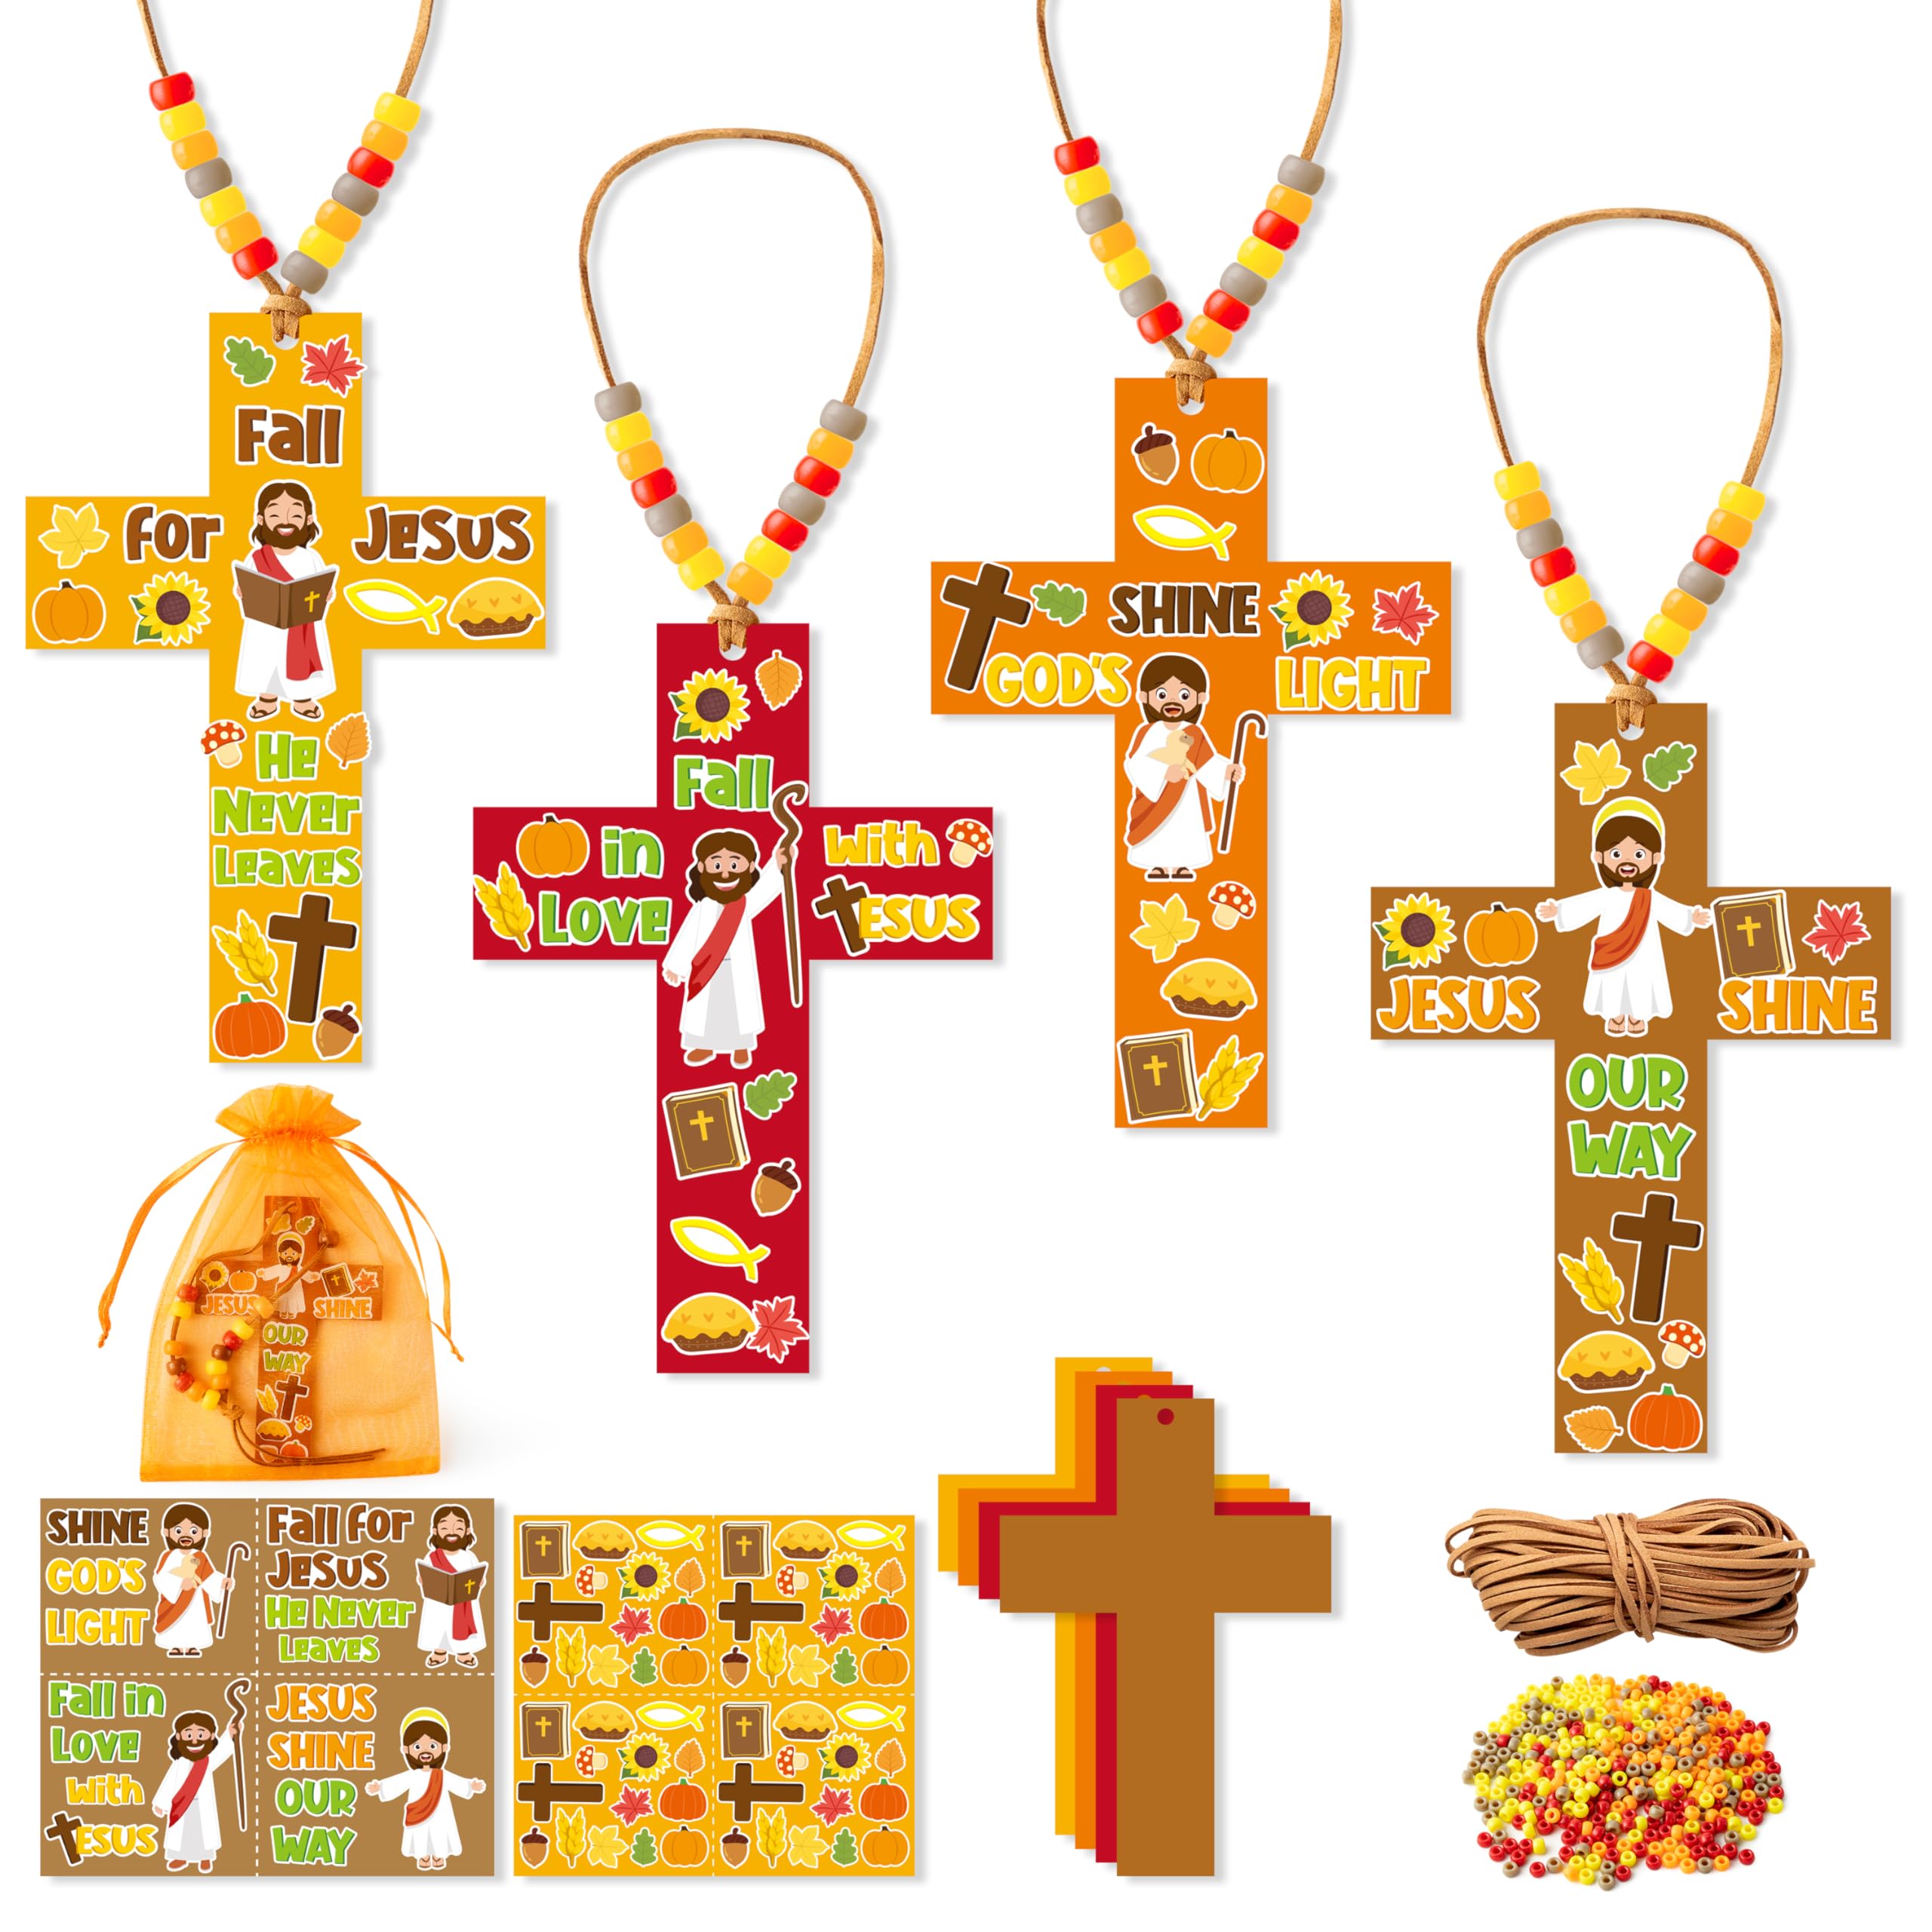
Taking care of your beaded cross necklace craft kit keeps it looking fresh and beautiful. Proper care helps the beads shine and the string stay strong. Simple steps protect your handmade treasure from damage and wear.
Cleaning Techniques
Use a soft, dry cloth to gently wipe the beads. Avoid water or soap on delicate beads to prevent damage. For stubborn dirt, slightly dampen the cloth with water only. Let the necklace air dry completely before storing it. Never use harsh chemicals or abrasive materials.
Storage Solutions
Store the necklace in a dry, cool place away from sunlight. Use a soft pouch or a jewelry box with compartments. Keep it separate from other jewelry to avoid scratches. Hanging the necklace on a jewelry stand also prevents tangling and knotting.
Repairing Damages
Check the string regularly for signs of wear or fraying. Replace the string if it looks weak to avoid breakage. Use small pliers to carefully reattach any loose beads. Keep extra beads and string from the kit handy for quick fixes. Gentle handling extends the life of your necklace.
Credit: www.amazon.com

Credit: www.facebook.com
Frequently Asked Questions
What Materials Are Needed For A Beaded Cross Necklace Kit?
A typical kit includes beads, string or wire, a cross pendant, clasps, and tools like pliers. Some kits provide detailed instructions and extra beads for customization.
How Long Does It Take To Make A Beaded Cross Necklace?
Making the necklace usually takes 30 to 60 minutes. Time varies based on skill level and design complexity, making it a perfect craft for beginners or experienced crafters.
Can Beginners Easily Use A Beaded Cross Necklace Kit?
Yes, these kits are designed for beginners. They include clear instructions and all necessary materials, ensuring a simple and enjoyable crafting experience.
How To Customize A Beaded Cross Necklace Craft Kit?
You can customize by choosing different bead colors, sizes, and patterns. Adding charms or using various string types also personalizes your necklace design.
Conclusion
Making a beaded cross necklace is a fun and creative activity. You can enjoy crafting with simple steps and easy materials. This project helps improve your focus and patience. Each necklace you make is unique and special. It also makes a thoughtful gift for friends or family.
Try different colors and bead shapes for variety. Keep practicing to get better every time. Crafting this necklace brings joy and a sense of accomplishment. Give it a try and enjoy the process!




