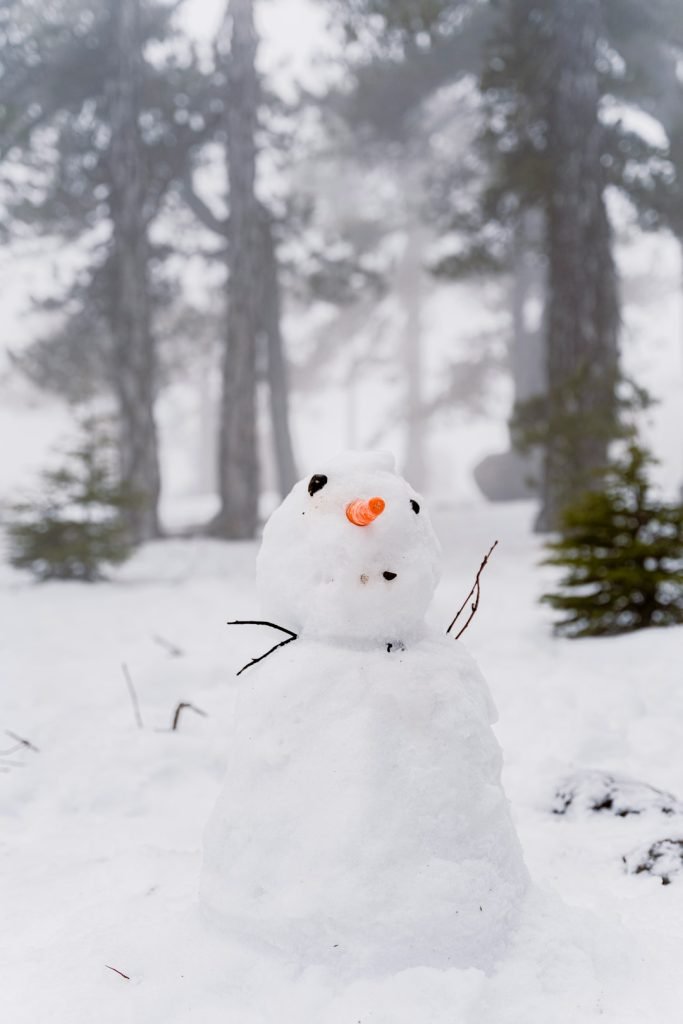
Do you want to build a snowman toy that brings joy and warmth to your home all year round? Imagine holding a charming little snowman in your hands—something you created yourself.
It’s fun, simple, and perfect for anyone who loves crafts or unique decorations. You’ll discover easy steps and tips to make your own snowman toy that will brighten your space and your mood. Ready to turn a few basic materials into a delightful keepsake?
Keep reading, and let’s get started!
Materials Needed
Gathering the right materials makes building a snowman toy fun and easy. Having everything ready helps you focus on crafting. Choose simple, safe items that suit your skill level and the design you want.
Craft Supplies
- White felt or cotton balls for the snow body
- Orange felt or foam for the carrot nose
- Black buttons or beads for eyes and mouth
- Colored fabric scraps for scarf and hat
- Glue suitable for fabric and small items
- Polyester stuffing or cotton for filling
Tools And Equipment
- Scissors with sharp blades
- Needle and thread for sewing
- Hot glue gun for quick bonding
- Markers for adding details
- Ruler or measuring tape
Optional Accessories
- Small twigs for arms
- Mini buttons or sequins for decoration
- Glitter to add sparkle
- Pipe cleaners for glasses or accessories
- Mini hats or tiny scarves from craft kits
Choosing The Right Fabrics
Choosing the right fabrics for your “Do You Want to Build a Snowman” toy can make all the difference. The fabric affects not only the toy’s look but also its feel and durability. Picking the perfect material helps bring your snowman to life and ensures it lasts through many playtimes or display seasons.
Types Of Fabrics
Think about the texture you want your snowman to have. Soft fleece or felt works great for a cozy, cuddly feel. These fabrics are easy to sew and hold shapes well, making them ideal for snowman bodies.
If you want a more polished look, smooth cotton or even velvet can add a unique touch. Cotton is breathable and comes in many patterns, while velvet adds a touch of elegance. Avoid fabrics that shed easily or stretch too much, as they might lose shape quickly.
Have you considered mixing fabrics? Using fleece for the body and cotton for the scarf or hat can add interesting texture contrasts. Think about how each fabric will look and feel when combined.
Color Combinations
White is the classic choice for the snowman’s body, but don’t be afraid to play with shades like cream or light gray. These subtle variations can make your snowman look more natural and less flat.
Bright colors for accessories like scarves, hats, and buttons bring your toy to life. Red, green, or blue scarves stand out beautifully against a white body. You might also try patterns like stripes or polka dots to add charm and personality.
Consider the mood you want to set. Are you aiming for a traditional holiday feel or a fun, modern twist? Your color choices can reflect that perfectly.
Creating The Snowman Body
Creating the snowman body is where your toy truly begins to take shape. This part requires patience and precision, but the results are incredibly rewarding. Think about how each piece will fit together and how you want your snowman to feel once it’s complete.
Cutting Patterns
Start by selecting simple, clear patterns for the snowman’s body parts—usually three circles or ovals in different sizes. Use sturdy paper or fabric to trace these shapes to ensure they don’t shift during cutting.
Sharp scissors make a big difference here. Cutting carefully along the lines helps the pieces fit together smoothly later on. Have you noticed how uneven edges can make sewing frustrating? Keeping your cuts clean saves you a lot of hassle.
Sewing Techniques
Choose a stitch that’s both strong and neat, like the backstitch or whipstitch. These hold the fabric firmly and prevent stuffing from escaping.
Don’t rush sewing the pieces together; small, even stitches give the snowman a polished look. If you’re new to sewing, try practicing on scrap fabric first to build confidence.
Remember to leave a small opening so you can add stuffing without difficulty. How you sew this opening back up will affect the final appearance, so plan your stitches carefully.
Stuffing The Body
Use soft, lightweight stuffing like polyester fiberfill to give your snowman a cuddly feel. Fill each body section evenly to avoid lumps or flat spots.
Try adding stuffing gradually, poking it into corners and curves with a pencil or chopstick for a smooth shape. Have you ever noticed how uneven stuffing can make a toy look misshapen? Taking your time here makes all the difference.
Once filled, carefully sew the opening closed with invisible stitches to keep the snowman looking seamless and neat.

Credit: www.ebay.com
Designing Facial Features
Designing the facial features of your snowman toy brings it to life. Each detail you add shapes its personality and charm. Think about how small changes can create a big impact on the overall look.
Selecting Eyes
Choosing the right eyes is crucial. You can use buttons, beads, or even small pebbles. Larger eyes give a playful vibe, while tiny ones offer a delicate look.
Try placing the eyes at different distances to see how it changes the snowman’s expression. Closer eyes might make it look curious, while wider set eyes can appear friendly.
Crafting The Nose
The nose is the centerpiece of your snowman’s face. Carrots are classic, but you might want to try felt or clay for a softer touch. Experiment with size and shape—pointy noses add character, round ones feel cute.
Think about color contrast too. A bright orange nose stands out against white, but a pale beige might blend in for a subtler effect. What kind of personality do you want your snowman to show through its nose?
Smile Options
A smile can change everything. You could use a curved line of small buttons, stitch a fabric mouth, or even draw one with fabric markers. Each method offers a different vibe, from mischievous to gentle.
Consider the smile’s curve and length. A wide smile looks joyful, while a slight curve can feel shy or mysterious. Which mood will you give your snowman to connect with people?
Adding Arms And Accessories
Adding arms and accessories to your snowman toy brings it to life and makes it truly unique. These details allow you to express creativity and personality. You’ll find that even simple additions can dramatically change the look and feel of your creation.
Making Arms
Start by choosing the right material for the arms. Twigs work perfectly for a natural look, while pipe cleaners offer flexibility and color options. You can bend pipe cleaners into fun shapes like mittens or gloves.
Attach the arms securely by poking them into the sides of the snowman’s body or gluing them if your toy is made from soft materials. Think about the pose you want—raised arms can make your snowman look excited, while relaxed arms give a calm vibe.
Adding Scarves And Hats
A scarf adds warmth and charm. Use small strips of fabric, ribbons, or even felt to wrap around the neck. Choose bright colors or patterns that stand out against the snowman’s body.
Hats can be as simple as a felt triangle or a tiny knitted cap. You might try a classic top hat or a beanie to give your snowman personality. Securing them with a dab of glue or stitches helps keep them in place through play.
Decorative Touches
Think beyond basic accessories. Buttons, beads, or tiny pom-poms make great eyes and noses. You can even use small craft jewels to add sparkle and personality.
Adding little details like a miniature broom or a candy cane can tell a story about your snowman. What kind of character do you want yours to be? These small touches make your snowman toy memorable and fun to display.

Credit: www.instagram.com
Personalizing Your Snowman
Personalizing your snowman toy takes the fun to a new level. It’s not just about building any snowman—it’s about making one that reflects your style and creativity. Adding unique touches transforms a simple toy into a memorable keepsake or a special gift.
Unique Features
Think beyond the basic snowman shape. You can add quirky buttons, expressive eyes, or even different materials like felt or cotton for texture. Have you ever tried using tiny accessories like glasses or a miniature scarf? These details bring personality and charm.
Try mixing colors or using glow-in-the-dark paint for an unexpected twist. You might discover that even small changes make your snowman stand out. What unique feature would surprise your friends the most?
Custom Clothing
Clothing is where your snowman really starts to tell a story. Instead of a plain scarf, sew on a patterned fabric or knit a tiny hat with your favorite colors. Adding mittens, boots, or even a little vest can change the whole vibe.
Don’t hesitate to use scraps of old sweaters or buttons from your craft box. Personal touches like these show your effort and creativity. What outfit would your snowman wear if it had to fit your style perfectly?
Safety And Maintenance Tips
Ensuring your “Do You Want to Build a Snowman” toy stays safe and lasts long means paying attention to both the materials used and how you take care of it. Toys that are safe and well-maintained give your child a better experience and peace of mind for you.
Child-safe Materials
Always check the materials used in the snowman toy. Look for labels indicating non-toxic, BPA-free, and phthalate-free substances. These ensure the toy won’t harm your child, especially if they like to put toys in their mouth.
Wooden parts should be smooth and splinter-free. Paints and finishes should be water-based and certified safe for children. Have you ever wondered what could happen if a toy contains unsafe chemicals? It’s a risk you don’t want to take.
Cleaning Your Snowman
Keeping the toy clean is crucial for your child’s health. Use a damp cloth with mild soap to wipe down the snowman regularly. Avoid harsh chemicals that can damage the toy or leave toxic residues.
For fabric parts, spot clean gently or follow the washing instructions carefully. Dry the toy completely before giving it back to your child to prevent mold or mildew. How often do you clean your child’s toys? Making it a routine helps keep germs at bay and the toy looking fresh.
Credit: www.flipkart.com
Inspiration And Ideas
Finding inspiration and ideas is the first step to building a snowman toy that feels special and fun. It’s about mixing classic charm with your own creativity. What styles catch your eye? How can you make the toy stand out?
Popular Styles
Many snowman toys follow timeless designs that appeal to both kids and adults. The classic three-ball shape with a carrot nose and coal eyes is a favorite. Adding a scarf or a tiny hat instantly brings personality.
You might notice some snowman toys feature different materials like plush, wood, or even felt. Each material changes the toy’s feel and look. Which texture do you think will best match your space or gift idea?
Creative Variations
Breaking away from tradition can lead to playful and unique snowman toys. Some use bright, unexpected colors instead of white, making them pop on a shelf. Others mix in LED lights to create a glowing effect.
Think about adding accessories like miniature mittens, tiny buttons made from beads, or even a small broomstick. These details bring your snowman toy to life and show your personal touch.
- Try using recycled materials for an eco-friendly twist.
- Give your snowman a theme, like a sports fan or a holiday character.
- Experiment with different facial expressions to make each toy unique.
What small detail can you add that will make your snowman toy unforgettable? Your creativity is the key to turning a simple idea into a cherished keepsake.
Frequently Asked Questions
How Can I Build A Snowman Toy At Home?
You can build a snowman toy using craft materials like felt, cotton, and glue. Follow simple tutorials online for step-by-step guidance.
What Materials Are Best For Making Snowman Toys?
Soft fabrics, cotton stuffing, buttons, and craft glue are ideal for snowman toys. These materials make the toy safe and durable.
How Long Does It Take To Create A Snowman Toy?
Creating a snowman toy typically takes 1 to 2 hours, depending on complexity and skill level. Beginners may take slightly longer.
Can Kids Safely Build Snowman Toys?
Yes, kids can safely build snowman toys with adult supervision. Using child-friendly materials ensures a fun and safe crafting experience.
Conclusion
Building a snowman toy brings joy and creativity together. It’s a fun way to spend time alone or with friends. You can choose different shapes, colors, and sizes. This craft helps improve focus and hand skills. Plus, it makes a great gift for loved ones.
Try making your own snowman toy today. Enjoy the process and share your creation. Simple steps lead to happy moments. Why wait? Start building and have fun!




