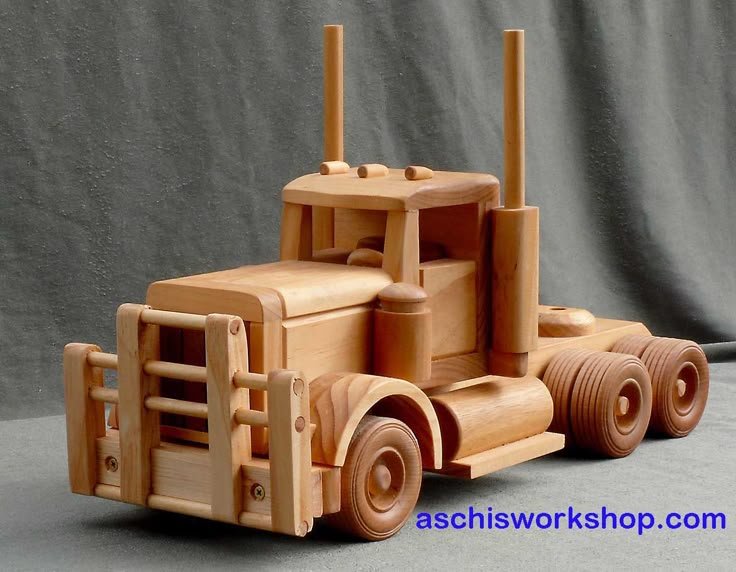
Have you ever wanted to create something special with your own hands? Building a toy truck out of wood is a fun and rewarding project you can enjoy, whether you’re a beginner or have some experience.
Imagine the pride you’ll feel when you see your finished truck rolling across the floor—a unique toy made just by you. In this guide, you’ll discover simple steps and tips to help you build a sturdy, charming wooden truck. Ready to turn a few pieces of wood into a timeless toy?
Let’s get started!

Credit: www.youtube.com
Materials And Tools
Wood pieces, wheels, nails, and glue form the basic materials for building a toy truck. Essential tools include a saw, hammer, sandpaper, and paintbrush for shaping and finishing.
Embarking on the journey of building a toy truck out of wood is not just about crafting; it’s about creating something that lasts, that can be passed down through generations. It’s a hands-on experience that requires the right materials and tools to transform a simple idea into a tangible piece of joy. Let’s dive into the essential components needed to bring your wooden toy truck to life.Wood Selection
Choosing the right wood is crucial for the durability and aesthetics of your toy truck. You want to select wood that is both sturdy and easy to work with. Hardwoods like oak and maple offer strength and longevity, ideal for a toy meant to withstand playtime. However, softer woods like pine can be easier to carve and shape, perfect for intricate designs. Consider the grain and finish—will it enhance the truck’s look and feel? What story will the texture tell?Essential Tools
The tools you select will directly impact your crafting experience. A good saw is indispensable—whether you choose a handsaw for precision or a jigsaw for versatility. Sandpaper is a must for smoothing out rough edges and ensuring a safe finish. A drill can be handy for creating holes for axles or other components. Have you thought about using a wood router for those decorative grooves? It’s amazing how the right tool can transform a block of wood into a masterpiece.Safety Gear
Safety should never be an afterthought. Always prioritize protection when working with wood and tools. Invest in a quality pair of safety goggles to shield your eyes from splinters and sawdust. Gloves can prevent cuts and enhance grip, making handling tools safer. Consider wearing a dust mask, especially when sanding, to keep particles out of your lungs. Are you prepared to craft safely without compromising on creativity? Remember, the joy of crafting lies not just in the finished product but in the process itself. With the right materials and tools, you’re set to create something truly special. Are you ready to start your crafting adventure?Design And Planning
Design and planning lay the foundation for a successful wooden toy truck. Without a clear idea of what you want to build, you risk wasting materials and time. Careful preparation helps you visualize the final product and anticipate any challenges before cutting the wood.
Sketching The Truck
Start by drawing a simple sketch of your toy truck. It doesn’t need to be perfect—just capture the main shapes and proportions. This visual guide will keep you focused and make the build process smoother.
Try drawing multiple angles: side, front, and top views. This helps you understand how different parts fit together. If you struggle with drawing, use basic shapes like rectangles and circles to represent the truck’s body and wheels.
Ask yourself: What size should the truck be? How many wheels will it have? Do you want any special features like a movable bed or doors? Answering these questions here saves headaches later.
Measuring And Marking
Once the sketch is ready, translate it into precise measurements. Use a ruler or measuring tape to decide the exact length, width, and height of each part. Accuracy here ensures all pieces fit well during assembly.
Mark your wood carefully before cutting. Use a pencil to draw clear lines based on your measurements. Double-check these marks to avoid mistakes that can ruin your project.
It helps to organize your measurements in a simple table:
| Part | Length (cm) | Width (cm) | Height (cm) |
|---|---|---|---|
| Truck Body | 20 | 8 | 6 |
| Truck Bed | 12 | 8 | 4 |
| Wheels (each) | 4 | 4 | 1.5 |
Have you ever measured twice and still cut once? Careful marking is your best defense against errors. When you spend extra time here, the building stage feels less frustrating and more fun.
Cutting The Wood
Cutting the wood is where your toy truck starts to take shape. It’s a step that demands attention and precision, setting the foundation for everything else. You’ll want to prepare your workspace and tools carefully to ensure clean, safe cuts that bring your design to life.
Cutting Main Body Pieces
Begin by selecting a sturdy piece of wood, like pine or basswood, which is easy to work with and safe for kids. Use a pencil to mark the dimensions of the truck’s main body directly on the wood. Accuracy here is key—slightly off measurements can throw off the entire assembly.
A sharp saw, such as a scroll saw or jigsaw, will help you cut along your lines smoothly. Take your time and follow the markings closely. Don’t rush; uneven edges can be sanded later, but large mistakes mean starting over.
Shaping Details
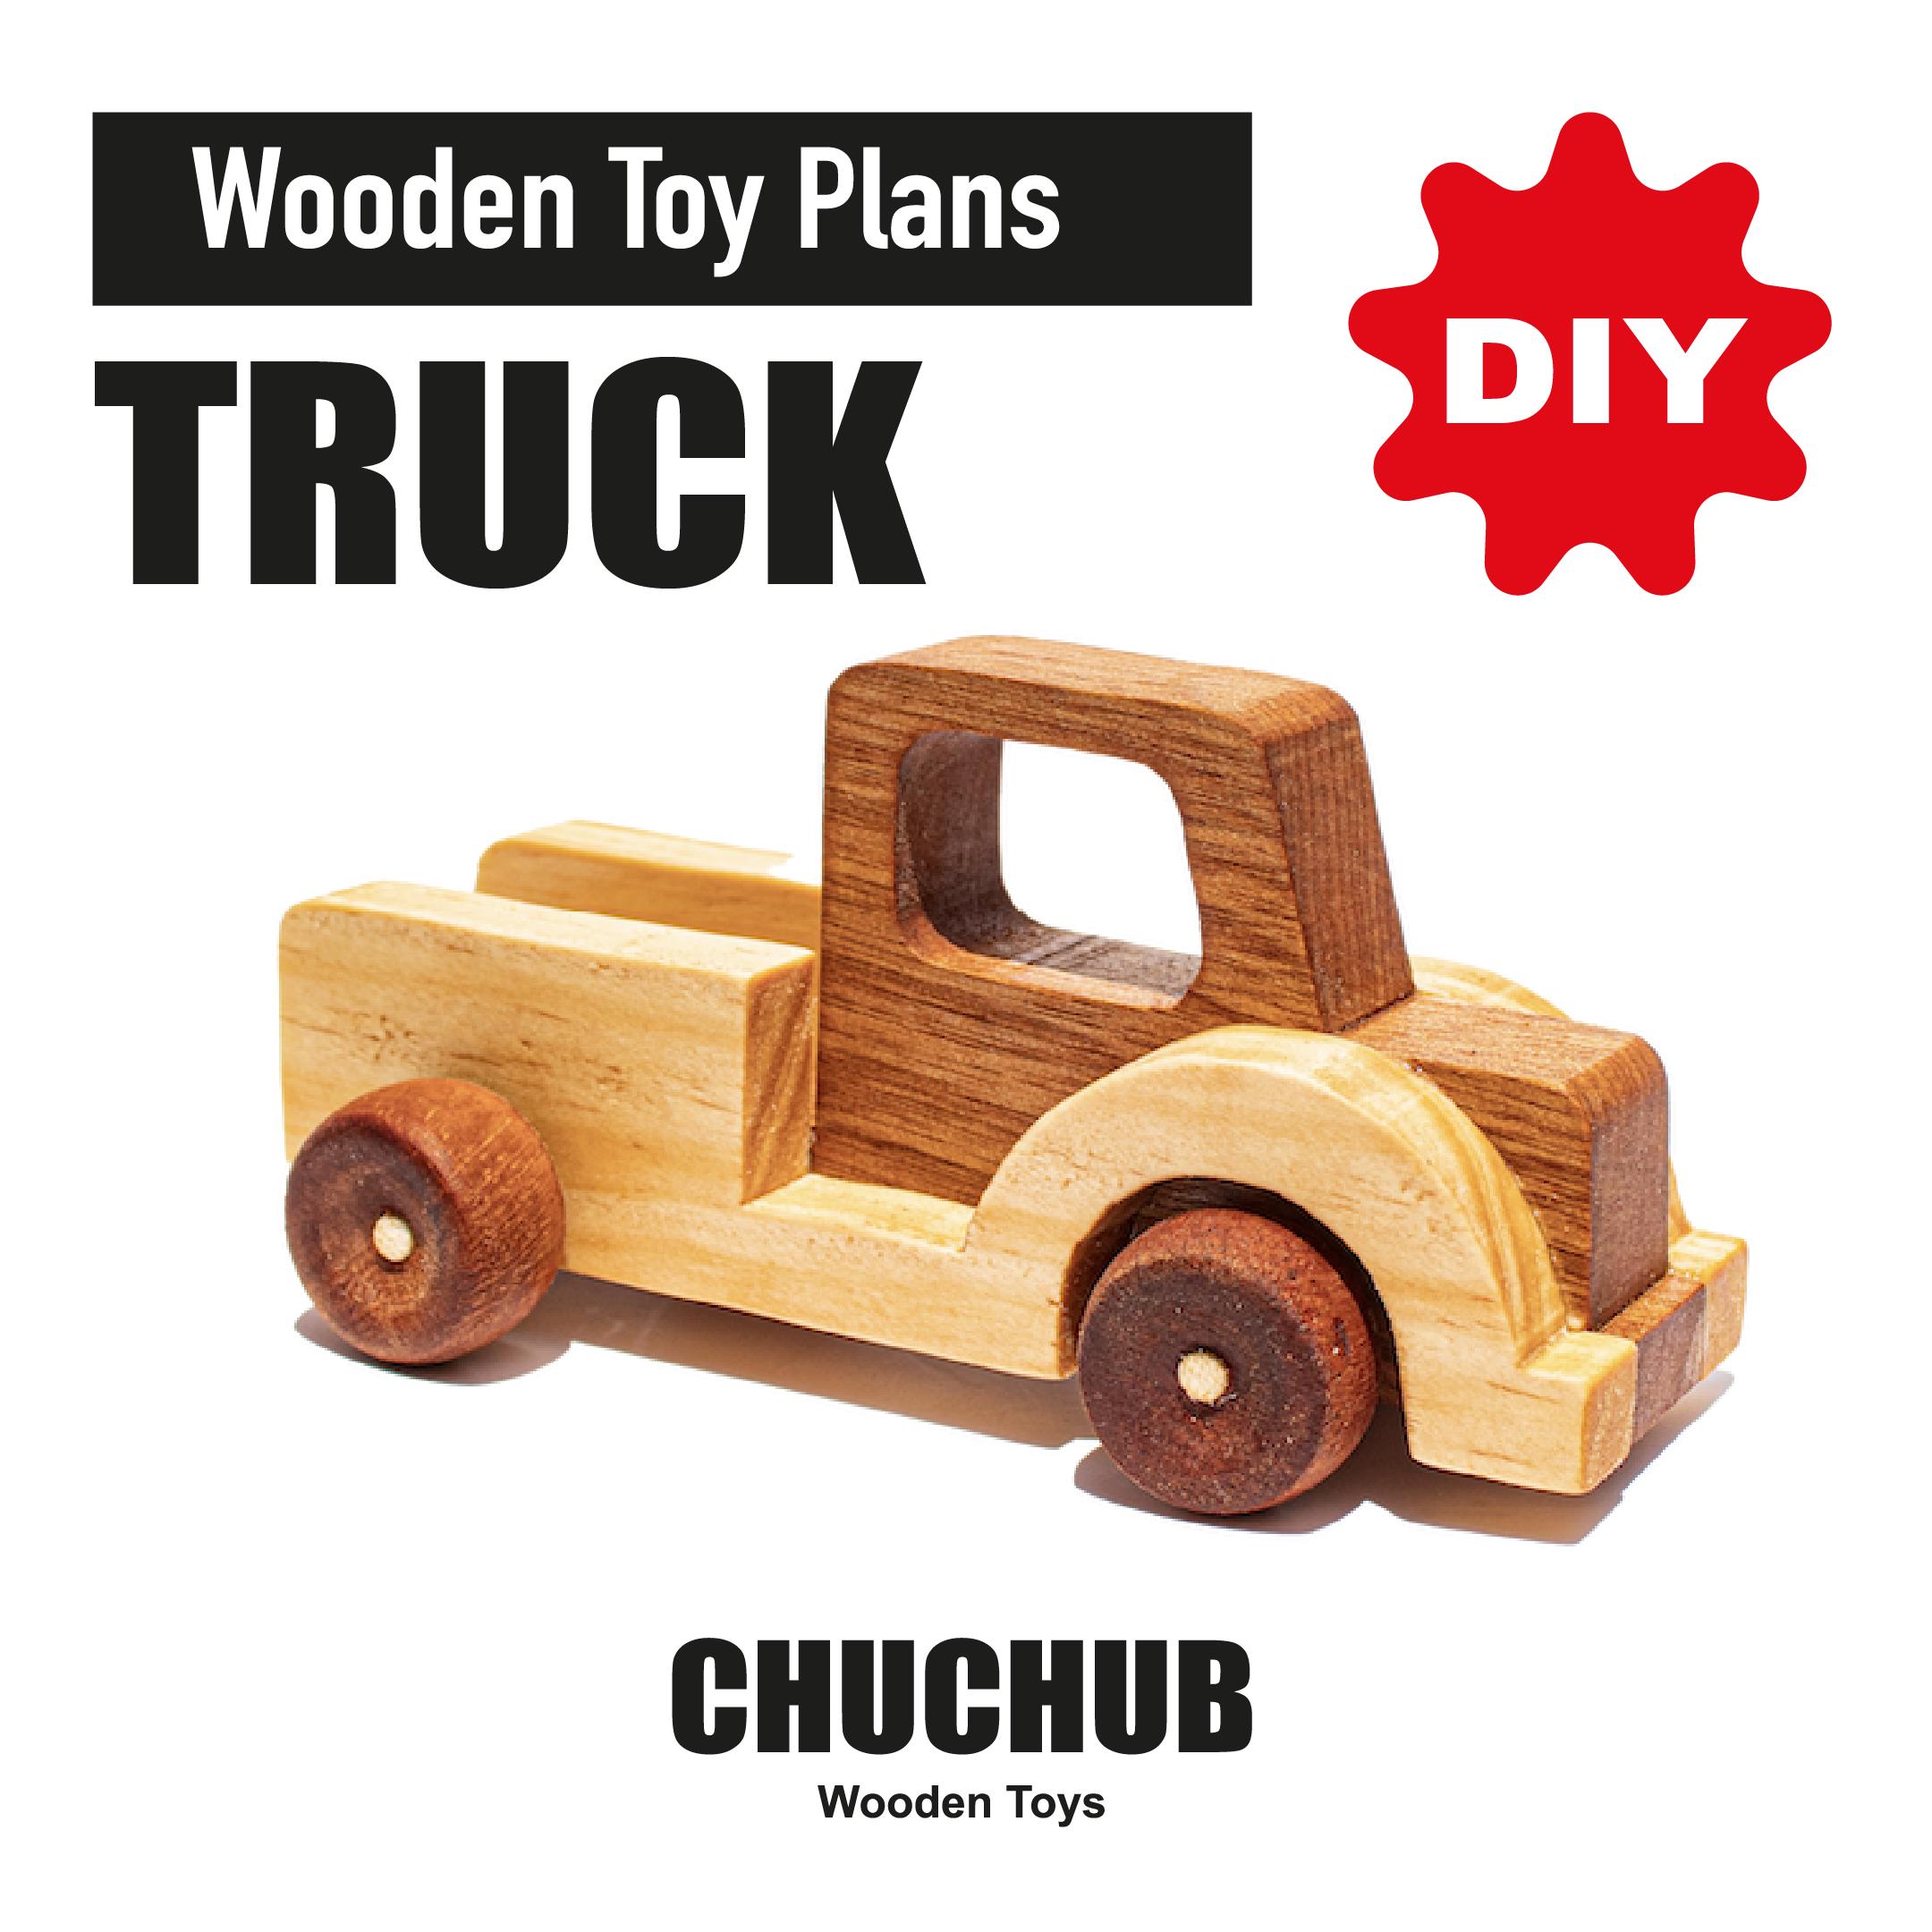
Once the main body is cut, focus on the smaller details like the cab, wheel arches, and the truck bed. Use finer tools like a coping saw or a carving knife for these delicate cuts. This is where your toy truck gains character and charm.
Think about how these shapes affect the final look and function of your truck. Are the wheel arches wide enough for your wheels? Does the cab fit snugly on the body? Adjust your cuts accordingly before moving on.
Have you noticed how much the details bring your project to life? Paying attention to these small cuts can make your toy truck feel truly special and unique.

Credit: in.pinterest.com
Assembling The Truck
Assembling the truck is where your wooden pieces come to life. Careful joining of parts ensures the truck is strong and looks good. Focus on neatness and precision during this stage.
Gluing And Nailing
Start by applying wood glue to the edges that fit together. Use a brush or a small stick to spread the glue evenly. Press the pieces firmly to bond them well. Hold them in place with clamps or heavy objects for at least 30 minutes.
After the glue dries, reinforce the joints with small nails. Use a hammer gently to avoid splitting the wood. Nails add extra strength and make the truck sturdy. Check that all parts align correctly before nailing.
Attaching The Wheels
Prepare the wheels by sanding the edges smooth. This helps them roll easily. Insert small wooden dowels or axles through the wheel holes. Fit the axles into the truck body’s wheel slots.
Secure the wheels by gluing the axles inside the slots. Test the wheels by rolling the truck on a flat surface. Adjust the wheels if they do not spin freely. Proper wheel attachment lets the toy truck move smoothly.
Sanding And Smoothing
Sanding and smoothing are crucial steps in building a toy truck out of wood. They not only improve the look of your project but also make it safe for kids to play with. Taking your time here ensures every surface feels just right to the touch.
Sanding The Surfaces
Start by using medium-grit sandpaper to remove rough patches and saw marks. Move the sandpaper in the direction of the wood grain to avoid scratches that stand out.
Switch to fine-grit sandpaper for a silky-smooth finish. This step brings out the natural beauty of the wood and prepares it for painting or sealing.
Ever noticed how a rough surface can ruin the feel of a toy? Smooth surfaces prevent splinters and make your toy truck comfortable to hold. Have you checked your wood for any hidden rough spots?
Rounding The Edges
Sharp edges can be dangerous, especially for children. Use sandpaper or a sanding block to gently round all corners and edges of your toy truck.
Focus on areas like the cab corners, wheel arches, and the bed edges. These spots get the most handling and should feel smooth and safe.
Try running your fingers along the edges after sanding. Does it feel soft and inviting? If not, keep smoothing until it does.
Credit: www.etsy.com
Painting And Finishing
Painting and finishing give your wooden toy truck a vibrant look and protect it. This stage brings life and personality to your creation. It also ensures the truck lasts longer and stays safe for play. Use the right colors and sealants for the best result.
Choosing Paint Colors
Select paint that is safe for children and non-toxic. Bright colors catch the eye and make the toy fun. Think about classic truck colors like red, blue, or yellow. Or mix colors for a unique design. Use water-based paints for easy cleanup and safe use.
- Pick vibrant shades for a playful look
- Use brushes or sponges for smooth application
- Let each coat dry fully before the next
- Test colors on scrap wood first
Applying Sealant
Sealant protects the paint and wood from damage. It also smooths the surface and makes it easy to clean. Choose a clear, non-toxic sealant safe for toys. Apply thin, even coats with a brush. Allow each coat to dry completely before adding another.
- Use a water-based polyurethane or varnish
- Avoid thick layers to prevent drips
- Sand lightly between coats for smoothness
- Finish with at least two coats for durability
Adding Final Touches
Adding final touches to your wooden toy truck brings it to life. These details make the truck look more realistic and fun. Small efforts here create a lasting impression and increase play value.
Detail Painting
Use fine brushes to paint small parts like headlights, windows, and grills. Choose bright colors to highlight key features. Let each layer dry before adding the next to avoid smudges. Adding shadows or highlights gives depth and a three-dimensional look. Simple patterns, like stripes or dots, add charm without complexity. Finish with a clear sealant to protect the paint and keep it shiny.
Decorative Stickers
Stickers add personality to your toy truck quickly. Pick stickers that fit the truck’s theme or colors. Place them carefully on flat surfaces like doors or the hood. Smooth out air bubbles with a soft cloth for a neat look. Use waterproof stickers if the toy might get wet. Avoid overloading with stickers; keep the design balanced and neat.
Tips For Customization
Customizing your wooden toy truck makes the project truly unique and fun. It lets you add personal touches that reflect your style or the recipient’s interests. Small changes can make a big difference in appearance and feel.
Experimenting with shapes, colors, and textures brings the toy truck to life. Personal details create a special connection to the finished piece. Here are some ways to customize your wooden toy truck effectively.
Personalizing Designs
Start with the truck’s shape and style. Carve or cut simple shapes for a classic look. Add details like windows, headlights, or a name plate. Use paint or wood stain to highlight these features.
Consider carving initials or symbols on the truck’s body. Use bright colors to make it stand out. Patterns like stripes or polka dots add playful touches. Think about the person who will use the toy for design ideas.
Using Different Wood Types
Choosing various wood types changes the truck’s texture and color. Softwoods like pine are easy to carve and light in color. Hardwoods like oak or maple offer durability and rich grains.
Combine wood types for contrast and style. Use a darker wood for the body and lighter wood for wheels. This mix creates visual interest without extra paint.
Test how each wood responds to sanding and finishing. Some woods absorb paint or stain differently. This knowledge helps achieve the exact look and feel desired.
Frequently Asked Questions
What Materials Do I Need To Build A Wooden Toy Truck?
You need wood, sandpaper, wood glue, nails, paint, and wheels. Choose softwood for easy cutting and shaping. Quality materials ensure a sturdy, safe toy.
How Do I Safely Cut Wood For A Toy Truck?
Use a small saw or jigsaw with proper safety gear. Cut slowly, following your design lines. Always work on a stable surface to avoid accidents.
What Tools Are Essential For Building A Wooden Toy Truck?
Basic tools include a saw, hammer, screwdriver, drill, and sandpaper. These help in cutting, assembling, and smoothing your truck parts precisely.
How Can I Paint My Wooden Toy Truck Safely?
Use non-toxic, child-safe paints or water-based finishes. Apply thin, even coats and let dry completely. This keeps the toy safe and visually appealing.
Conclusion
Building a wooden toy truck is fun and rewarding. You create something special with your hands. Each step brings you closer to a unique toy. It helps improve your skills and patience. Kids will love playing with a truck you made.
Wood is a great material for safe toys. Try different shapes and colors for variety. Enjoy the process and be proud of your work. Keep practicing to make even better toys next time. Crafting toys can become a relaxing and joyful hobby.




